Barbarian Might of the Earth Set Dungeon Guide
Welcome to our guide to complete the Might of the Earth set dungeon for Barbarians, a required step to complete the Masters of the Universe Conquest.

Overview of the Might of the Earth Set Dungeon
The Might of the Earth Set Dungeon is located in Act II, the City of Caldeum. Teleport to that location's waypoint, then go all the way down near the entrance of the Imperial Palace, where Belial's fight takes place. The entrance of the Set Dungeon will appear to its right, near a noble carriage if you have the Might of the Earth 6-piece bonus equipped.
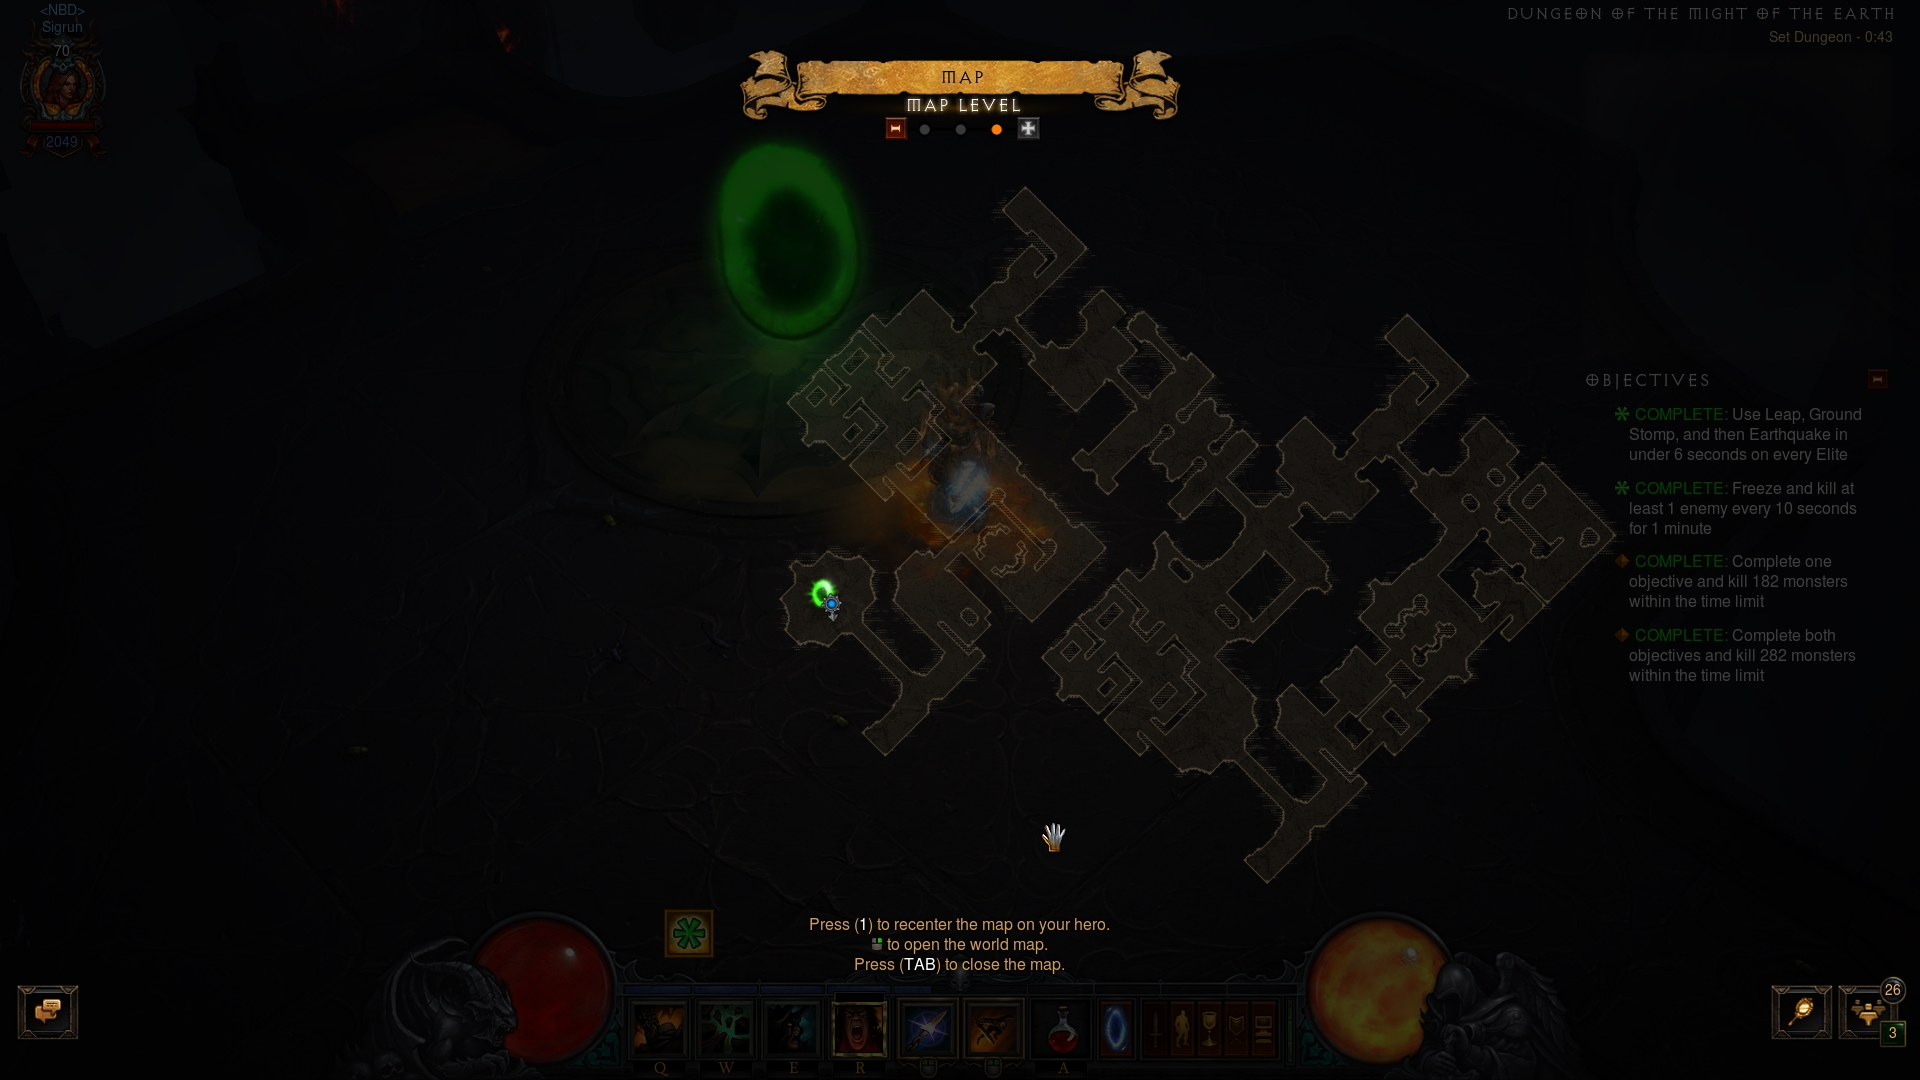
The Might of the Earth Set Dungeon's two unique Primary Objectives are to: 1)
Use ![]() Leap,
Leap, ![]() Ground Stomp and then
Ground Stomp and then ![]() Earthquake in under 6
seconds on every Elite; and 2) Freeze and kill at least 1 enemy every 10 seconds
for 1 minute.
Earthquake in under 6
seconds on every Elite; and 2) Freeze and kill at least 1 enemy every 10 seconds
for 1 minute.
The Might of the Earth Set Dungeon is a winding Archives map from Act II, featuring many nooks and crannies with hidden enemy potential. Doing the starting semi-linear location as fast as you can (paying attention to downstairs areas) and then doing a clockwise clear of the roughly rectangular second half of the dungeon is a proven attempt path.
The Might of the Earth Set Dungeon is populated by three kinds of enemies:
- Imps — these annoying critters account for nearly the entire populace
of the dungeon. They appear in large packs and are annoyingly skittish; if you
notice a straggler running away, make a point to snipe him ASAP with an
 Ancient Spear.
 - Armored Destroyers — these large, easily noticeable monsters will be a far more convenient prey for your Barbarian, as they charge you heedlessly and simply feed your objectives.
- Defenders of Might — the unique enemies of the map. They resemble Act 4's Oppressors, but also have Molten and Teleporter affixes. Keep in mind their inevitable charge attacks and always try to have the 1st Objective's cooldowns handy when you spot them on the map.
Tips for the Might of the Earth Set Dungeon
While this applies to all Set Dungeons, do your best to kill all enemies in the areas you pass through. The mobs in the Might of the Earth Set Dungeon are notoriously skittish and the dungeon is quite long; avoid needing to backtrack.
The Might of the Earth Set Dungeon is, unfortunately, of the type that
benefits from nerfing your build and toning down your damage. Having your
![]() Earthquakes do too much damage can lead to mishaps on the first
Objective, so take some simple steps to lower your damage to the 300-400k point:
drop Strength and Offense-section Paragons, drop Crit Damage gems from weaponry,
drop excess offense jewelry and legendary gems. Most notably, the signature
weapon of proper
Earthquakes do too much damage can lead to mishaps on the first
Objective, so take some simple steps to lower your damage to the 300-400k point:
drop Strength and Offense-section Paragons, drop Crit Damage gems from weaponry,
drop excess offense jewelry and legendary gems. Most notably, the signature
weapon of proper ![]() Earthquake builds,
Earthquake builds, ![]() Blade of the Tribes, can cause
more trouble than benefit in this Set Dungeon — we advise that you skip it
in favor of more generic weaponry (like the Fury gen combo of the Bul-Kathos set
swords).
Blade of the Tribes, can cause
more trouble than benefit in this Set Dungeon — we advise that you skip it
in favor of more generic weaponry (like the Fury gen combo of the Bul-Kathos set
swords).
The crux of failure in this Set Dungeon is panicking on the rotation and/or
not having the necessary cooldowns up when an Elite comes around (most likely
your ![]() Earthquake). If you follow this guide's recommendations, you will
be countering this possibility by stacking a lot of CDR, but you should also be
prepared to dump an emergency
Earthquake). If you follow this guide's recommendations, you will
be countering this possibility by stacking a lot of CDR, but you should also be
prepared to dump an emergency ![]() Ancient Spear into thin air for resets from
the 2-piece bonus (it does not require a target to work).
Ancient Spear into thin air for resets from
the 2-piece bonus (it does not require a target to work).
The second Objective will happen very naturally, as it simply requires you to be actively killing things and staying on the move. If you play the build properly and do not linger in empty areas for too long, you should accomplish this task without paying extra attention to it.
Build for the Might of the Earth Set Dungeon
| Active Skills |
|---|


|
| Passive Skills |
| Slot | Pieces | Stat Priority |
|---|---|---|
| Head |
|
|
| Shoulders |
|
|
| Torso |
|
|
| Legs |
|
|
| Hands |
|
|
| Feet |
|
|
| Waist |
|
|
| Wrists |
|
|
| Ring #1 |
|
|
| Ring #2 |
|
|
| Amulet |
|
|
| Weapon #1 |
|
|
| Weapon #2 |
|
To help you with farming the gear you need for your builds, we have two very useful guides that you can access by clicking the links below: a Salvage Guide to help you quickly check whether or not you can safely salvage a piece of gear and a Legendary Farming Guide to help you efficiently farm legendaries and set items.
| Slot | Gems |
|---|---|
| Jewelry |
|
| Helm | |
| Torso and Pants |
|
| Weapon |
|
Kanai's Cube
- Weapon Slot:
 In-geom
 - Armor Slot:
 Lut Socks
 - Jewelry Slot:
 The Star of Azkaranth
Changelog
- 01 Mar. 2018: Added guide.
This build is presented to you by Deadset, one of the very few professional Diablo 3 players. Deadset regularly publishes video guides on Youtube and streams on Twitch, where you can see how this and other builds play out in practice.
- All Diablo 3 Season 34 Class Guides and Compendium
- Diablo 3 Season 34 Delayed a Week
- Season 34 Official Preview
- Diablo 3 Season 33 Unintentionally Prematurely Ended
- The Darkening of Tristram Returns January 3rd
- Diablo 3 Season 33, Shades of the Nephalem, Official Preview
- Diablo III Patch 2.7.8 Preview: What to Expect in Season 33?
- Diablo III 2.7.8 PTR Delayed