Monk Raiment of a Thousand Storms Set Dungeon Guide
Welcome to our guide to complete the Raiment set dungeon for Monks, a required step to complete the Masters of the Universe Conquest.
Overview of the Raiment of a Thousand Storms Set Dungeon
The Raiment of a Thousand Storms Set Dungeon is located in Act I, The Old Ruins. Simply take the waypoint and walk a bit to the northwest — the entrance to the Raiment Set Dungeon will appear if you have the Raiment of a Thousand Storms 6-piece set bonus active.
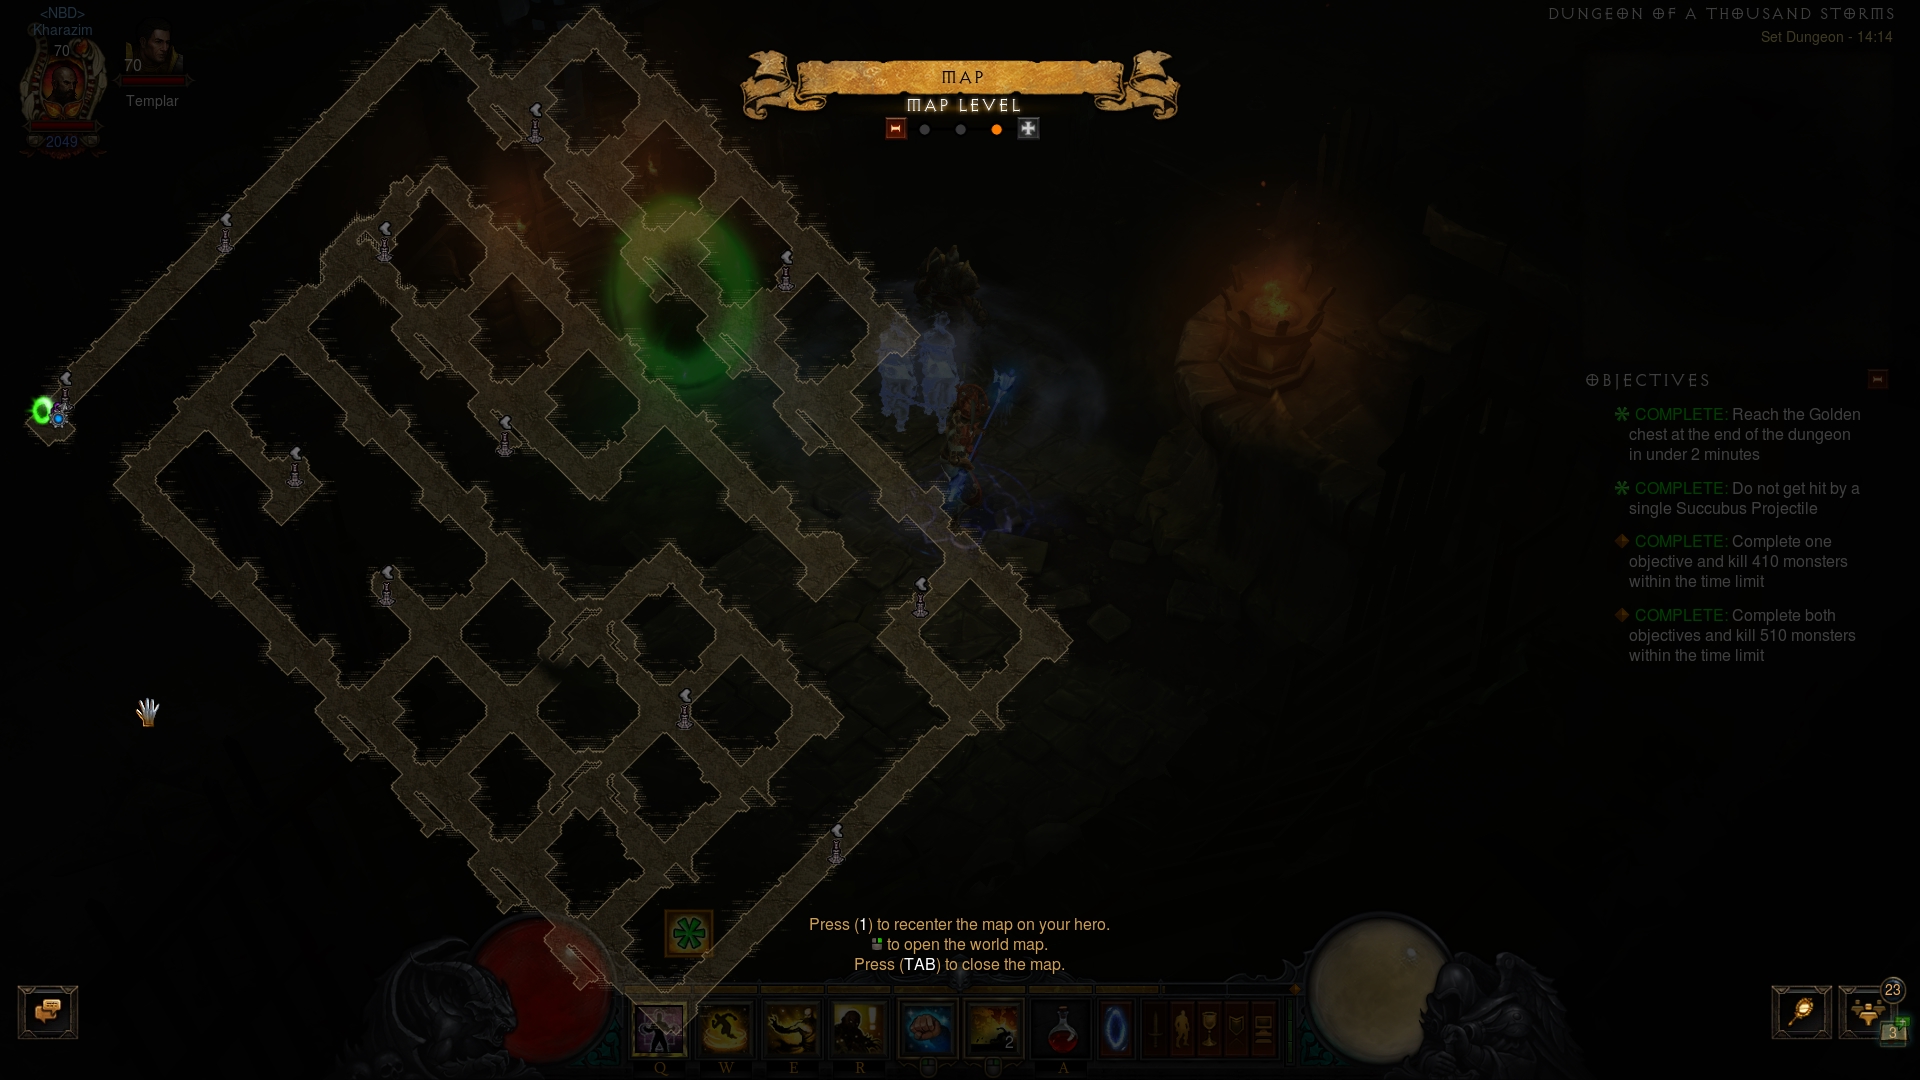
The Raiment of a Thousand Storms Set Dungeon's two unique Primary Objectives are to: 1) Reach the Golden chest at the end of the dungeon in under 2 minutes; and 2) Do not get hit by a single Succubus projectile.
The Raiment Set Dungeon is a sewer tileset that is unique in its design and purpose, one of the few Set Dungeons where the layout itself is part of the challenge. A proven attempt path is to beeline straight for the center of the dungeon (picking up Speed Pylons on the way) and ignoring most of the side areas, then backtracking to finish off the remainder monster killing objective.
The Raiment Set Dungeon is populated by just a few kinds of enemies:
- Ravenous Dead, Walking Corpses and Decayers — You will pad out the monster slaying counter mostly with this slow moving, harmless filler trash.
- Succubus — few and far between, these crafty demons will stay at range
and fire slow moving, homing projectiles that will cause you to fail the 2nd
Objective. Be vigilant of their appearance on the map, and try to
 Dashing Strike over their projectiles and onto them, finishing them off
quickly.
Dashing Strike over their projectiles and onto them, finishing them off
quickly.
Tips for the Raiment Set Dungeon
Equipping the ![]() Nemesis Bracers and cubing an
Nemesis Bracers and cubing an ![]() In-geom will allow
you to make even greater use of the Speed Pylons on the map. Note that unlike
most Set Dungeons, this one does not have naturally spawning elites to trigger
In-geom will allow
you to make even greater use of the Speed Pylons on the map. Note that unlike
most Set Dungeons, this one does not have naturally spawning elites to trigger
![]() In-geom cooldown resets (useful when you want to move fast), so the
In-geom cooldown resets (useful when you want to move fast), so the
![]() Nemesis Bracers allow you to create some of your own. This has the added
benefit of adding extra monsters to the dungeon that are right in your path and
that will count towards the final tally, eliminating the necessary backtracking
at least partially.
Nemesis Bracers allow you to create some of your own. This has the added
benefit of adding extra monsters to the dungeon that are right in your path and
that will count towards the final tally, eliminating the necessary backtracking
at least partially.
It was mentioned in the previous section, but it is worth repeating — rush for the Golden chest at the end of the dungeon first! On your first time around the dungeon, focus just on picking up the Speed Pylons and killing the trash that is directly in your way. When properly executed, this will get you the 1st Objective easily and you will only have to backtrack 1/2 of the dungeon to finish off the counter.
Cooldown and Resource Cost Reduction are key for this Set Dungeon, since you
will be trying to ![]() Dashing Strike as much as you can; in a Raiment 6-piece
build, this makes Dashes both a damaging skill and a spender. Using the fire rune
Dashing Strike as much as you can; in a Raiment 6-piece
build, this makes Dashes both a damaging skill and a spender. Using the fire rune
![]() Radiance makes more sense over the traditional speedrunning choices like
Radiance makes more sense over the traditional speedrunning choices like
![]() Way of the Falling Star because of the potential for RCR from
Way of the Falling Star because of the potential for RCR from
![]() Cindercoat. Getting 2-piece Innas into the build (via the weapon and
belt) can also be quite helpful for resource restoration, as their bonus will
double up the effectiveness of
Cindercoat. Getting 2-piece Innas into the build (via the weapon and
belt) can also be quite helpful for resource restoration, as their bonus will
double up the effectiveness of ![]() Mantra of Healing
Mantra of Healing ![]() Circular Breathing and
Circular Breathing and
![]() Mystic Ally
Mystic Ally ![]() Air Ally.
Air Ally.
Build for the Raiment Set Dungeon
| Active Skills |
|---|


|
| Passive Skills |
| Slot | Pieces | Stat Priority |
|---|---|---|
| Head |
|
|
| Shoulders |
|
|
| Torso |
|
|
| Wrists |
|
|
| Hands |
|
|
| Waist |
|
|
| Legs |
|
|
| Feet |
|
|
| Amulet |
|
|
| Ring #1 |
|
|
| Ring #2 |
|
|
| Weapon |
|
To help you with farming the gear you need for your builds, we have two very useful guides that you can access by clicking the links below: a Salvage Guide to help you quickly check whether or not you can safely salvage a piece of gear and a Legendary Farming Guide to help you efficiently farm legendaries and set items.
| Slot | Gems |
|---|---|
| Jewelry | |
| Helm |
|
| Torso and Pants |
|
| Weapon |
Kanai's Cube
- Weapon Slot:
 In-geom
 - Armor Slot:
 The Crudest Boots
 - Jewelry Slot:
 Ring of Royal Grandeur
Changelog
- 03 Mar. 2018: Added guide.
This build is presented to you by Deadset, one of the very few professional Diablo 3 players. Deadset regularly publishes video guides on Youtube and streams on Twitch, where you can see how this and other builds play out in practice.
- All Diablo 3 Season 34 Class Guides and Compendium
- Diablo 3 Season 34 Delayed a Week
- Season 34 Official Preview
- Diablo 3 Season 33 Unintentionally Prematurely Ended
- The Darkening of Tristram Returns January 3rd
- Diablo 3 Season 33, Shades of the Nephalem, Official Preview
- Diablo III Patch 2.7.8 Preview: What to Expect in Season 33?
- Diablo III 2.7.8 PTR Delayed