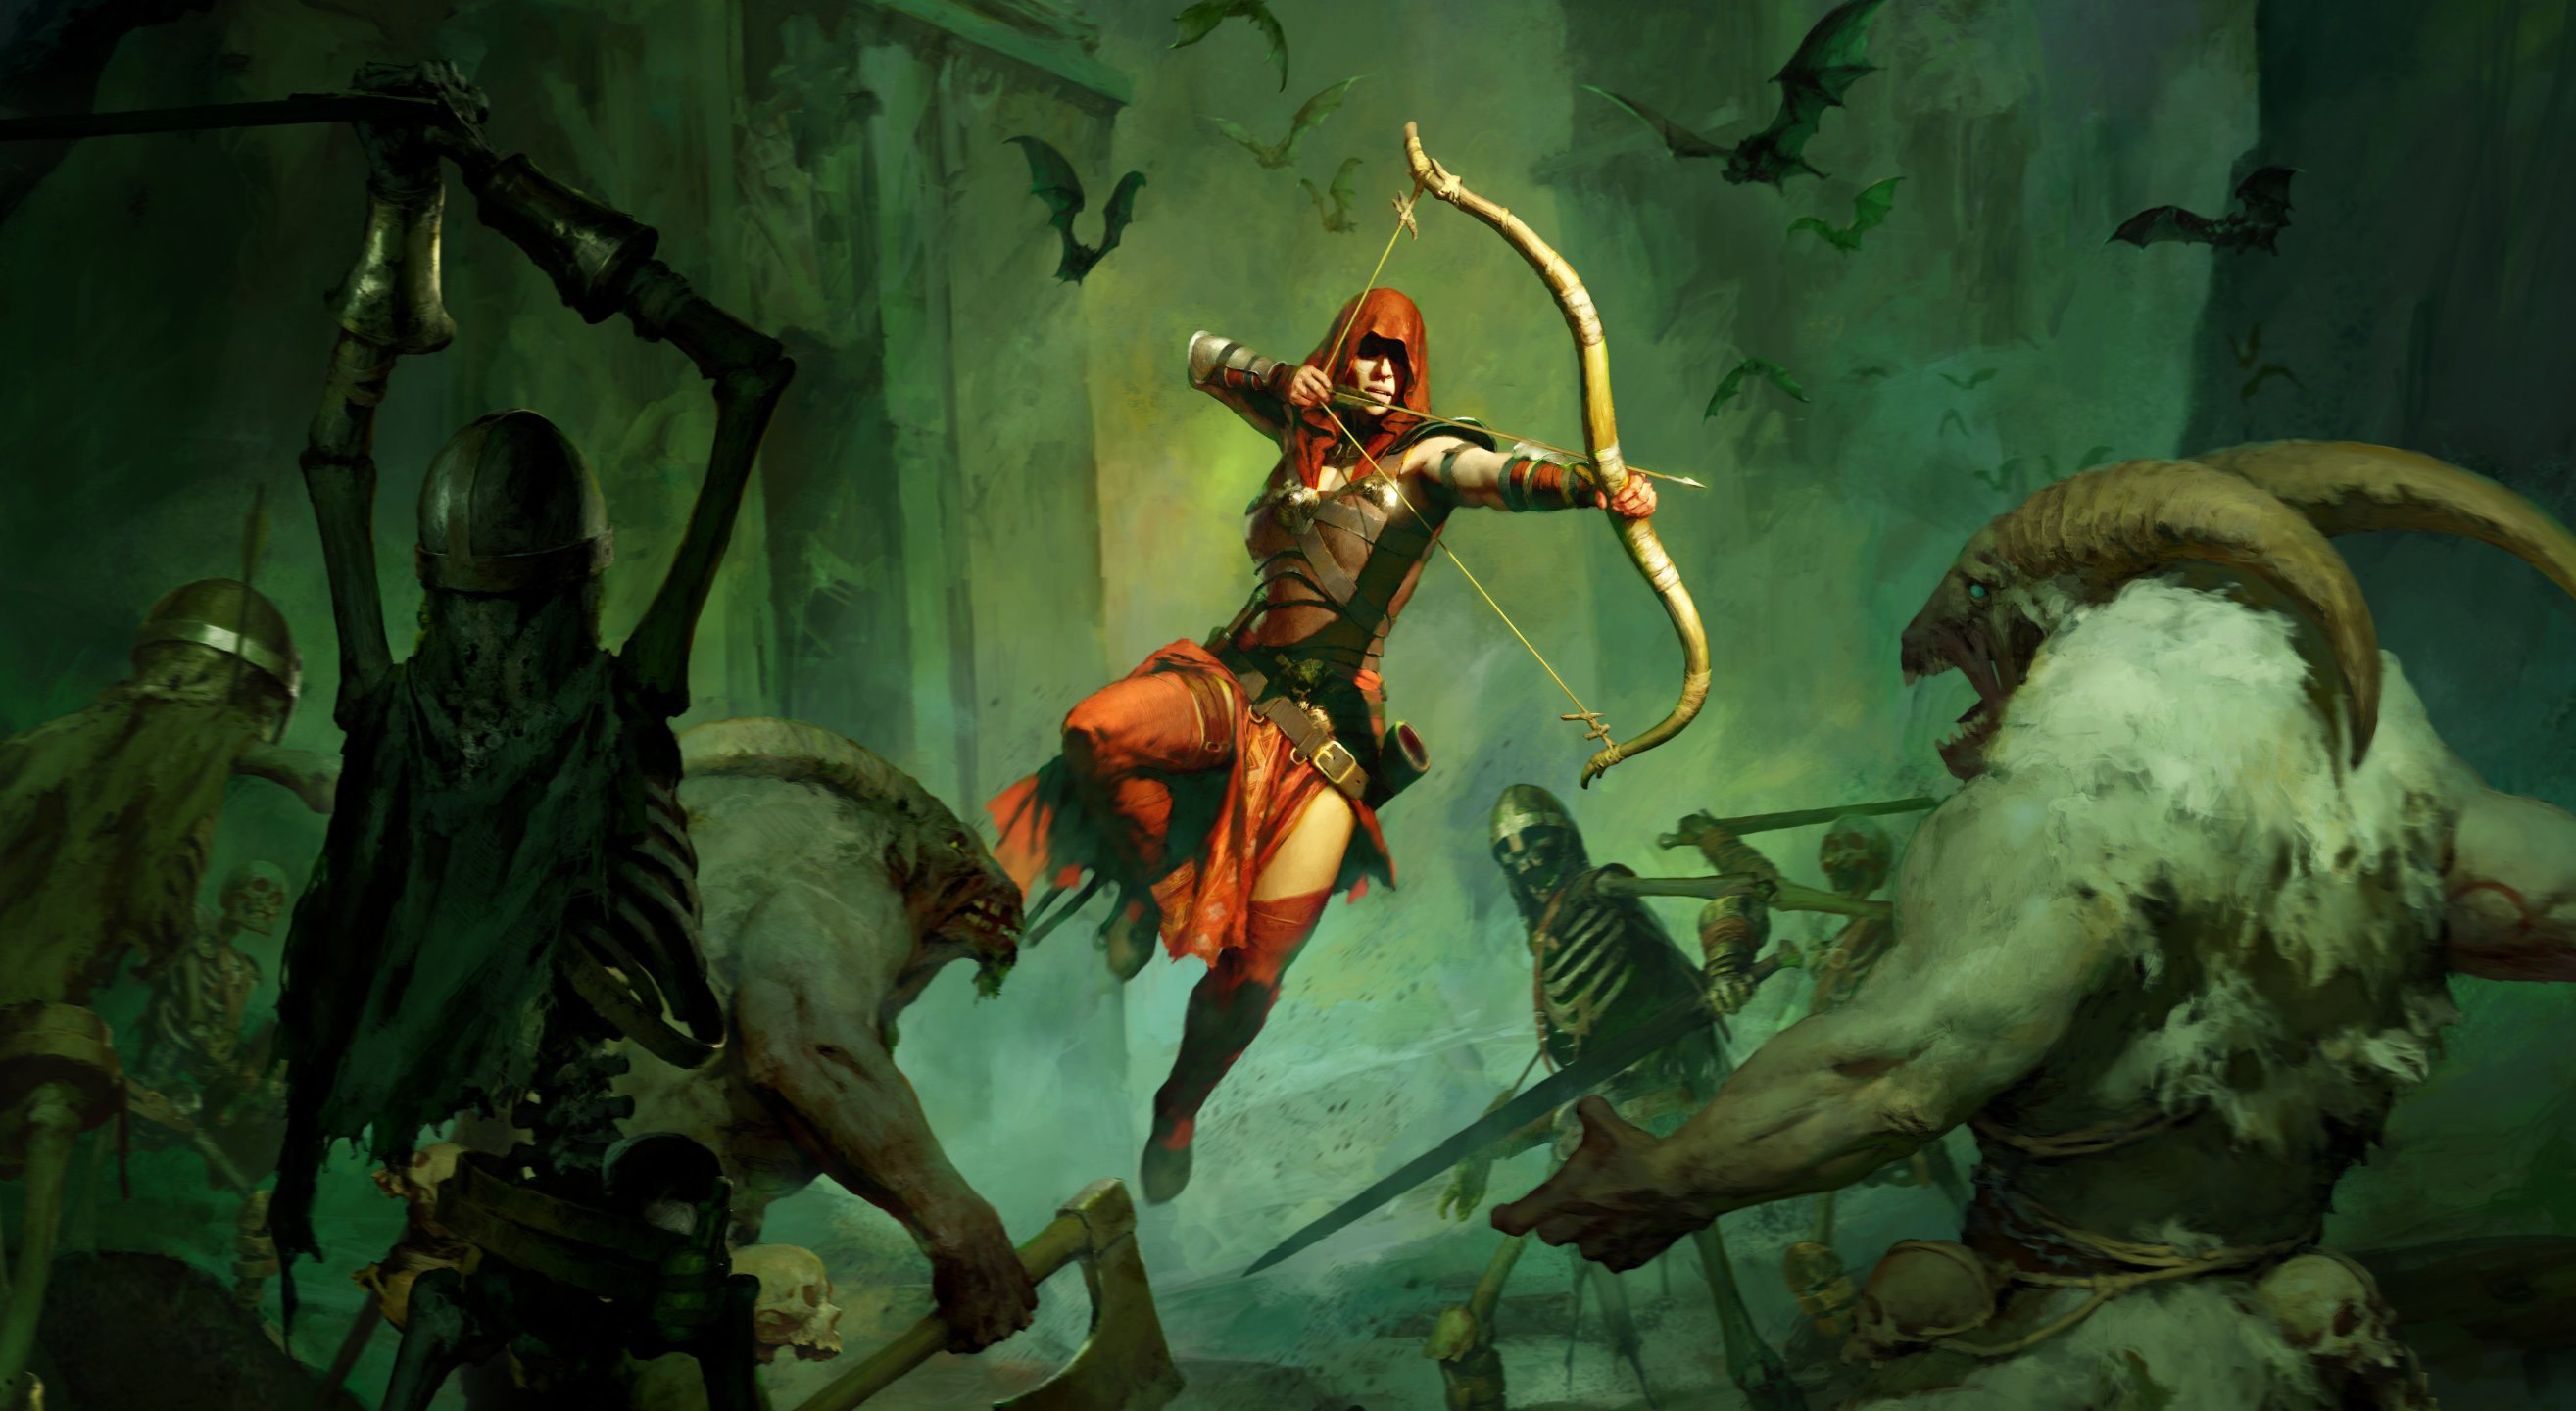


Build Introduction
The Barrage Rogue blasts all foes on the battlefield. ![]() Barrage fires a spread of arrows with its
Barrage fires a spread of arrows with its ![]() Multishot modifier to cover a wide area, hitting an entire group of enemies.
Multishot modifier to cover a wide area, hitting an entire group of enemies.
If your character has not reached Level 70, check out the recommended Rogue leveling builds.
Check the build tier lists to see how this build compares to others on Icy Veins.
Strengths and Weaknesses
- Enemies are automatically grouped up tightly to easily hit them with Barrage.
- Ranged playstyle is safe.
- Enemies are Frozen and shatter to deal area damage.
- Combo Points are automatically generated, so you do not need to manage them.
- Damage output is less than the Penetrating Shot and Rapid Fire builds.
- Full damage against bosses relies on Stagger.
- Damage output is significantly lower against Unstoppable enemies.
Quick Navigation
Want to skip ahead? Use the table below to jump to sections.
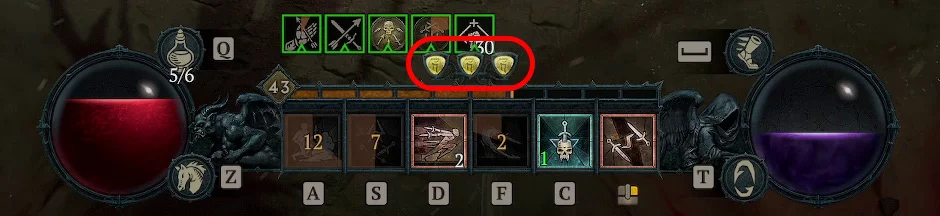
Skill Bar and Skill Tree Points
The Skill Tree above shows the full allocation of 83 Skill Points for the Barrage Rogue build. Leveling up grants 69 points. The remaining 14 points are gained from completing Renown for Eternal Players and Seasonal Ranks for Seasonal Players.
Once you have enough Energy sustain, swap ![]() Overflow to
Overflow to ![]() Shadow Dancer for enhanced survivability.
Shadow Dancer for enhanced survivability.
If you already have 100% Critical Strike Chance, switch the Critical Strike Chance modifier on ![]() Dash to Weaken.
Dash to Weaken.
Wondering what comes after Level 70? Head to the Paragon Board section to power up the build even further. If you want to see how everything plays out in combat, check out the Rotation and Playstyle section for a quick breakdown.
Rogue Class Mechanic – Specialization
Combo Points is the preferred Specialization when you have the 5-piece bonus from Nilfur’s Narrow Eye. The Set Charms automatically cast 3 Basic Attacks to apply the full benefit of Combo Points to ![]() Barrage, increasing its damage and arrows fired.
Barrage, increasing its damage and arrows fired.
If you do not yet have the completed set of 5 Nilfur’s Narrow Eye Set Charms, allocate Inner Sight as your Specialization to occasionally gain 25%[x] Critical Strike Damage.
Gear, Stats, Gems, and Runes
The following sections cover the important systems that are essential to improving the power of your character in the endgame of Diablo 4.
Legendary Aspects
Listed below are all the best-in-slot Aspects for the Barrage Rogue build. Salvage Legendary Items with higher Aspect values to unlock them in the Codex of Power, and then imprint them onto Legendary Items with the preferred affixes. For the best results, combine these Aspects with the ideal Stat Priorities.
For the second Aspect applied to an Amulet with Kullean Tuning Prism, beneficial options include  Aspect of Forward Momentum,
  Aspect of Biting Cold, and Aspect of Piercing Cold.
| Gear Slot | Name | Effect |
|---|---|---|
| Ranged Weapon (replaced by | Edgemaster’s Aspect | Skills deal up to x [40 – 60%] increased damage based on your available Primary Resource when cast, receiving the maximum benefit while you have full Primary Resource. |
| Amulet (+50% bonus effect) | Aspect of Frozen Memories | Cold damage deals x [30 – 45%] increased Damage to Chilled enemies. This bonus is tripled against Frozen enemies. |
| Dual-Wielded Weapon Slot #1 | Aspect of Imitated Imbuement | You Shadow Clones and Shades also mimic the Imbuements applied to your Skills. Casting an Imbuement Skill increases your Non-physical damage by x [40 – 60%] increased damage for 9 seconds. |
| Dual-Wielded Weapon Slot #2 ( | High Velocity Aspect | Marksman Skills deal x [40 – 55%] increased damage. This bonus increases to x [58 – 80%] against Healthy enemies. |
| Gloves | Shivering Aspect | Enemies take up to x [60 – 90%] increased damage based on how much Chilled or Staggered they have built up. |
| Ring Slot #1 |  Aspect of the Orange Herald Aspect of the Orange Herald | Cast Core Skill damage reduces the Cooldown of one of your Skills by [0.7 – 1] second. |
| Ring Slot #2 (replaced by | Vanquishing Aspect | You deal x [60 – 90%] more damage to Incapacitated enemies. |
| Helm (replaced by |  Aspect of Debilitating Toxins Aspect of Debilitating Toxins | You gain [20 – 30%] Damage Reduction, and Poisoned enemies deal 15% less damage to you. Note: Poison is not utilized in this build. |
| Chest (replaced by | Aspect of Might | Basic Skills grant [20 – 30%] Damage Reduction for 4 seconds. |
| Pants | Aspect of Heavenly Strength | While wielding a Two-Handed Weapon, gain [30 – 40%] Damage Reduction. |
| Boots | Aspect of Forward Momentum | You Knock Back and Pull effects grant you x [25 – 35%] Movement Speed for 4 seconds. |
Stat Priority and Tempering Affixes
Listed below are the affixes to prioritize on gear for Barrage Rogues, ranked by importance. Affixes on the same line have equal value, so attempt to obtain all affixes in each line before moving on to the next.
Ensure you apply a Tempering affix to your endgame items. If you have a surplus of crafting materials, reroll Tempering affixes on your best items until they upgrade to a Greater Affix.
Capstone Bonuses are granted after Masterworking 25% Quality and can be re-rolled for a cost. Any priority affixes worth boosting are denoted below. For more details, check the Tempering and Masterworking guides.
↑ Back to Legendary Gear Table
| Slot | Gear Affixes | Tempering Affixes |
|---|---|---|
| Ranged Weapon | 1. 2. Dexterity, Maximum Life, Cold Damage Multiplier, All Damage Multiplier, Weapon Damage 3. Resource Cost Reduction, Lucky Hit Chance to Restore Primary Resource | Weapon: |
| Dual-Wielded Weapons | The Dual-Wielded Weapons are not used in any attacks, so their DPS does not matter. 1. 2. Dexterity, Maximum Life, Cold Damage Multiplier, All Damage Multiplier 3. Resource Cost Reduction, Lucky Hit Chance to Restore Primary Resource | Weapon: |
| Helm | 1. 2. Dexterity, Maximum Life, Resistances, Armor | Defensive: Maximum Life |
| Chest | 1. Resource Cost Reduction 2. Intelligence, Maximum Life, Resistances, Armor | Defensive: Maximum Life |
| Gloves | 1. 2. Vulnerable Damage Multiplier, Cold Damage Multiplier 3. Dexterity, Maximum Life, Resistances, Armor | Offensive: Critical Strike Damage |
| Pants | 1. Dexterity, Maximum Life, Resistances, Armor | Defensive: Maximum Life |
| Boots | 1. Movement Speed 2. Dexterity, Maximum Life, Resistances, Armor | Mobility: Movement Speed |
| Amulet | 1. 2. Vulnerable Damage Multiplier, Cold Damage Multiplier | Resource: |
| Rings | 1. 2. Vulnerable Damage Multiplier, Cold Damage Multiplier | Resource: |
Uniques and Mythic Uniques
Listed below are the recommended and optional Unique and Mythic Unique Items for the Barrage Rogue build. Each item description includes the most important affix to target for Masterworking upgrades. Check the Mythic Unique Items Guide for information on target-farming them.
 Windforce (recommended) provides a massive damage multiplier and knockdown.
 - Masterworking Priority: Chance for Barrage Projectiles to Cast Twice up to the 100% cap and then Ranks to Barrage
 Harlequin Crest (recommended) offers a good balance of offense, defense, and Cooldown Reduction.
 - Masterworking Priority: Maximum Life, Armor, or Cooldown Reduction
 Heir of Perdition (optional) is the best helm for damage output.
 - Masterworking Priority: Critical Strike Chance (up to 100% cap) or Ranks to Core Skills
 Ring of Starless Skies (recommended) is the best ring due to its offensive affixes, while solving any Mana issues with 50% Resource Cost Reduction.
 - Masterworking Priority: Critical Strike Chance, Attack Speed (up to 100% cap), or Ranks to Core Skills
 Azurewrath (recommended) explodes enemies that are Frozen by
  Cold Imbuement. A Legendary Weapon is easier to obtain/craft, so equip an Azurewrath Unique Charm to gain its power instead.
 - Masterworking Priority: Weapon Damage, Critical Strike Chance, or Attack Speed tempers (up to 100% cap)
 El’Druin, Sword of Justice (optional) can reduce your Skill Cooldown after defeating an Elite Pack, allowing you to replace Aspect of the Orange Herald with an Offensive Aspect to boost damage.
 - Masterworking Priority: Ranks to All Skills
 Tyrael’s Might (recommended) provides many beneficial defensive stats to enhance survivability. The divine barrage does not contribute any noticeable damage output.
 - Masterworking Priority: Damage Reduction
Gems and Runewords
Equip the corresponding Gems into your Weapon, Armor, and Jewelry slots.
| Weapon Gems | Armor Gems | Jewelry Gems |
|---|---|---|
Insert two sets of Runewords, consisting of a Rune of Ritual and a Rune of Invocation, into any equipped Helm, Chest, or Pants item. Add sockets to your equipment at the Jeweler if necessary. Check the Runewords Guide for more details.
| Runewords | Effects |
|---|---|
| Gain: 300 Offering — Cast 5 Skills then become exhausted for 3 seconds. Requires: 100 Offering, Cooldown: 5 Seconds — Gain +1 to Skills for 10 seconds. | |
| Gain: 10 Offering — Inflict a Crowd Control. Gain double offering if it isn’t a Slow or a Chill. Requires: 350 Offering, Cooldown: 3.5 Seconds — Replace your next Evade with the Sorcerer’s Teleport Skill, blinking further, dealing damage, and becoming Unstoppable. |
If you are not yet capped at 100% Critical Strike Chance, replace ![]() Jah with
Jah with ![]() Gar.
Gar.
Paragon Board
Use the following Paragon Boards, Legendary Nodes, and Glyphs for the Barrage Rogue.
Season 13 Mechanics
Season 13 does not offer a specific seasonal theme due to the release of the Lord of Hatred expansion. Many new features are available to explore, including War Plans, Talismans, Horadric Cube, Echoing Hatred, and reworked Skill Trees.
Talismans
The Lord of Hatred expansion introduces Talismans as a new character progression system. Equip a Seal and place Charms into its slots for a significant power boost. The ideal Talisman setup for the Barrage Rogue is listed below.
- Prioritize a Legendary Seal with a +1 Charm Slot affix to unlock a total of 6 Charm Slots.
- Insert all 5 pieces of Nilfur’s Narrow Eye Charm Set. Prioritize Charms with additional Ranks to Marksman Skills.
- Insert
 Azurewrath to shatter frozen enemies. If you have the Azurewrath Sword equipped, insert Condemnation for a damage boost instead.
Mercenaries
Once the Den is unlocked during the main questline in the Vessel of Hatred expansion, complete the key quests to acquire each Mercenary. Hire a Mercenary and enlist a Reinforcement in the following setup.
- Hired Mercenary: Subo
- Skills:
 Wire Trap,
  Piercing Arrows,
  Cover Fire,
  Opening Fire
- Skills:
- Reinforcement: Raheir
- Skill: Bastion
- Opportunity: Cast when the player casts
 Dark Shroud.
Build Mechanics
The Barrage Rogue is a Ranged Bow build featuring a simple playstyle that excels in all Diablo 4 activities. ![]() Barrage fires a spread of arrows to cover a wide area, hitting an entire group of enemies.
Barrage fires a spread of arrows to cover a wide area, hitting an entire group of enemies.
Combo Points grant ![]() Barrage a bonus to damage and additional arrows fired. Nilfur’s Narrow Eye Charm Set automatically triggers
Barrage a bonus to damage and additional arrows fired. Nilfur’s Narrow Eye Charm Set automatically triggers ![]() Heartseeker 3 times for every Barrage cast, so you do not need to manually generate Combo Points. A Basic Skill still needs to be cast every 4 seconds to maintain Vengeance stacks, but this setup greatly reduces the weaving that is usually necessary.
Heartseeker 3 times for every Barrage cast, so you do not need to manually generate Combo Points. A Basic Skill still needs to be cast every 4 seconds to maintain Vengeance stacks, but this setup greatly reduces the weaving that is usually necessary.
![]() Heartseeker gains a Cooldown with the
Heartseeker gains a Cooldown with the ![]() Confluence modifier, but a moderate amount of Cooldown Reduction and procs from Aspect of the Orange Herald allow it to be cast often enough.
Confluence modifier, but a moderate amount of Cooldown Reduction and procs from Aspect of the Orange Herald allow it to be cast often enough.
![]() Dark Shroud grants increased Movement Speed and a massive multiplier to Energy Regeneration with its modifiers. Shadow stacks are automatically refreshed by Nilfur’s Narrow Eye Charm Set, so you do not always need to cast Dark Shroud from the Skill Bar.
Dark Shroud grants increased Movement Speed and a massive multiplier to Energy Regeneration with its modifiers. Shadow stacks are automatically refreshed by Nilfur’s Narrow Eye Charm Set, so you do not always need to cast Dark Shroud from the Skill Bar.
![]() Cold Imbuement instantly Freezes enemies, applying massive damage multipliers from Aspect of Frozen Memories, Shivering Aspect, Vanquishing Aspect. Frozen enemies are shattered with
Cold Imbuement instantly Freezes enemies, applying massive damage multipliers from Aspect of Frozen Memories, Shivering Aspect, Vanquishing Aspect. Frozen enemies are shattered with ![]() Azurewrath to deal area damage.
Azurewrath to deal area damage.
![]() Shadow Clone supplements damage output and can be kept active with 100% uptime due to its Cooldown being rapidly reduced by Aspect of the Orange Herald.
Shadow Clone supplements damage output and can be kept active with 100% uptime due to its Cooldown being rapidly reduced by Aspect of the Orange Herald.
![]() Dash provides additional mobility and can be used to hit enemies, increasing their chance to be Critically Struck and knocking them down through its modifiers.
Dash provides additional mobility and can be used to hit enemies, increasing their chance to be Critically Struck and knocking them down through its modifiers.
Rotation and Playstyle
Use the following rotation to optimize the playstyle:
- Refresh Dark Shroud if you take a lot of hits. Do not spam Dark Shroud more often than necessary, as it causes Aspect of the Orange Herald to not reduce the Cooldown of
 Heartseeker and
  Shadow Clone as often.
 - Keep Shadow Clone active at all times.
- Cast
 Dash to traverse, or hit enemies with it to increase their chance to be Critically Struck and knock them down.
 - Build Vengeance stacks by casting Heartseeker and then maintain them every 4 seconds.
- Refresh Cold Imbuement constantly to Freeze enemies.
- Spam
 Barrage to deal damage. Stand close to tightly group enemies to maximize the number of enemies hit.
Season Updates
Patch notes for Season 13 have not been provided, as the Lord of Hatred expansion is a major overhaul to Skill Trees and class balance. For a complete overview of Season 13, take a look at the comprehensive season guide.
Changelog
- April 27th, 2026: Guide updated for Season 13 (Patch 3.0.0).
- March 7th, 2026: Guide updated for Season 12 (Patch 2.6.0).
- December 7th, 2025: Guide updated for Season 11 (Patch 2.5.0).
- September 21st, 2025: Guide updated for Season 10 (Patch 2.4.0).
- June 27th, 2025: Guide updated for Season 9 (Patch 2.3.0).
- April 26th, 2025: Guide updated for Season 8 (Patch 2.2.0).
