


Build Introduction
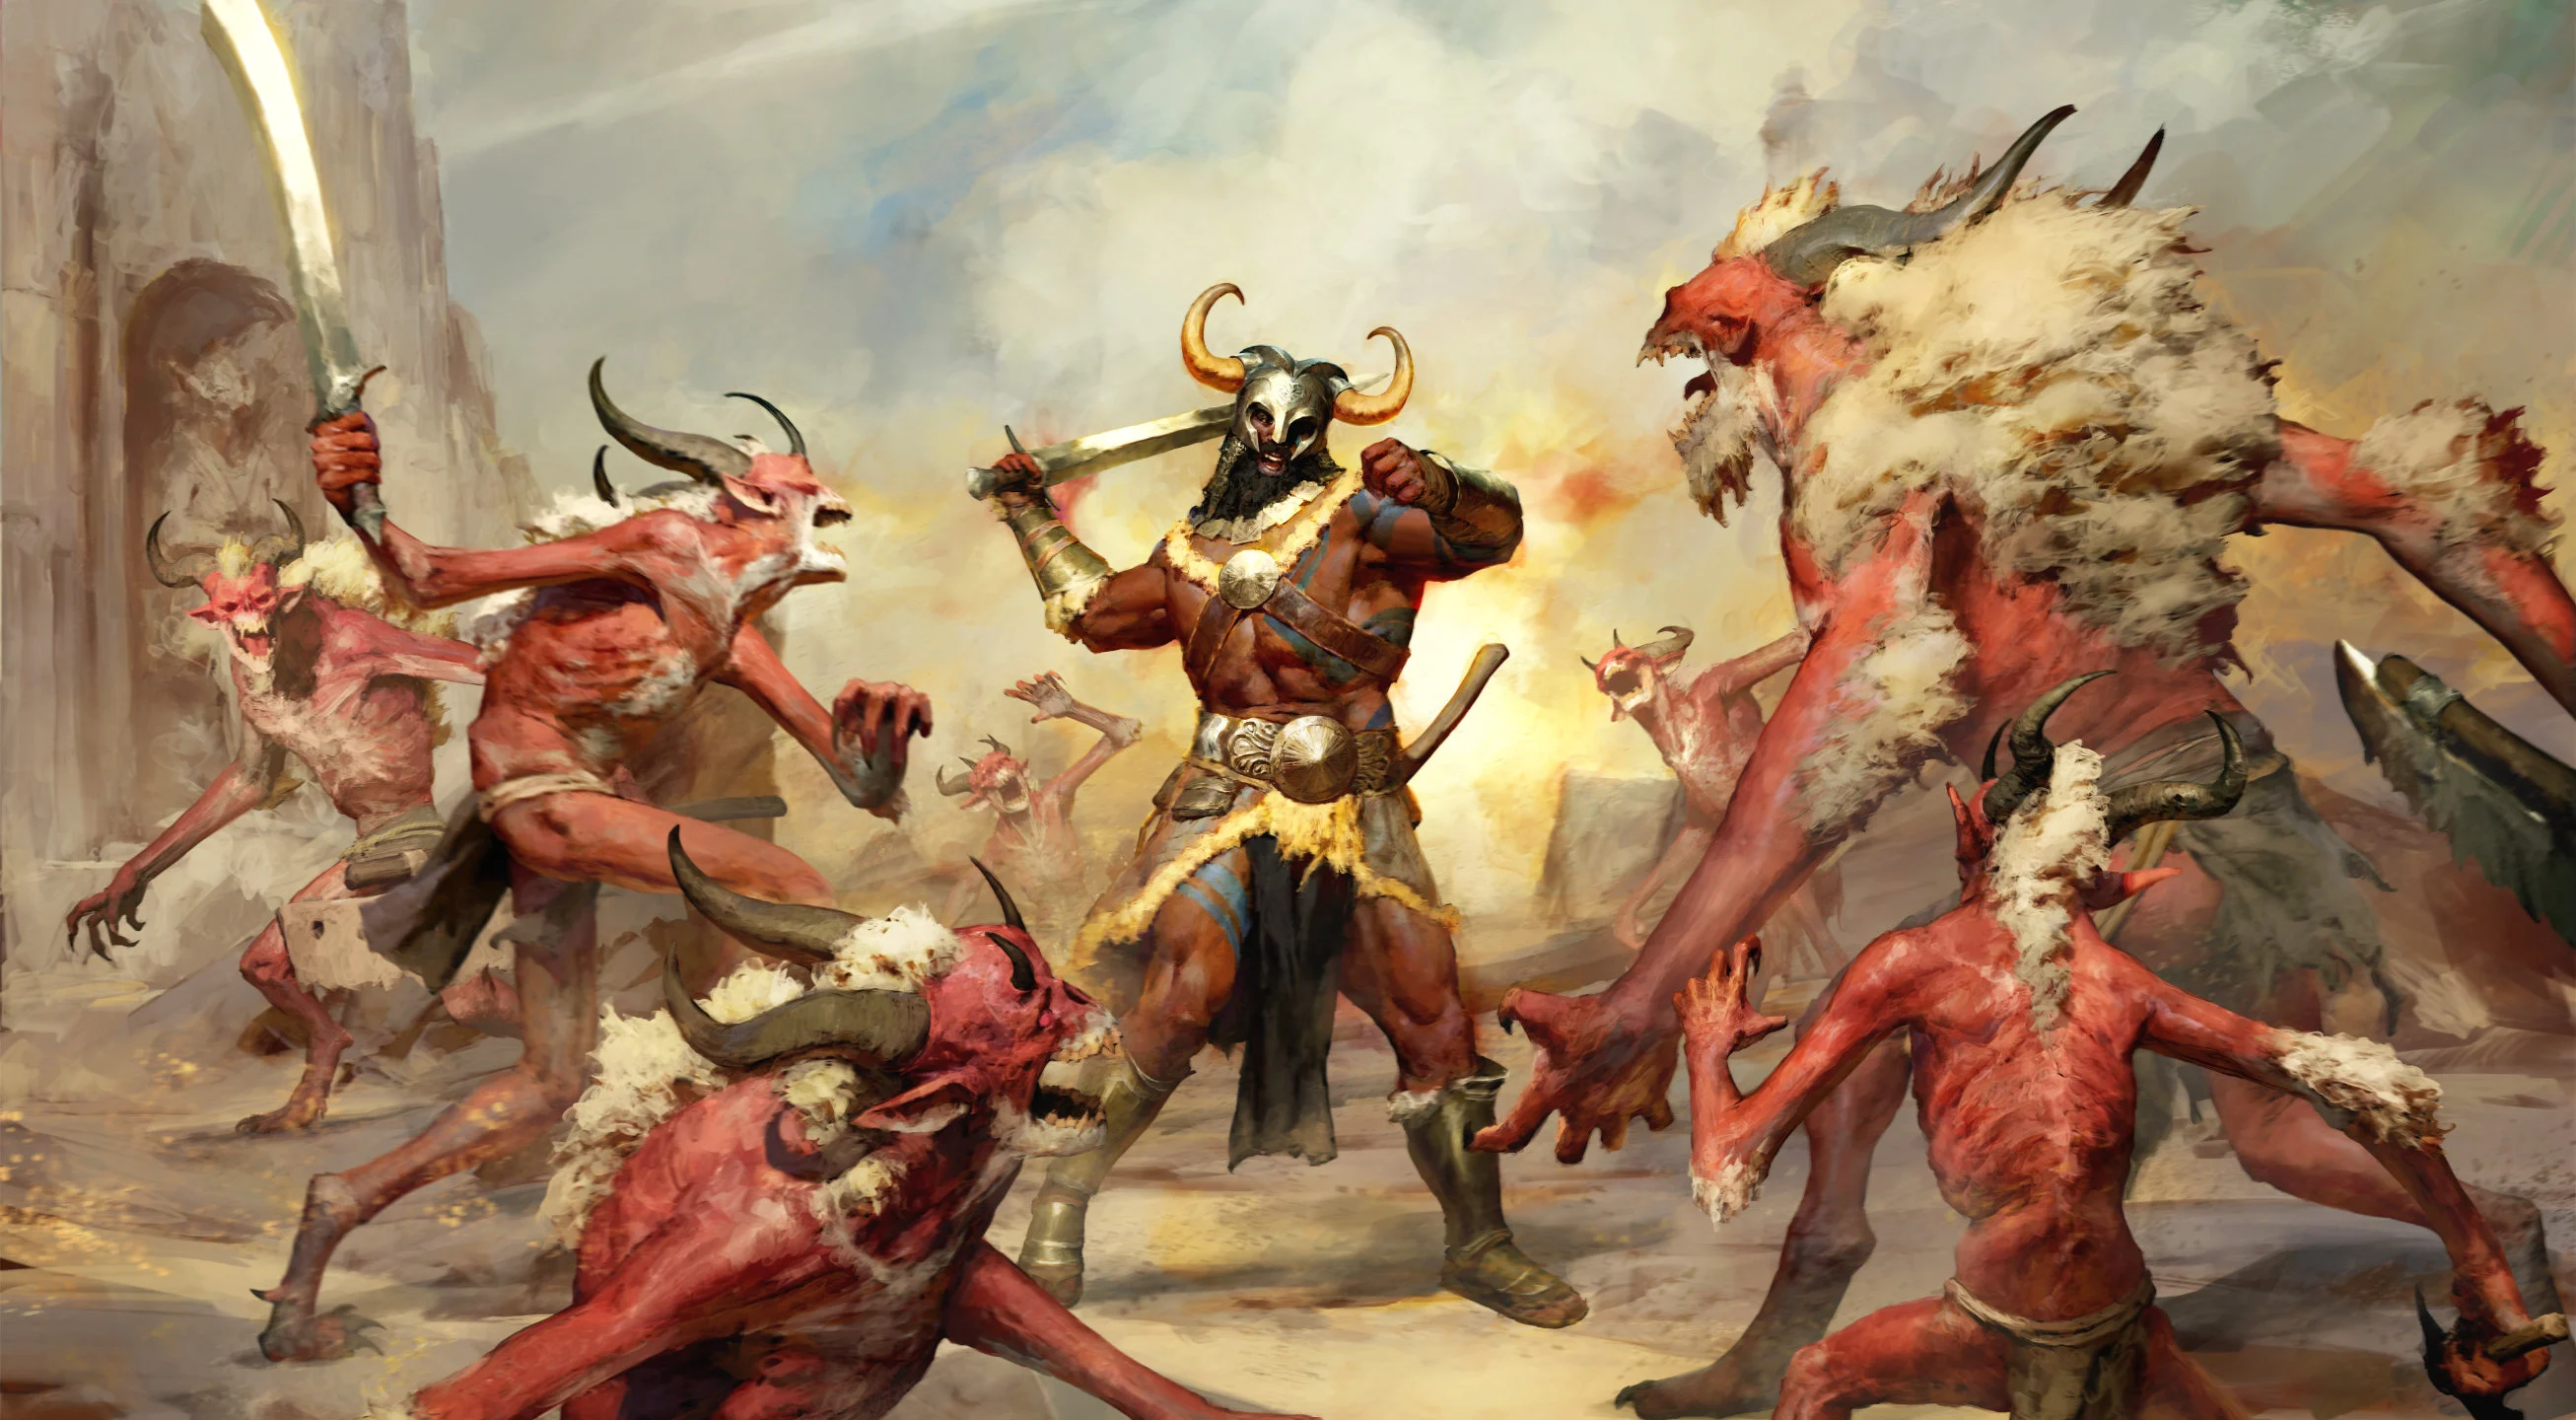
Welcome to the comprehensive endgame guide for the Dust Devil ![]() Double Swing Barbarian. This build utilizes high mobility, fast attacks, and screen-filling tornadoes to chop your way through The Pit, Uber Bosses, Nightmare Dungeons, and all other open-world content. We will walk you through everything you will need to cleave demons to bits and conjure powerful storms to clean up everything around you. With that in mind, let’s get rolling.
Double Swing Barbarian. This build utilizes high mobility, fast attacks, and screen-filling tornadoes to chop your way through The Pit, Uber Bosses, Nightmare Dungeons, and all other open-world content. We will walk you through everything you will need to cleave demons to bits and conjure powerful storms to clean up everything around you. With that in mind, let’s get rolling.
Strengths and Weaknesses
- High mobility/speed
- Screen clearing potential
- Lots of unstoppable for escaping CC
- Tons of damage potential
- More shout reliant gameplay
- Middling defensives outside of cooldowns
- Reliance on Tornadoes for damage over Double Swing
- Screen filling with storms can hinder visibility
Build Requirements
Quick Navigation
Want to skip ahead? Use the table below to jump to the sections you are looking for.
Skill Bar and Skill Tree Points
 Double Swing
  Wrath of the Berserker
  War Cry
  Rallying Cry
  Challenging Shout
  Leap
Leap Barbarian Class Mechanic – The Arsenal System
The Barbarian can wield four weapons simultaneously as well as choose a weapon expertise to use as their Technique allowing them to gain that weapon’s bonus even if they’re wielding another weapon type. Finally, the Barbarian can assign its skills to use different weapon types shuffling between Two-Handed Bludgeoning Weapons, Two-Handed Slashing Weapons, and Dual-Wield Weapons.
For this ![]() Double Swing build, we will be using Two-Handed Mace expertise for its Fury generation and additional Critical Strike Chance. Once you have
Double Swing build, we will be using Two-Handed Mace expertise for its Fury generation and additional Critical Strike Chance. Once you have ![]() Ring of Starless Skies you can swap to Polearm expertise for its damage bonus while healthy (above 80% life) as your resources will be less strained.
Ring of Starless Skies you can swap to Polearm expertise for its damage bonus while healthy (above 80% life) as your resources will be less strained.
For this build, we do not have to worry about weapon selection assignment. ![]() Double Swing must use your Dual-Wield weapons. Our other skills,
Double Swing must use your Dual-Wield weapons. Our other skills, ![]() Wrath of the Berserker,
Wrath of the Berserker, ![]() Rallying Cry,
Rallying Cry, ![]() Challenging Shout, and
Challenging Shout, and ![]() War Cry do not have weapon assignments.
War Cry do not have weapon assignments.
Gear, Stats, Gems, and Runes
The following sections will cover all systems that are critical if you want to improve the power of your character and move towards the highest difficulties in the endgame of Diablo 4.
Legendary Aspects
Below you will find all of the best-in-slot Aspects found on Legendary items that are important for this build. Remember that all Legendary powers can be added into your Codex of Power once you salvage or extract the item. You can still find some aspects through dungeons though they will always be at the minimum power level. To get the most out of this system, combine these Aspects with the right stats.
| Slot | Gems | Aspect / Unique | Aspect / Unique Power |
|---|---|---|---|
| Helm | When you gain Berserking while already Berserk, you become more enraged granting [40-50%]x increased damage, 6 Fury Per Second, and 10% Cooldown Reduction | ||
| Chest |  Aspect of Anger Management Aspect of Anger Management | While above 50 Primary Resource, deal [15-20%]x increased damage and gain Berserking but lose 3 Primary Resource Regeneration | |
| Gloves | N/A | Accelerating Aspect | Critical Strikes with Core Skills increase your Attack Speed by [30-50%]+ for 5 seconds |
| Pants |  Battle Fervor’s Aspect Battle Fervor’s Aspect | Brawling Skills grant Berserking for 5 seconds on their first hit. Gain [10-15%] Damage Reduction while Berserking | |
| Boots | N/A | Wildbolt Aspect | Every [3.5-1.5] seconds, Distant enemies are Pulled In to you and take 15%x increased damage from you for 3 seconds. This effect cannot occur while you are in Stealth |
| Amulet | Duelist’s Aspect | While using a One-Handed Weapon, your Attack Speed is increased by [30-50%]+ | |
| Ring 1 |  Aspect of Berserk Fury Aspect of Berserk Fury | You gain [7.0 – 11.0] Fury per second while Berserking | |
| Ring 2 | Aspect of Vocalized Empowerment | Your Shout skills generate [10 – 15] Primary Resource per second while active | |
| 2H Bludgeoning Weapon | OR | Heavy Hitting Aspect | Your skills that create Iron Shrapnel, Earthquakes, or Dust Devils deal [40-60%]x increased damage |
| 2H Slashing Weapon | OR | Crushing Aspect | While Fortified, you deal [45-65%]x increased damage |
| Dual Wield 1 | Skills using this weapon deal [0.2-0.5%] increased damage per point of Fury you have, but 10 Fury drains per second. | ||
| Dual Wield 2 | Vehement Brawler’s Aspect | Casting an Ultimate Skill increases your damage by [35-55%]x for 8 seconds. Gain 2 additional Ultimate Skill Ranks |
To see how this build compares to the other builds on our site, you can check out our build tier lists.
Stat Priority and Tempering Affixes
Below are the affixes to prioritize on gear. Each line of affixes is listed in order of importance. Tempering Manuals and their recommended affixes are provided in the second column, and the bolded yellow affixes are the most important targets for Masterworking upgrades. Be sure to check our Tempering and Masterworking guides for more details about these topics.
| Slot | Gear Affixes | Tempering Affixes |
|---|---|---|
| Helm | 1. Cooldown Reduction 2. Maximum Life 3. Strength 4. Armor | + Resistance to All Elements |
| Chest | 1. Maximum Life 2. Strength 3. Armor 4. Fury Generation | + Resistance to All Elements |
| Pants | 1. Maximum Life 2. Strength 3. Fury Generation 4. Armor | + Resistance to All Elements |
| Glove | 1. Critical Strike Chance 2. Attack Speed 3. Strength 4. Critical Strike Damage Multiplier | + Critical Strike Damage |
| Boots | 1. Movement Speed 2. Armor 3. Strength 4. Fury Generation | + Movement Speed |
| Amulet | 1. Attack Speed 2. Strength 3. Critical Strike Chance 4. Critical Strike Damage Multiplier | + Cooldown Reduction |
| Rings | 1. Critical Strike Chance 2. Critical Strike Damage Multiplier 3. Attack Speed 4. Strength | + Cooldown Reduction |
| 2H Bludgeoning Weapon | 1. Strength 2. Critical Strike Damage Multiplier 3. Vulnerable Damage Multiplier 4. Maximum Life | + Critical Strike Chance |
| 2H Slashing Weapon | 1. Strength 2. Critical Strike Damage Multiplier 3. Vulnerable Damage Multiplier 4. Maximum Life | + Critical Strike Chance |
| Dual Wield Weapons | 1. Weapon Damage 2. Critical Strike Damage Multiplier 3. Maximum Life 4. Strength | + Critical Strike Chance |
Uniques and Mythic Uniques
Below you will find information on Uniques and Mythic Uniques that are useful for this build. Moreover, if you are interested in target farming Mythic Uniques, check out our How to Farm Mythic Uniques guide.
Unique Items
Below you will find the useful uniques for this build.
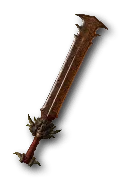 Ramaladni’s Magnum Opus – This extremely powerful sword allows us to stack resources to gain large damage increases to any skill. Since
  Double Swing must use our dual wield weapons, we’re forced to use this weapon which allows us to gain its benefits.
Mythic Uniques
Here are the useful mythic uniques for this build. If a mythic unique is NOT listed, it is not used by this build in any meaningful capacity.
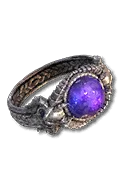 Ring of Starless Skies – Our Mythic Unique of choice should you be lucky enough to find one. If you do find it, you will replace the ring that uses Aspect of Vocalized Empowerment.
  The Grandfather – A powerful Mythic Unique two-handed sword. This will replace your Two-Handed slashing weapon.
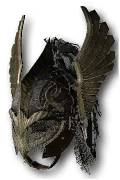 Heir of Perdition – The new helm on the block proves to be extremely powerful ,even more so than the famous “shako” above. If you acquire one equip it and enjoy the benefits it provides such as ranks to double swing, increased crit chance and lucky hit as well as a 60% damage multiplier that can go higher if you’re grouping with others wearing this item.
 Tyrael’s Might – The pound for pound best chest in the game returns to prominence in Vessel of Hatred. If you’re fortunate enough to run into this item, equip it over every other chest in the game. It’s massive toughness boost will allow you to push harder and harder content through sheer force of being able to survive whatever comes your way.
Gems and Runewords
Listed below are the best gems to socket into your items for each slot type
Gems
| Weapon Gems | Armor Gems | Jewelry Gems |
|---|---|---|
For your jewelry, you can freely swap between Diamonds and Skulls based on your needs. Armor and Resistances no longer have hard caps you need to hit to reach your defensive potential. Instead you can now freely swap the gems between them depending on what you need the most. Are you dying to physical strikes? Use Skulls for more armor. Are you dying to elemental abilities light lightning damage or poison pools? Use Diamonds for more resistances. Always be sure to check your Toughness stat and use what works best for you!
Runes
Runewords return from Diablo 2 in Vessel of Hatred! You are limited to two Runewords across your gear and it requires two sockets in the same item. So this limits creating Runewords by combining two Runes to either Helm, Chest, Pants, or Two-Handed Weapons. We generally recommend them in both of your Two-Handed Weapons for Barbarian. Let’s jump in.
| Rune Name | Rune Effects |
|---|---|
| Gain 25 Offering; Cast a Non-Channeled Core Skill | |
| Requires 25 Offering, Cooldown 1 second: Gain 2.5% critical strike chance for 5 seconds up to 10% | |
| Gain 25 Offering; Stores offering every 0.3 seconds. Cast a Non-Basic Skill to gain the stored offering | |
| Requires 300 Offering, Cooldown 1 Second: Invoke the Druid’s |
Paragon Board
We recommend using the following Legendary nodes and Rare Glyphs to truly take this build into the endgame. Note that each Rare Glyph’s information and radius listed below is for the Level 100 version. Keep in mind, Glyph’s reach their maximum radius at 46 and unlock their Legendary bonus at 45. Let’s take a look!
Season Mechanics
There are no specific seasonal mechanics in Season 13. Instead the Lord of Hatred expansion and all of its features are available to explore. These include:
- War Plans
- New Skill Trees
- Talisman Sets
- The Horadric Cube
- Echoing Hatred
For a full overview of Diablo 4’s latest expansion CLICK HERE!
Talisman
Lord of Hatred introduces Talisman Sets. The Talisman is a Seal and Charms are placed within. Charms have some general affixes from a limited pool and can have Set bonuses which can grant significant power.
For this build, we want to utilize the 5-piece set “Sescheron’s Fury” which grants us the following benefits:
- 2 Set: While at or above 100 Fury, you become Colossal, losing 50% Cast Speed but gaining 20% Character and Skill Size and 120%x increased damage
- 3 Set: You gain an additional 10 Fury when hit and 30% Maximum Life
- 5 Set: Your Maximum Fury is increased by 50. Colossal further increases Skill Size by 50% and damage to 600%x
For your Seal, you will want a Legendary Seal with 5 Charm Slots and ideally the affix “+1 Charm Slot” which will grant you access to a 6th charm slot for even more power. The other affix should be a bonus that is active with the Sescheron’s Fury set such as Damage Reduction While Berserking or Damage While Berserking.
For the final slot with a Seal that has +1 Charm Slot, we will add a Unique Charm. We will be utilizing Emblem of Staalbreak for its large damage boost while we’re berserking which we should be nearly constantly thanks to the combo of Aspect of Anger Management and Aspect of Berserk Fury.
Mercenaries
As you play through the campaign in Vessel of Hatred, you will unlock various NPC Mercenaries who can join you on your quest to slay demons. Each Mercenary has their own small talent tree that will give them bonuses and skills to help you. Additionally, you can assign a Mercenary that you don’t take with you as a reinforcement to jump in when you activate certain skills. Let’s take a look at how we want to set this up for this build.
We hire Varyana, the Berserker Crone:
- Core Skill:
 Cleave
 - Core Skill Passive:
 Hysteria
 - Iconic Skill:
 Bloodthirst
 - Iconic Skill Passive:
 Bloodlust
Our Reinforcement Mercenary will be Subo, The Drunken Archer:
- Opportunity Skill:
 War Cry
 - Reinforcement Skill:
 Trip Mines
Build Mechanics
Rotation and Playstyle
This build rushes in and shouts to begin spamming ![]() Double Swing which thanks to changes in Lord of Hatred has a ton more power than previously due to updates to the skill tree. We have some callbacks to the old dust devil setup with a choice node that grants us dust devils spawning from
Double Swing which thanks to changes in Lord of Hatred has a ton more power than previously due to updates to the skill tree. We have some callbacks to the old dust devil setup with a choice node that grants us dust devils spawning from ![]() Double Swing which adds even more clear potential and power to the build calling back to the older seasons.
Double Swing which adds even more clear potential and power to the build calling back to the older seasons.
Runeword Synergy
Let’s take a moment to review our runes and how they interact with this build
 Tam generates 25 Offering every time we cast a non-channeled core skill such as our main attack Double Swing
 Gar grants us a large amount of Critical Strike Chance making our double swings and dust devils hit even harder.
 Igni builds 25 Offering every 0.3 seconds and then when we cast a non-basic skill such as Double Swing or our Shout skills, we gain the stored offering.
 Que provides some defensive power with barrier generation allowing us more survival as we delve further into Torment tiers.
Season Updates
For a complete overview of Season 13, its mechanics and theme, new leveling activities, and other changes coming with the launch of Lord of Hatred, please check out our Season Hub!
The updates to Lord of Hatred bring this skill back to a power level not seen since Season 1 of Diablo 4 shortly after launch. We have powerful potent skills that grant this skill the lethal speed and cleave that it was always fun and engaging to play. With high berserk uptime and powerful swings and dust devils to help with clear this build is a powerhouse once more.
Obol Gambling
A final point on acquiring gear is using your Obols to target farm specific slots instead of randomly spending them on random drops. Similar to Kadala in Diablo 3, you can use Obol vendors in town to try and get what you’re missing. With the expansion when a level 70 Character spends Obols, all gear from that vendor will be 850 item power, the highest non-ancestral power allowing you to fill out gear with the affixes or Legendary Aspects you need while also having a small chance to grant Ancestral item power 900 gear.
Check out our Obol Gambling Tool Guide HERE.
Changelog
- May 2nd 2026: Skill recommendation updated
- April 22nd 2026: Build updated for Season 13 and Lord of Hatred
- March 5th 2026: Build updated for Season 12
- December 5th 2025: Build updated for Season 11
- September 20th 2025: Chaos Armors and Season 10 section updated
- September 17th 2025: Build updated for Season 10
- July 1st 2025: Runes updated and clarified, paragon boards updated
