Build Introduction
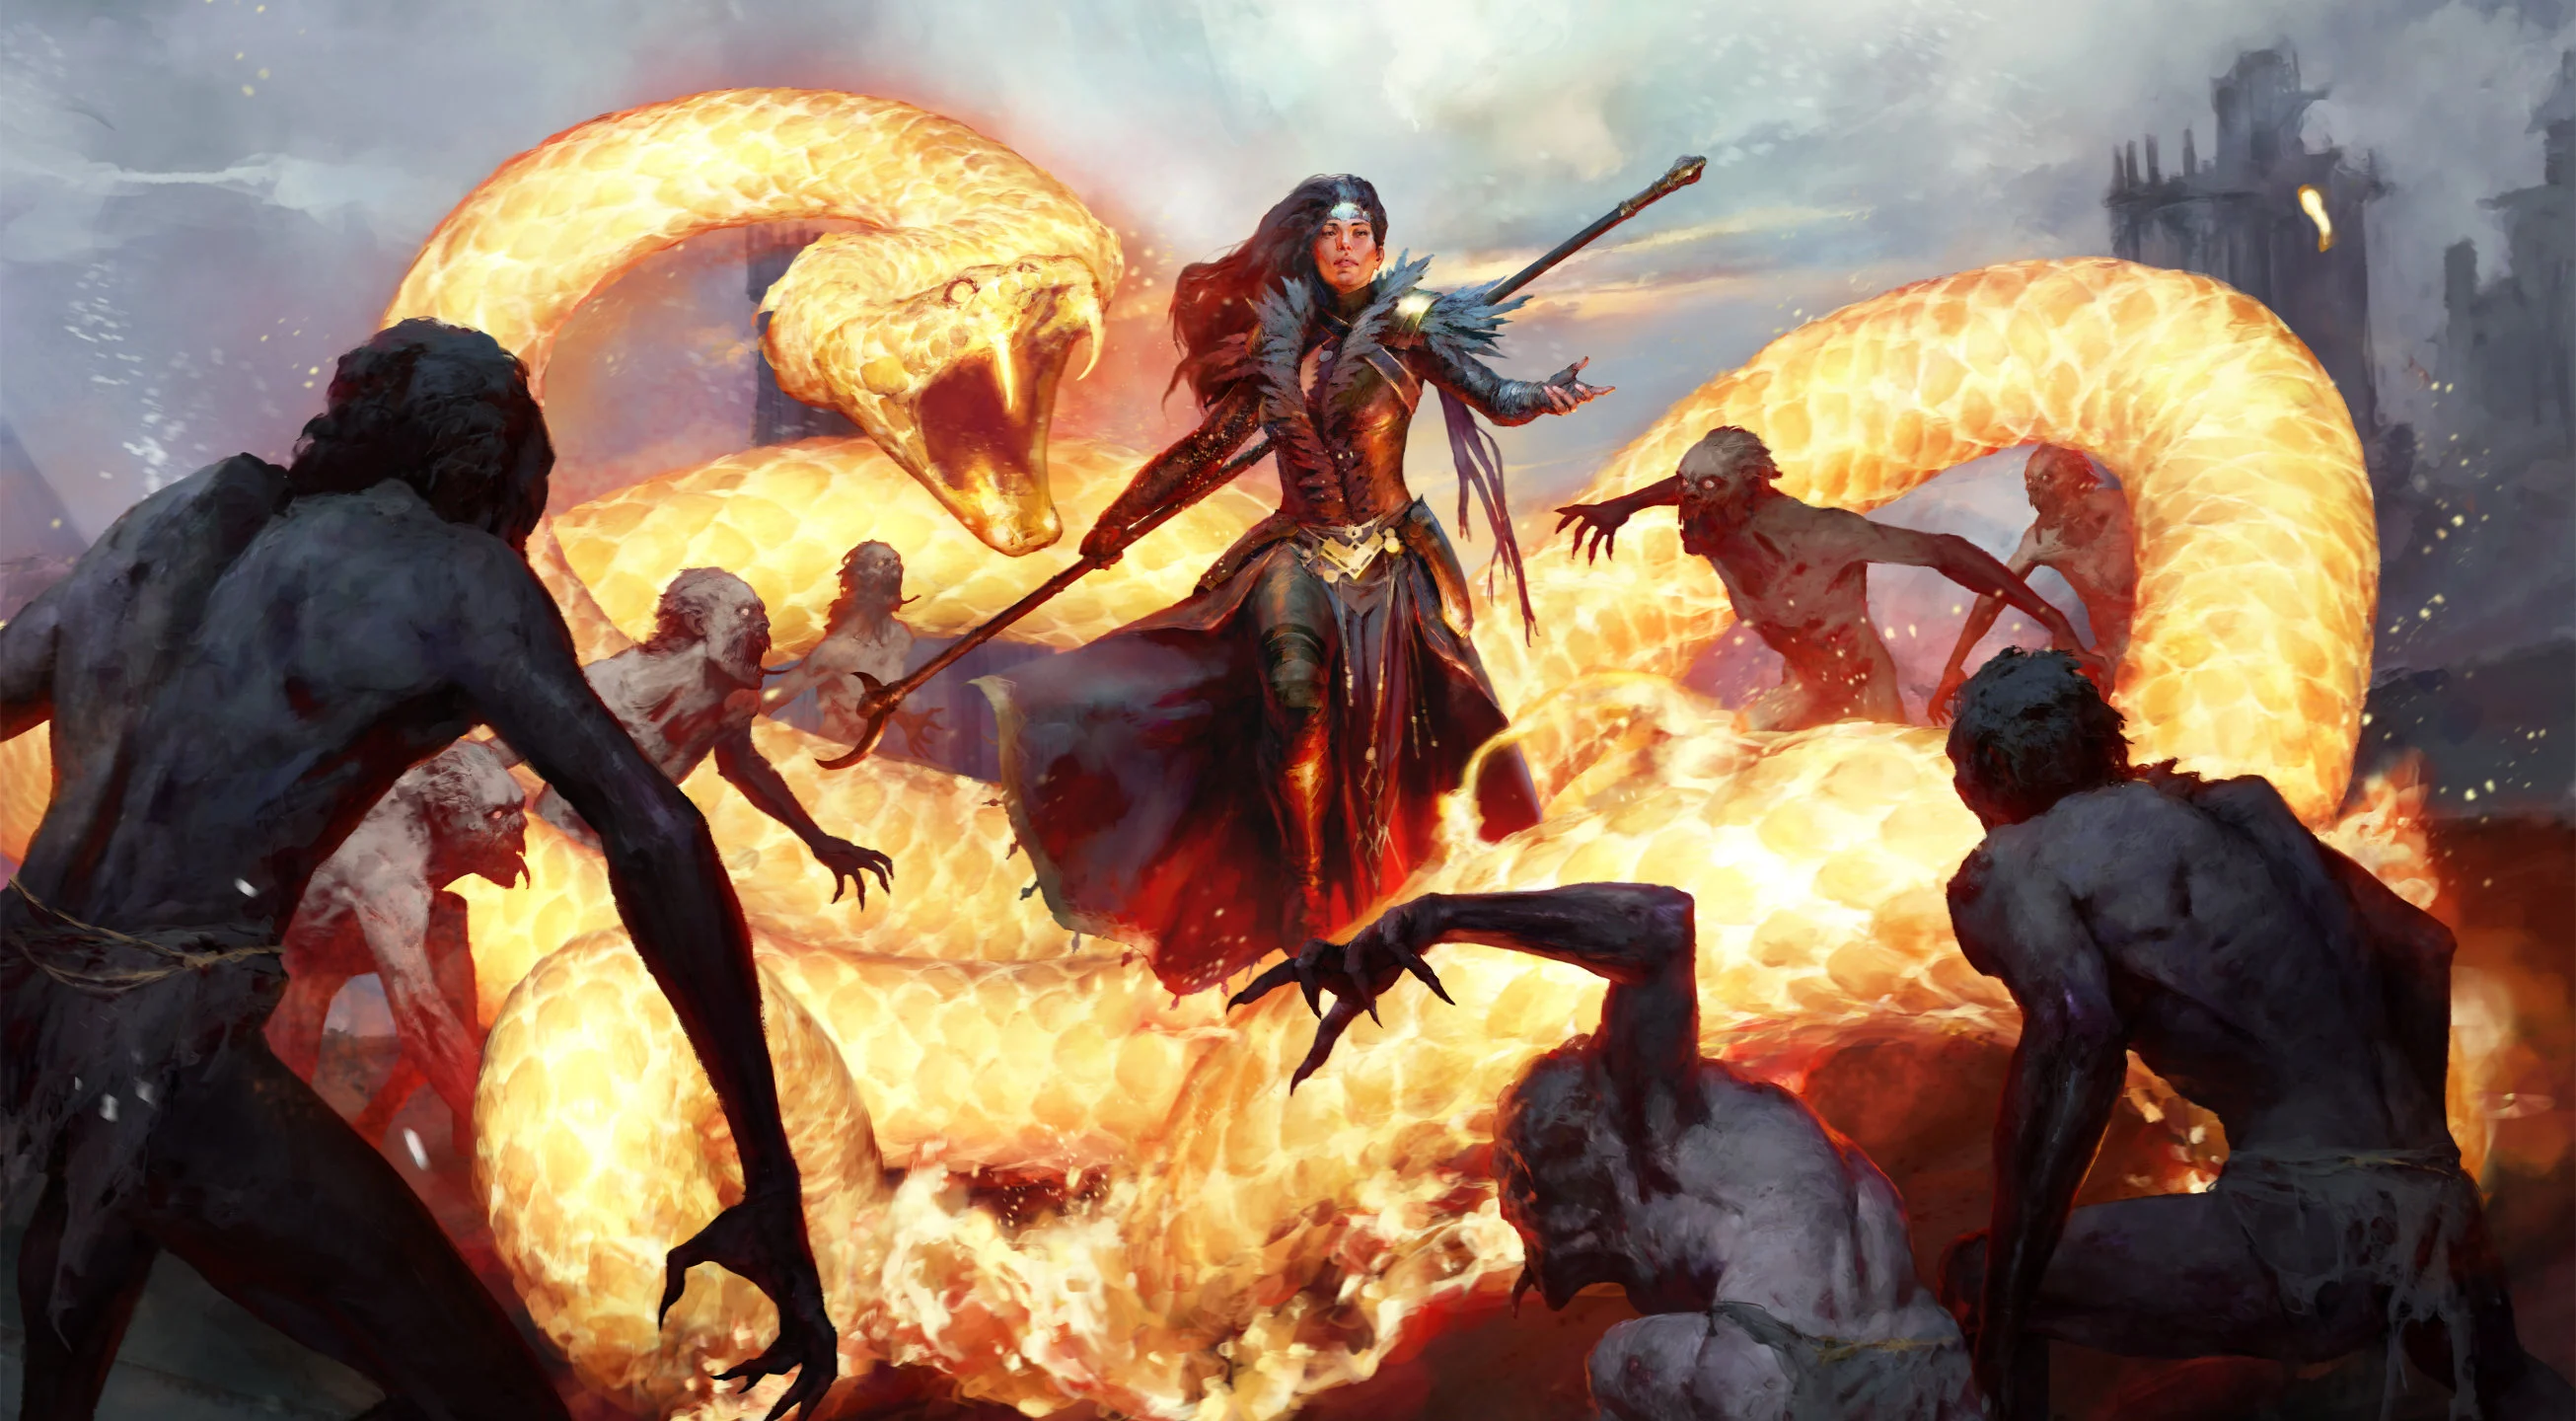
The Fireball Sorcerer explodes fiery projectiles to blow up every foe on the battlefield. ![]() Fireball explodes on enemies and triggers additional explosions from its Enchantment Effect when enemies die, causing a chain reaction that destroys entire groups of enemies.
Fireball explodes on enemies and triggers additional explosions from its Enchantment Effect when enemies die, causing a chain reaction that destroys entire groups of enemies.
Check the Sorcerer Leveling Guide Overview for a comparison of all the starter builds on Icy Veins.
Once your Sorcerer character reaches Level 70, switch to the Endgame Guide for the Fireball Sorcerer to continue this build.
Quick Navigation
Want to skip ahead? Use the table below to jump to sections.
Skill Bar and Skill Tree Points
The Skill Tree above shows the order in which to allocate your Skill Points in the Leveling Path. Leveling up grants 69 points. An extra 14 points are gained from completing Renown for Eternal Players and Seasonal Ranks for Seasonal Players. Allocate the extra points to gain additional Ranks to priority Skills faster, such as ![]() Fireball.
Fireball.
If you are unsure on how to use these Skills, read the Build Mechanics section after setting up your Skill Bar.
Wondering what comes after Level 70 or which Paragon boards to pick? Head to the Sorcerer Builds page and choose an endgame build to continue your character progression.
Sorcerer Class Mechanic — Enchantments
Sorcerer’s Specialization can be unlocked at Level 15. Complete the Legacy of the Magi questline as soon as possible to gain access to your first Enchantment Slot, and then assign  Fireball for additional explosions to clear groups of enemies.
When you unlock the second Enchantment Slot at Level 30, assign ![]() Frost Nova to automatically trigger it, applying Vulnerable to enemies and generating Mana through its modifiers.
Frost Nova to automatically trigger it, applying Vulnerable to enemies and generating Mana through its modifiers.
Gear, Stats, Gems, and Runes
The following sections cover the important systems that are essential to improving the power of your character during the leveling process. Higher Item Power generally indicates stronger gear, but you should also consider the affixes and effects that are relevant to your class and build.
Legendary Aspects
Legendary Aspects can be found on Legendary Items, which can be salvaged at the Blacksmith to unlock them in the Codex of Power for repeated imprinting onto your gear. Higher ranks for aspects are unlocked by salvaging Legendary Items with higher aspect values. Check the Aspect and Codex of Power guide for more general information.
Listed below are all the Aspects found on Legendary Items that are important for the Fireball Sorcerer leveling build. They are listed in order of priority, with the most beneficial at the top. For the best results, combine these Aspects with the ideal Stat Priorities. The best-in-slot Aspects list is in the Endgame Guide for the Fireball Sorcerer.
| Rank | Aspect Name | Legendary Aspect Power |
|---|---|---|
| 1 |  Cremator’s Aspect Cremator’s Aspect | While you have 4 or more Overpower, your Fire Skill Casts deal x [70 – 100%] increased damage. |
| 2 |  Aspect of the Untarnished Blaze Aspect of the Untarnished Blaze | While Healthy, your Pyromancy Skill deal x [50 – 70%] increased damage. |
| 3 |  Edgemaster’s Aspect Edgemaster’s Aspect | Skills deal up to x [40 – 60%] increased damage based on your available Primary Resource when cast, receiving the maximum benefit while you have full Primary Resource. |
| 4 |  Scornful Aspect Scornful Aspect | Your Pyromancy Skills deal x [40 – 60%] increased damage against Distant or Immobilized enemies. These bonuses can stack. |
| 5 |  Aspect of Heavenly Strength Aspect of Heavenly Strength | While wielding a Two-Handed Weapon, gain [30 – 40%] Damage Reduction. |
| 6 |  Aspect of Might Aspect of Might | Basic Skills grant [20 – 30%] Damage Reduction for 4 seconds. |
| 7 |  Prodigy’s Aspect Prodigy’s Aspect | Using a Cooldown grants you [20 – 30] Mana Regeneration for 4 seconds. |
| 8 |  Aspect of Slaughter Aspect of Slaughter | You gain + [30 – 45%] increased Movement Speed. Taking damage from Close enemies Slows you by 30% for 2 seconds. |
| 9 |  Aspect of Alacrity Aspect of Alacrity | Your Defensive and Mobility Skills gain [50 – 75%] Cooldown Rate while moving. |
| 10 |  Aspect of the Orange Herald Aspect of the Orange Herald | Cast Core Skill damage reduces the Cooldown of one of your Skills by [0.7 – 1] second. |
| 11 |  Aspect of Slaughter Aspect of Slaughter | You gain 20% Movement speed. Lose this bonus for [5 – 2] seconds after taking damage from a Close Enemy. |
| 12 |  Wind Striker Aspect Wind Striker Aspect | Critical Strikes grant + [30 – 50%] Movement Speed for 1 second, up to 6 seconds. |
Stat Priority and Tempering Affixes
Listed below are the affixes to prioritize on gear for Fireball Sorcerers during the early leveling process, ranked by importance. Affixes on the same line have equal value, so attempt to obtain all affixes in each line before moving on to the next.
Ensure you temper your best item upgrades regularly, as the extra affixes provide a significant advantage while leveling. Weapon and Offensive category tempers are especially powerful and can massively boost your damage output.
When comparing weapons with similar item levels, Two-Handed Staves are preferred over One-Handed Weapons for higher damage per hit while leveling.
The most beneficial tempering affixes while leveling are included below. The best-in-slot tempering affixes are available in the Endgame Guide for the Fireball Sorcerer. Check the Tempering Guide for more information on this system.
| Slot | Gear Affixes | Tempering Affixes |
|---|---|---|
| Staff | 1. Weapon Damage, Fire Damage Multiplier, All Damage Multiplier 2. Intelligence, Maximum Life 3. Resource Cost Reduction, Lucky Hit Chance to Restore Primary Resource | Weapon: Attack Speed |
| Helm | 1. Cooldown Reduction, Resource Cost Reduction 2. Intelligence, Maximum Life, Resistances, Armor | Defensive: Maximum Life |
| Chest | 1. Resource Cost Reduction 2. Intelligence, Maximum Life, Resistances, Armor | Defensive: Maximum Life |
| Gloves | 1. Ranks to Fireball 2. Attack Speed, Critical Strike Chance, Vulnerable Damage Multiplier, Fire Damage Multiplier 3. Intelligence, Maximum Life, Resistances, Armor | Offensive: Fire or Pyromancy Skill Damage |
| Pants | 1. Intelligence, Maximum Life, Resistances, Armor | Defensive: Maximum Life |
| Boots | 1. Movement Speed 2. Intelligence, Maximum Life, Resistances, Armor | Mobility: Movement Speed |
| Amulet | 1. Ranks to Pyromancy Skills 2. Attack Speed, Critical Strike Chance, Cooldown Reduction, Vulnerable Damage Multiplier, Fire Damage Multiplier, Movement Speed 3. Intelligence, Maximum Life, Resistances, Armor | Resource: Resource Cost Reduction or Cooldown Reduction |
| Rings | 1. Attack Speed, Critical Strike Chance, Cooldown Reduction, Vulnerable Damage Multiplier, Fire Damage Multiplier 2. Intelligence, Maximum Life, Resistances, Armor | Resource: Resource Cost Reduction or Cooldown Reduction |
↑ Back to Legendary Gear Table
Gems and Runewords
Equip the corresponding Gems into your Weapon, Armor, and Jewelry slots.
| Weapon Gems | Armor Gems | Jewelry Gems |
|---|---|---|
Runes are dropped after unlocking them during the Vessel of Hatred campaign. A Rune of Offering and a Rune of Invocation can be combined by inserting them into equipment with 2 available sockets, creating a Runeword. A limit of 2 Runewords can be equipped.
Listed below are the best Runewords utilizing Magic and Rare Runes that are beneficial for this build. The best-in-slot Runewords utilizing Legendary Runes are in the Endgame Guide for the Fireball Sorcerer.
| Runeword | Effect |
|---|---|
| Gain: 200 Offering — Deal damage after not taking any within 2 seconds. (Resets if Invulnerable.) Requires: 25 Offering, Cooldown: 1 Second — Gain 2% Critical Strike Chance for 5 seconds, up to 10%. | |
| Gain: 300 Offering — Cast 5 Skills then become exhausted for 3 seconds. Requires: 50 Offering, Cooldown: 1 Second — Gain 10% Movement Speed for 5 seconds, up to 50%. |
Season 13 Mechanics
Season 13 does not offer a specific seasonal theme due to the release of the Lord of Hatred expansion. Many new features are available to explore, including War Plans, Talismans, Horadric Cube, Echoing Hatred, and reworked Skill Trees.
Talismans
The Lord of Hatred expansion introduces Talismans as a new character progression system. Equip a Seal and place Charms into its slots for a significant power boost. A ranked list with the most beneficial stats is provided below. The ideal Talisman setup can be found in the Endgame Guide for the Fireball Sorcerer.
- Ranks to Pyromancy/Core Skills, Damage Multipliers, Attack Speed, Critical Strike Chance
- Cooldown Reduction, Movement Speed
- Maximum Life, Resistances, Armor
Mercenaries
Once the Den is unlocked during the main questline in the Vessel of Hatred expansion, complete the key quests to acquire each Mercenary. Hire a Mercenary and enlist a Reinforcement in the following setup.
- Hired Mercenary: Subo
- Skills:
 Wire Trap,
  Piercing Arrows,
  Cover Fire,
  Opening Fire
- Skills:
- Reinforcement: Raheir
- Skill: Bastion
- Opportunity: Cast when the player becomes Injured.
Build Mechanics
The Fireball Sorcerer leveling build is relatively simple to play due to the Core Skill doing the majority of the damage for both density clearing and single-target fights. ![]() Fireball deals devastating damage with area-of-effect explosions. Allocated Skill Points for Ranks to Fireball scale the damage of its cast projectiles and Enchantment Effect for a highly effective starting build.
Fireball deals devastating damage with area-of-effect explosions. Allocated Skill Points for Ranks to Fireball scale the damage of its cast projectiles and Enchantment Effect for a highly effective starting build.
![]() Fire Bolt generates Mana and Overpower through its modifiers. This Basic Skill is necessary to get started with the build, but fewer casts are needed as other sources of Mana Regeneration become available.
Fire Bolt generates Mana and Overpower through its modifiers. This Basic Skill is necessary to get started with the build, but fewer casts are needed as other sources of Mana Regeneration become available.
![]() Ice Armor grants a Barrier and, more importantly, generates Mana with the Resource Regeneration modifier.
Ice Armor grants a Barrier and, more importantly, generates Mana with the Resource Regeneration modifier.
![]() Frost Nova generates Mana and applies Vulnerable to enemies through its modifiers. The Skill can be cast from the Skill Bar or triggered through its Enchantment Effect, which activates often against groups of enemies due to its large coverage and decent Lucky Hit Chance.
Frost Nova generates Mana and applies Vulnerable to enemies through its modifiers. The Skill can be cast from the Skill Bar or triggered through its Enchantment Effect, which activates often against groups of enemies due to its large coverage and decent Lucky Hit Chance.
![]() Teleport is an effective Mobility Skill, especially with its Movement Speed and Wormhole modifiers. The Ferocity modifier grants 2 stacks of Ferocity when it hits an enemy.
Teleport is an effective Mobility Skill, especially with its Movement Speed and Wormhole modifiers. The Ferocity modifier grants 2 stacks of Ferocity when it hits an enemy.
![]() Inferno deals significant damage while grouping enemies up for
Inferno deals significant damage while grouping enemies up for ![]() Fireball explosions.
Fireball explosions.
Rotation and Playstyle
Use the following rotation to optimize the playstyle.
- Cast
 Teleport to traverse and/or hit an enemy with it to gain 2 Ferocity stacks.
 - Group up large groups of enemies with
 Inferno.
 - Cast
 Frost Nova to Freeze enemies and apply Vulnerable, if it is not already triggered by its Enchantment Effect.
 - Spam
 Fireball to deal damage.
 - Consistently refresh
 Ice Armor to gain a Barrier and increase Mana Regeneration.
 - Generate additional Mana and Overpower stacks with
 Fire Bolt when needed.
Season Updates
Patch notes for Season 13 have not been provided, as the Lord of Hatred expansion is a major overhaul to Skill Trees and class balance. For a complete overview of Season 13, take a look at the comprehensive season guide.
Difficulty and Endgame
Once you hit Level 70 with this build, tackle harder difficulties and more challenging endgame content. Make sure to pick one of our recommended endgame builds for Sorcerer to continue your journey! The endgame builds also cover the Paragon setup.
Changelog
- April 27th, 2026: Guide created for Season 13 (Patch 3.0.0).
- June 27, 2025: Guide updated for Season 9 (Patch 2.3.0).
- April 26, 2025: Guide updated for Season 8 (Patch 2.2.0).
- January 21, 2025: Guide updated for Season 7 (Patch 2.1.0).
- October 4, 2024: Guide updated for Season 6 (Patch 2.0.2).
- August 6, 2024: Guide updated for Season 5 (Patch 1.5.0).
- May 14, 2024: Guide updated for Season 4 (Patch 1.4.0).
- January 22, 2024: Guide updated for Season 3 (Patch 1.3.0).
- October 17, 2023: Guide updated for Season 2 (Patch 1.2.0).
- August 7, 2023: Guide created for Season 1 (Patch 1.1.1).
