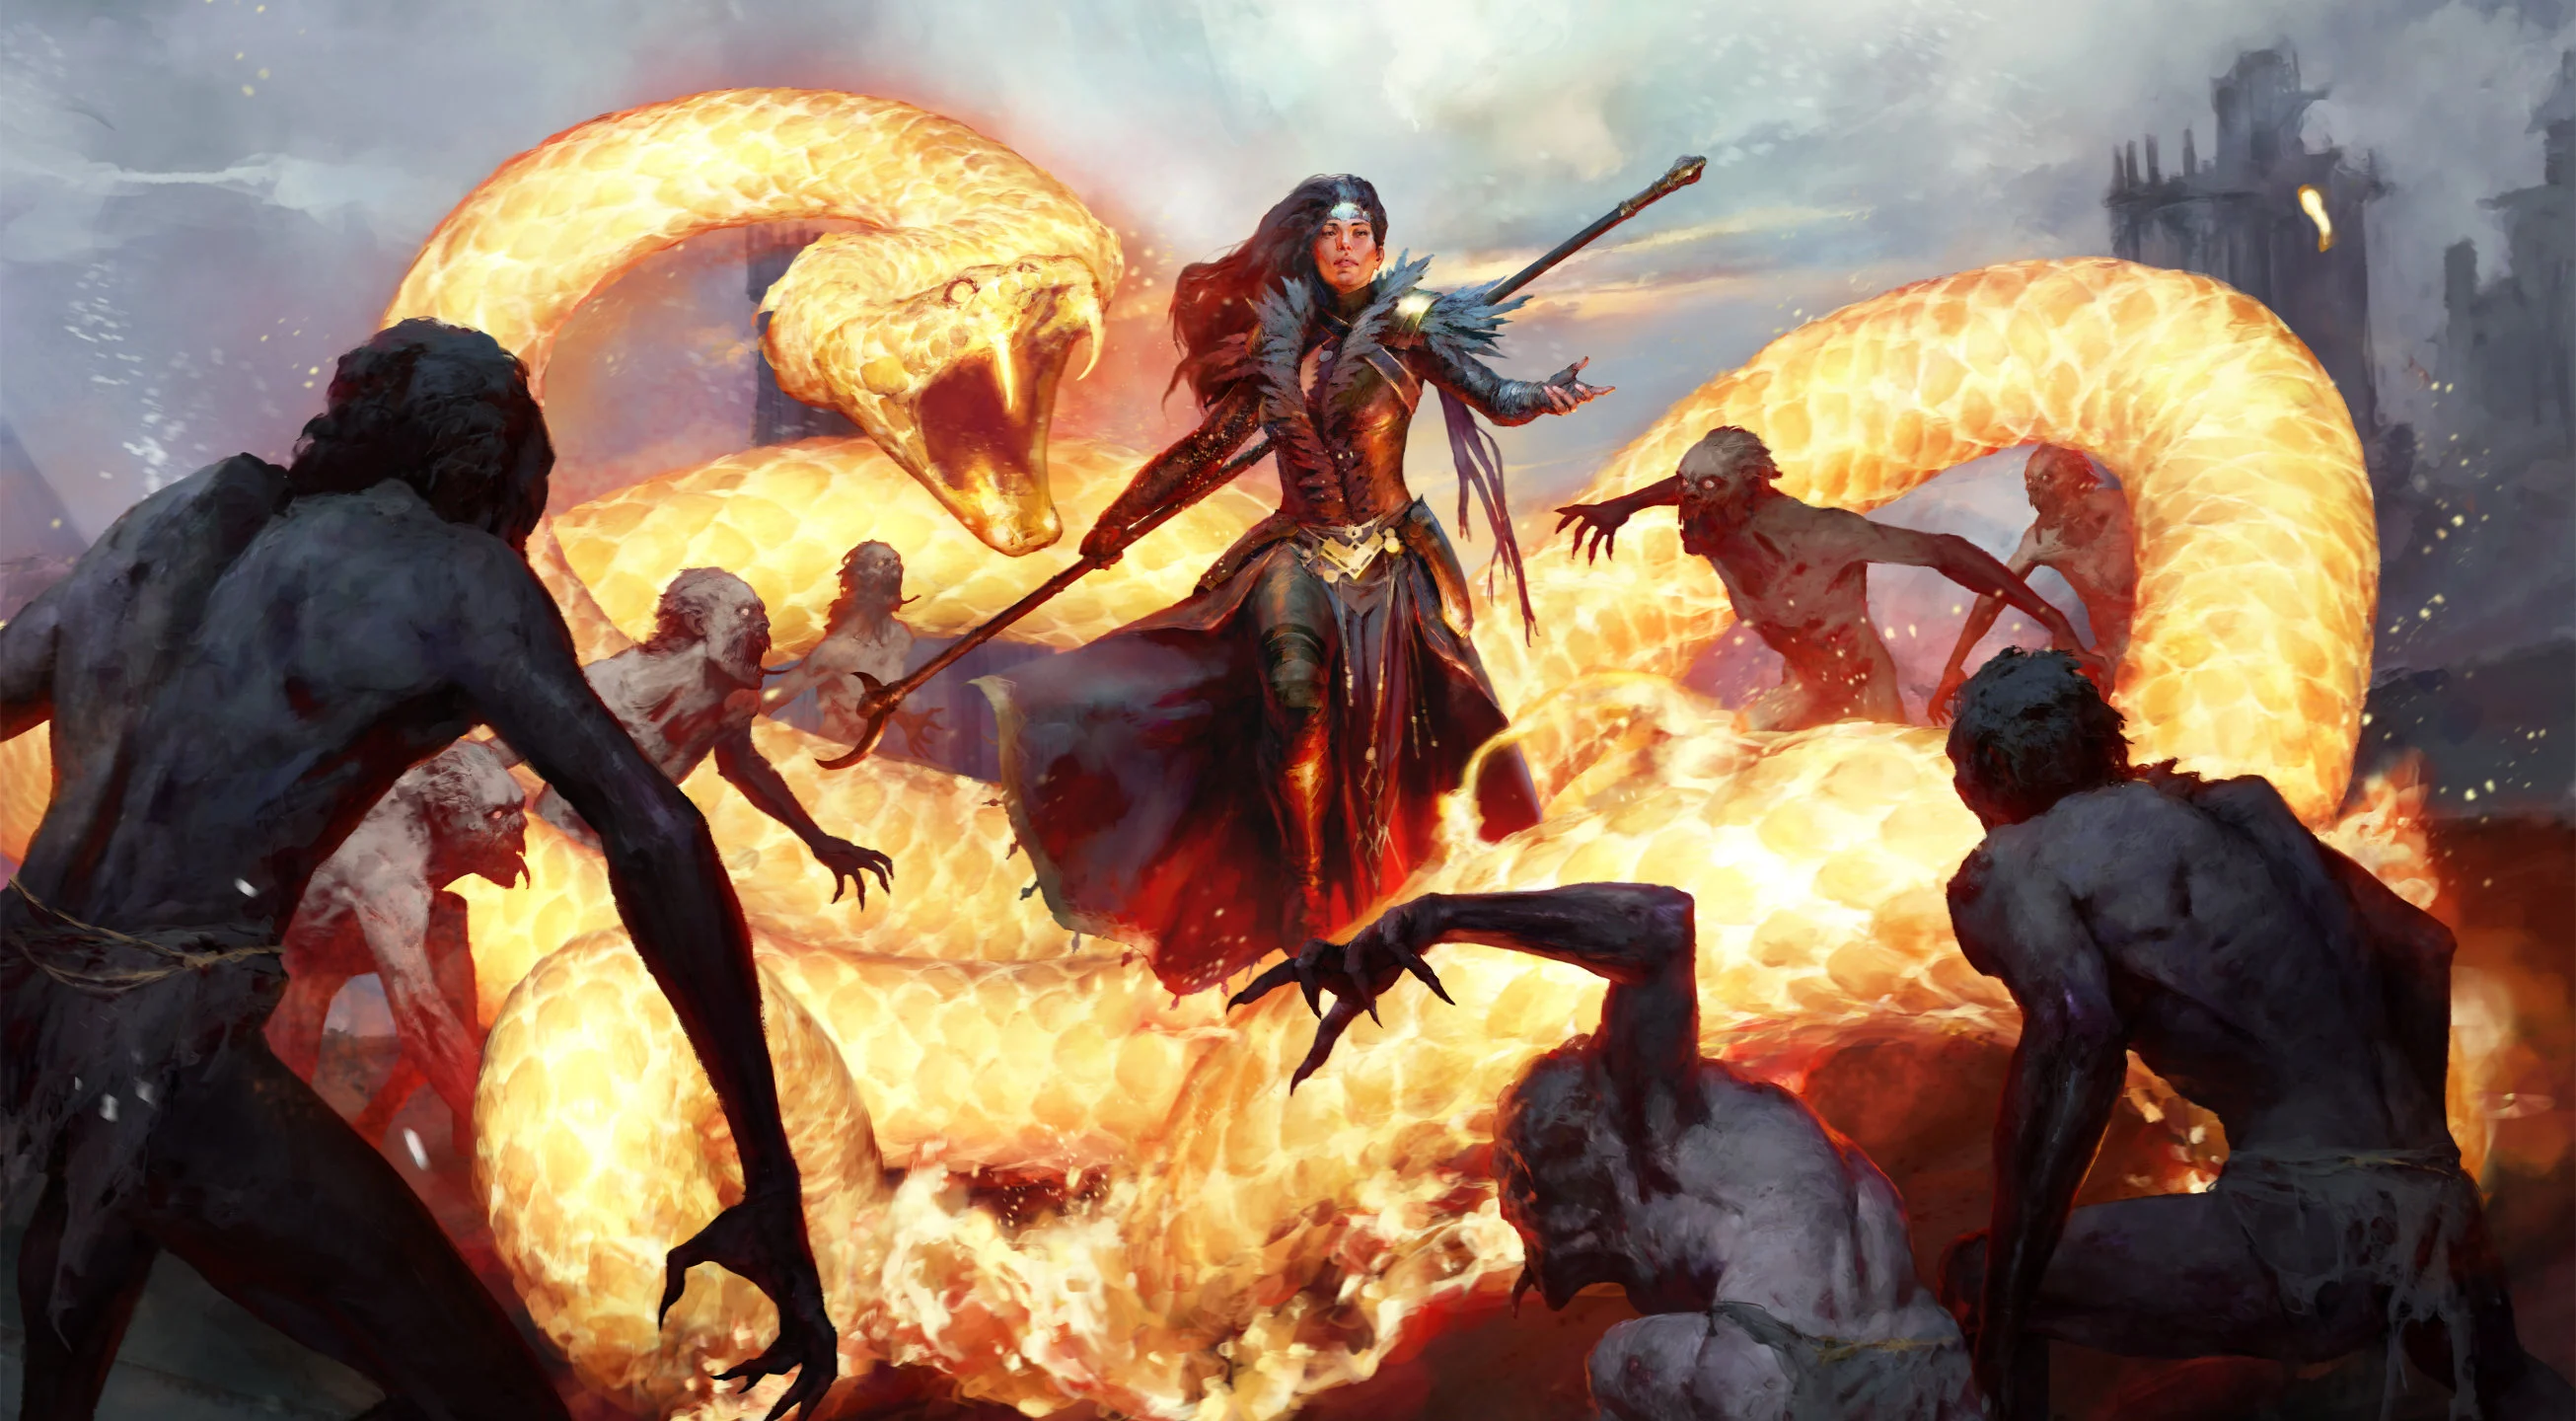
Build Introduction
The ![]() Frozen Orb Sorcerer features a hybrid-skill setup utilizing
Frozen Orb Sorcerer features a hybrid-skill setup utilizing ![]() Fractured Winterglass. Frozen Orb is cast to summon
Fractured Winterglass. Frozen Orb is cast to summon ![]() Lightning Spear as the primary source of damage output. The alternating elemental casts quickly stack
Lightning Spear as the primary source of damage output. The alternating elemental casts quickly stack ![]() Enlightenment to enhance this starter endgame build.
Enlightenment to enhance this starter endgame build.
A more advanced version of the build is recommended once you obtain ![]() Harlequin Crest and
Harlequin Crest and ![]() Ring of Starless Skies. Follow the Lightning Spear Sorcerer Build Guide when you have the required Mythic Unique Items.
Ring of Starless Skies. Follow the Lightning Spear Sorcerer Build Guide when you have the required Mythic Unique Items.
This endgame guide assumes your Sorcerer character is Level 60 and meets all the Build Requirements. Follow the Sorcerer Leveling Guide for help getting there.
Check the build tier lists to see how this build compares to others on Icy Veins.
Strengths and Weaknesses
- High sustained damage
- Full screen clearing
- Fast movement and dungeon clearing
- Multiple Defensive Skills for survivability
- Damage takes time to ramp up
- Damage partially reliant on Crowd Controlled enemies or Staggered bosses
- Requires proper Mana and Cooldown management
- Lacks survivability when Defensive Skills or Crowd Controls are inactive
Build Requirements
The Frozen Orb Sorcerer is a highly specialized build for the late endgame of Diablo 4, and it does not function without the proper investment. Make sure you prepare the necessary list below before attempting this build.
 Aspect of Splintering Energy
 Fractured Winterglass, which can be target-farmed from Lord Zir.
- An
 Aspect of Splintering Energy with a high Rank unlocked in the Codex of Power.
 - High-value Cooldown Reduction affixes, preferably with Greater Affixes and Masterworking bonuses, on a
 Tal Rasha’s Iridescent Loop and a Legendary Helm (or
  Harlequin Crest).
Quick Navigation
Want to skip ahead? Use the table below to jump to sections.
Skill Bar and Skill Tree Points
The Skill Tree above shows the full allocation of 71 Skill Points for the Frozen Orb Sorceress build. Make sure you obtain the 12 Skill Points available from Renown.
![]() Arc Lash is only allocated as a prerequisite to unlock the next Skill cluster. Do not equip it on the Skill Bar.
Arc Lash is only allocated as a prerequisite to unlock the next Skill cluster. Do not equip it on the Skill Bar.
![]() Hoarfrost is activated by the
Hoarfrost is activated by the ![]() Igni
Igni ![]() Thul runeword. It is also always active against Staggered Bosses, because they count as being affected by all crowd control types.
Thul runeword. It is also always active against Staggered Bosses, because they count as being affected by all crowd control types.
Wondering what comes after Level 60? Head to the Paragon Board section to power up the build even further. If you want to see how everything plays out in combat, check out the Rotation and Playstyle section for a quick breakdown.
Sorcerer Class Mechanic – Enchantments
Slot ![]() Familiar in the first Enchantment Slot to spawn additional conjurations.
Familiar in the first Enchantment Slot to spawn additional conjurations.
Slot ![]() Teleport in the second Enchantment Slot to traverse faster.
Teleport in the second Enchantment Slot to traverse faster.
Gear, Stats, Gems, and Runes
The following sections cover the important systems that are essential to improving the power of your character in the endgame of Diablo 4.
Legendary Aspects
Listed below are all the best-in-slot Aspects for the Frozen Orb Sorcerer build. Salvage Legendary Items with higher Aspect values to unlock them in the Codex of Power, and then imprint them onto Legendary Items with the preferred affixes. For the best results, combine these Aspects with the ideal Stat Priorities.
Do not use  Elementalist’s Aspect, as the Critical Strike Chance increase does not work with
 ![]() Frozen Orb procs from
Frozen Orb procs from ![]() Fractured Winterglass.
Fractured Winterglass.
| Gear Slot | Name | Effect |
|---|---|---|
| Amulet | Casting Frozen Orb has a [35 – 65%] chance to spawn a random Conjuration on your Action Bar when it explodes. Lucky Hit: Your Conjurations have up to a [50 – 90%] chance to launch a Frozen Orb at Nearby enemies. | |
| Staff |  Aspect of Splintering Energy Aspect of Splintering Energy | Critical Hits with Lightning Spear cause the spear to arc to the target and up to 5 other enemies, dealing x60% of normal damage. Lightning Spear deals x [20 – 40%] increased damage. |
| Ring Slot #1 (replaced by |  Conceited Aspect Conceited Aspect | Deal x [10 – 30%] increased damage while you have a Barrier active. |
| Ring Slot #2 (replaced by |  Storm Swell Aspect Storm Swell Aspect | You deal x [15 – 35%] increased damage while Ice Armor is active. This amount is increased by another 15% against Frozen enemies. |
| Gloves (replaced by |  Aspect of Shredding Blades Aspect of Shredding Blades | Ice Blades’ chance to apply Vulnerable is increased by 20% and the Vulnerable duration is increased by 4 seconds. You gain x [15 – 35%] Vulnerable Damage. |
| Helm (replaced by |  Everliving Aspect Everliving Aspect | You take [20 – 25%] less damage from Crowd Controlled or Vulnerable enemies. |
| Chest (replaced by |  Snowveiled Aspect Snowveiled Aspect | Ice armor makes you unstoppable and grants you 25% Damage Reduction for [3.5 – 5.5] seconds. |
| Pants (replaced by |  Aspect of Concentration Aspect of Concentration | Casting a Conjuration Skill grants you [15 – 25%] Damage Reduction for 5 seconds. |
| Boots |  Aspect of the Bounding Conduit Aspect of the Bounding Conduit | Teleport’s Cooldown is reduced by [1.0 – 2.5] seconds. After Teleporting, Crackling Energy hits 2 additional enemies for 5 seconds. |
Stat Priority and Tempering Affixes
Listed below are the affixes to prioritize on gear for Frozen Orb Sorcerers, ranked by importance. Affixes on the same line have equal value, so attempt to obtain all affixes in each line before moving on to the next. Bolded affixes are the most important targets for Masterworking upgrades. For more details, check the Tempering and Masterworking guides.
Prioritize capping Armor at 1,000 and all Resistances at 75%. Be aware of the increasing penalties to Armor and Resistances as you progress through Torment difficulties.
↑ Back to Legendary Gear Table
| Slot | Gear Affixes | Tempering Affixes |
|---|---|---|
| Staff | 1. Critical Strike Damage, Maximum Life, Intelligence | |
| Helm | 1. Cooldown Reduction 2. Any uncapped Resistances or Armor 3. Maximum Life, Intelligence | |
| Chest | 1. Ranks to Defensive Skills 2. Any uncapped Resistances or Armor 3. Maximum Life, Intelligence | |
| Gloves | 1. Critical Strike Damage 2. Critical Strike Chance, Attack Speed 3. Maximum Life, Intelligence | |
| Pants | 1. Any uncapped Resistances or Armor 2. Maximum Life, Intelligence | |
| Boots | Implicit Stat: Attacks Reduce Evade’s Cooldown 1. Movement Speed 2. Any uncapped Resistances or Armor 3. Maximum Life, Intelligence | |
| Amulet | Masterworking Priority: Ranks to Primordial Binding | |
| Rings | 1. Critical Strike Damage 2. Critical Strike Chance, Attack Speed 3. Resource Cost Reduction, Intelligence, Maximum Life |
Uniques and Mythic Uniques
Listed below are the required and recommend Unique and Mythic Unique Items for the Frozen Orb Sorcerer build. Each item description includes the most important affix to target for Masterworking upgrades. Check the Mythic Unique Items Guide for information on target-farming them.
 Fractured Winterglass (required) activates and reduces the Cooldown of
  Lightning Spear when
  Frozen Orb is cast to deal more damage and stack
  Primordial Binding.
 - Masterworking Priority: Ranks to Primordial Binding
 Sidhe Bindings (recommended) can grant a massive damage increase if a Greater Affix and Masterworking Bonuses are applied to Ranks to
  Primordial Binding.
 - Masterworking Priority: Ranks to Primordial Binding
 Harlequin Crest (recommended) provides a boosted Cooldown Reduction affix that is essential for this build.
 - Masterworking Priority: Cooldown Reduction
 Tal Rasha’s Iridescent Loop (recommended) provides up to a 75% damage multiplier with 3 elemental stacks.
 - Masterworking Priority: Cooldown Reduction
 Raiment of the Infinite (recommended) enables the Telestomp playstyle to vortex and Stun enemies.
 - Masterworking Priority: Ranks to
 Glass Cannon
- Masterworking Priority: Ranks to
 Tibault’s Will (recommended) provides multiple bonuses not normally available on Legendary Pants, including Damage Reduction while Unstoppable, a damage multiplier, and Mana generation. Alternate activations of the unique effect with
  Teleport,
  Flame Shield, and
  Ice Armor (with
  Snowveiled Aspect).
 - Masterworking Priority: All Stats or Damage Reduction while Unstoppable.
 Ring of Starless Skies (recommended) provides a 1.5x damage multiplier and solves any Mana issues. Imprint
  Aspect of Frozen Orbit onto Legendary Gloves for this setup.
 - Masterworking Priority: Critical Strike Chance or Attack Speed
Gems and Runewords
Listed below are the recommended Gems and Runewords to socket into your gear.
Gems
Equip the corresponding Gems into your Weapon, Armor, and Jewelry slots. If you are playing in Season 9, replace the Jewelry Gems with Horadric Jewels.
| Weapon Gems | Armor Gems | Jewelry Gems |
|---|---|---|
| Any Resistance Gems needed or |
Runewords
Insert the 2 following Runewords, each consisting of a Rune of Offering and a Rune of Invocation, into any equipped Helm, Chest, or Pants item. Add sockets to your equipment at the Jeweler if necessary. Check the Runewords Guide for more details.
| Runewords | Effects |
|---|---|
| Gain: 25 Offering — Stores offering every 0.3 seconds. Cast a non-Basic Skill to gain the stored offering. Requires: 300 Offering — Invoke the Sorcerer’s Mystical Frost Nova, inflicting Freeze and Vulnerable onto enemies. | |
| Gain: 100 Offering — Maintain at least 1 active Summon for 5 seconds, gaining offering for each up to 6 Summon. Requires: 25 Offering, Cooldown: 1 Second — Gain 2.5% Critical Strike Chance for 5 seconds, up to 25%. |
Paragon Board
Use the following Paragon Boards, Legendary Nodes, and Glyphs for the Frozen Orb Sorcerer.
Horadric Spell and Jewels (Season 9)
Season 9: Sins of the Horadrim offers seasonal powers that can be utilized to enhance this build. Access Horadic Spells from the Powers tab in the character sheet, and place Horadic Jewels into Jewelry slots.
Horadric Spell
The Horadric Catalyst is the base power of your spell, attached to a Skill slot on the Skill bar and triggered when the Skill is cast. The Catalyst is combined with one Infusion that modifies the damage type, and three Arcana that enhance the baseline power of the spell.
| Type | Power | Effect |
|---|---|---|
| Catalyst | (equipped on Unstable Currents) | Spawn Rate: Every 5 seconds Lucky Hit: 20% Passive: Manifest up to 5 Anomalies that emit particles which deal 866% damage over 4 seconds. Active: Command your Anomalies to converge and implode, dealing 3465% damage per detonation. Rank 10: While at 5 Anomalies, you are Unstoppable and the next implosion will deal double damage. |
| Infusion | Your Catalyst now deals Fire and or Burning damage. It destroys enemy structures and has a 10% chance to ignite the ground beneath enemies, dealing 1215% Burning damage over 5 seconds. While equipped, your Fire Damage Bonus is equal to that of your highest Damage Type Bonus. Rank 5: Deactivates monster Chilling Winds effects for 8 seconds. | |
| Arcana | Your Catalyst gains a specialized Execute effect for non-Boss enemies with 20% or less Life. Astral Pillar: Will launch additional waves towards Executable non-Boss enemies to Execute them. | |
| Arcana | Invoking your Catalyst grants Unstoppable for 5 seconds whenever it activates. | |
| Arcana | Your Catalyst deactivates monster Damage Resistance Aura effects for 5 seconds, but you take 10% more stacking damage for the same time. |
Horadric Jewels
Insert the following Horadric Jewels into Jewelry slots to enhance the Horadric Spell.
| Jewel | Effect |
|---|---|
| You gain x6% primary stat, x6% Maximum Life and you are always Unhindered. However, you will be hunted in Sanctuary’s darkest places by Jewel Guardians who were entombed to protect this relic. | |
| You deal x20% and take x10% more Elemental damage. | |
| After you cast you Catalytic Skill, if it is an Ultimate, gain +30% Attack Speed for 10 seconds. |
Mercenaries
Once the Den is unlocked during the main questline in the Vessel of Hatred expansion for Diablo 4, complete Mercenary key quests to acquire them. Hire a Mercenary and enlist a Reinforcement in the following setup.
- Hired Mercenary: Varyana
- Skills:
 Cleave,
  Hysteria,
  Bloodthirst,
  Bloodlust
- Skills:
- Reinforcement: Raheir
- Skill:
 Bastion
 - Opportunity: Cast when the player becomes Injured
- Skill:
Build Mechanics
The Frozen Orb Sorcerer relies on  Aspect of Splintering Energy to deal damage, and Critical Strike Damage is prioritized to scale its bonus damage. The build focuses on spawning and reducing the cooldown of
 ![]() Lightning Spear by casting
Lightning Spear by casting ![]() Frozen Orb with
Frozen Orb with ![]() Fractured Winterglass equipped. Increased Attack Speed and Cooldown Reduction are important stats to maintain a high stack count of
Fractured Winterglass equipped. Increased Attack Speed and Cooldown Reduction are important stats to maintain a high stack count of ![]() Primordial Binding.
Primordial Binding.
![]() Enlightenment is quickly stacked by alternating casts of
Enlightenment is quickly stacked by alternating casts of ![]() Teleport or Teleport Evade with the other Skills included in this build.
Teleport or Teleport Evade with the other Skills included in this build.
![]() Familiar counts as a Fire, Cold, and Lightning Skill when slotted into an Enchantment slot for
Familiar counts as a Fire, Cold, and Lightning Skill when slotted into an Enchantment slot for ![]() Enchantment Master. Increased damage for all 3 elements massively scales the bonus from
Enchantment Master. Increased damage for all 3 elements massively scales the bonus from ![]() Enlightenment.
Enlightenment.
Rotation and Playstyle
Use the following rotation to optimize damage.
- If you are using
 Raiment of the Infinite, cast
  Teleport offensive on top of enemies. Alternate Teleport and Evade Teleport with other Skills to quickly stack
  Enlightenment.
 - Activate
 Unstable Currents for 25% increased Attack Speed.
 - Cast
 Flame Shield or
  Ice Armor for protection and Unstoppable when needed.
 - Cast
 Lightning Spear when it is not on cooldown.
 - Spam
 Frozen Orb to summon
  Lightning Spear.
Elixirs and Incenses
Visit the Alchemist in any main town to craft helpful Elixirs, or find Elixirs by killing enemies or opening chests during various activities in Diablo 4. Listed below are the best Elixirs to consume for the Frozen Orb Sorcerer, ranked by importance.
 Elixir of Precision provides the highest damage output increase, if not already capped at 100% Critical Strike Chance.
 Elixir of Advantage increases damage output, if not already capped at 100% Attack Speed bonus from gear and Paragon.
 Elixir of Resource helps with Mana issues, if you do not already have the appropriate Mana gear. This elixir is highly recommended for starting characters to maintain constant casts of
  Frozen Orb.
  Elixir of Fortitude is the best general-purpose option for survivability.
Incense can also be crafted at the Alchemist. ![]() Sage’s Whisper (Core Stat),
Sage’s Whisper (Core Stat), ![]() Song of the Mountain (Defensive), and
Song of the Mountain (Defensive), and ![]() Soothing Spices (Resistance) are recommended. These Incenses are categorized into three separate groups and can be active simultaneously. The added Armor and Resistances are especially helpful to reach their caps.
Soothing Spices (Resistance) are recommended. These Incenses are categorized into three separate groups and can be active simultaneously. The added Armor and Resistances are especially helpful to reach their caps.
Season 9 Updates
A brief summary of the seasonal changes is provided below. For a complete overview of Season 9, take a look at the comprehensive season guide.
 Lightning Spear: Damage increased from 16% to 80%.
 Invoked Lightning Spear: Stun Duration reduced from 2 seconds to 0.5 seconds.
 Enlightenment
 - Previously: While Enlightened your Damage Bonuses with Fire, Lightning, and Cold are equal to them combined and you gain:
- 25%[x] Damage
- 45%[+] Mana Regeneration
- 20%[+] Attack Speed
- Now: While Enlightened your Damage Bonuses with Fire, Lightning, and Cold are equal to the highest bonus among them and you gain:
- 70%[x] Damage
- 45%[+] Mana Regeneration
- 30%[+] Attack Speed
- Previously: While Enlightened your Damage Bonuses with Fire, Lightning, and Cold are equal to them combined and you gain:
 Battle Caster’s Aspect: Maximum stacks increased from 5 to 10.
 Aspect of Splintering Energy
 - Previously: Critical Hits with Lightning Spear cause the spear to arc to the target and up to 5 other enemies. This damage is increased by 60-100%[x] of your Critical Strike Damage Bonus.
- Now: Critical Hits with Lightning Spear cause the spear to arc to the target and up to 5 other enemies, dealing 60%[x] of normal damage. Lightning Spear deals 20-40%[x] increased damage.
Changelog
- June 27, 2025: Guide updated for Season 9 (Patch 2.3.0)
- April 29, 2025: Guide updated for Season 8 (Patch 2.2.0).
- January 19, 2025: Guide updated for Season 7 (Patch 2.1.0).
- October 4, 2024: Guide updated for Season 6 (Patch 2.0.2).
- August 6, 2024: Guide updated for Season 5 (Patch 1.5.0).
- May 14, 2024: Guide updated for Season 4 (Patch 1.4.0).
- March 28, 2024: Guide created.
