Introduction
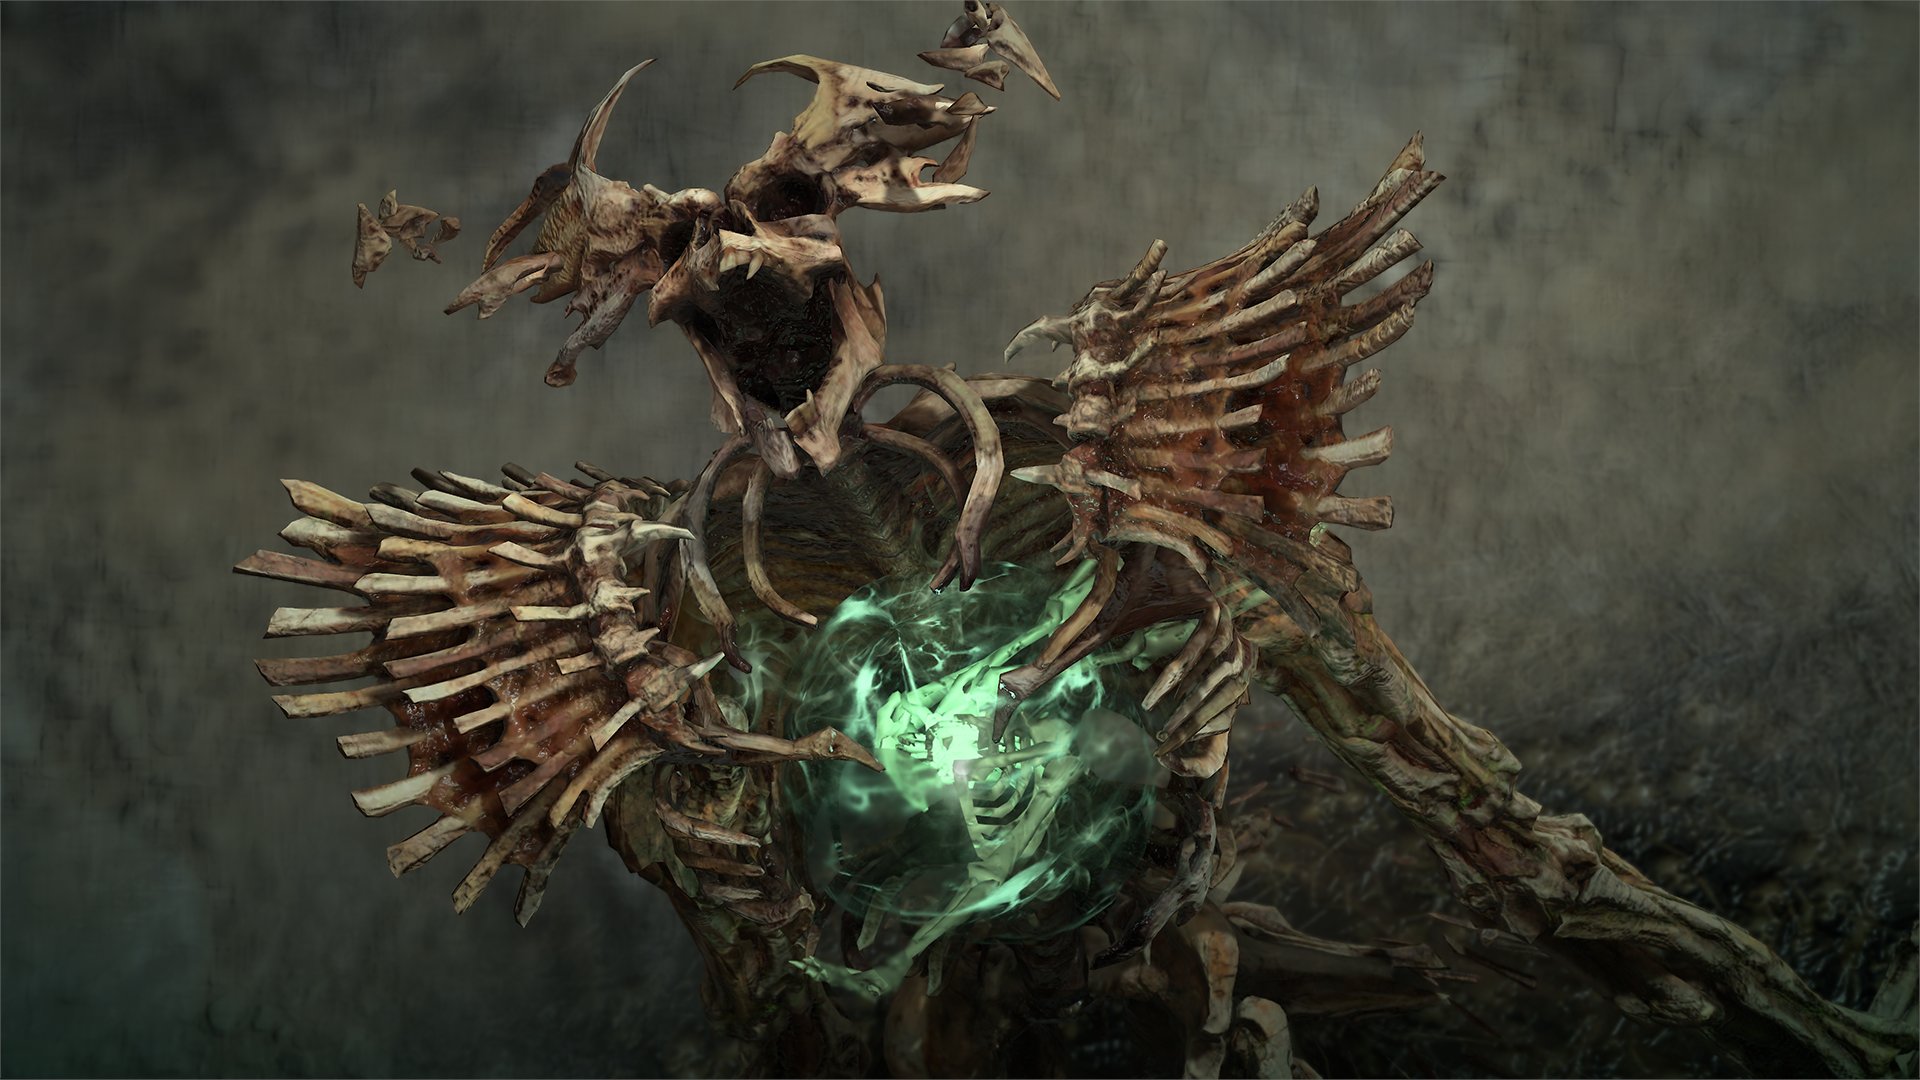
The Wandering Death is one of the World Bosses players can encounter in Diablo 4. It is a huge behemoth that has many dangerous attacks, with its only goal to slash any wanderer who dares cross its path. In this guide, we will cover all essential boss mechanics and tips for defeating this powerful enemy!
For guides on the other two World Bosses, check the links below.
Ashava World Boss Avarice World BossWandering Death – Location
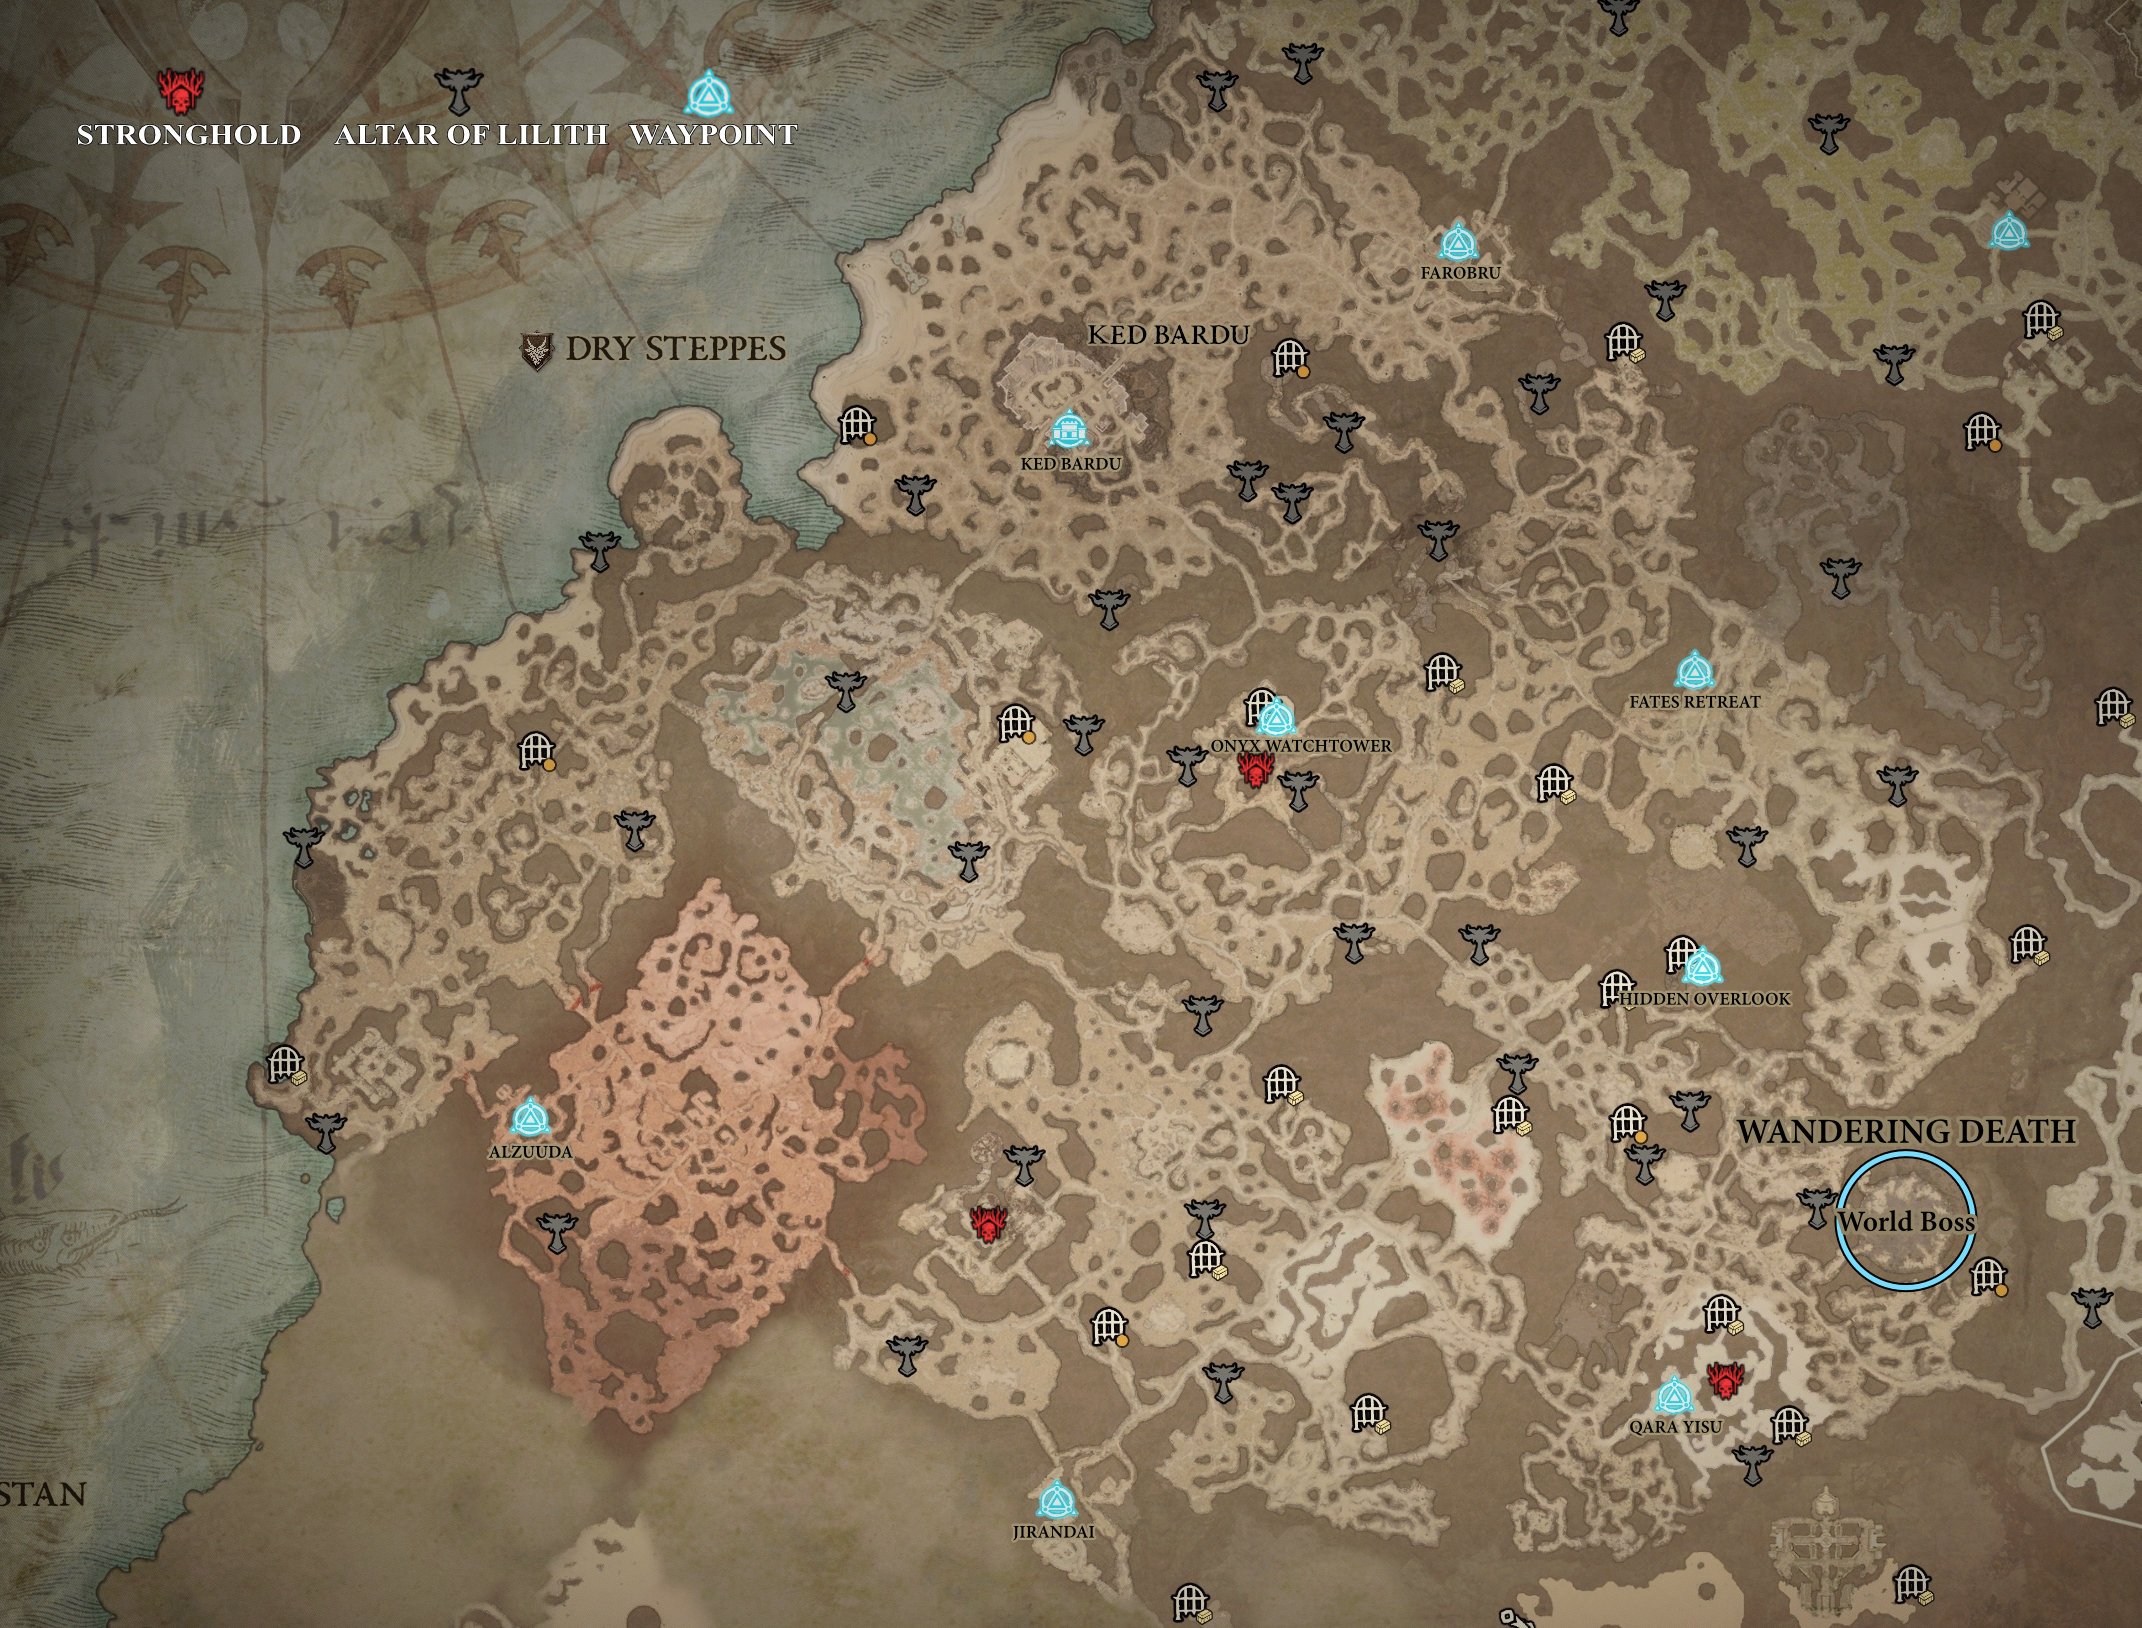
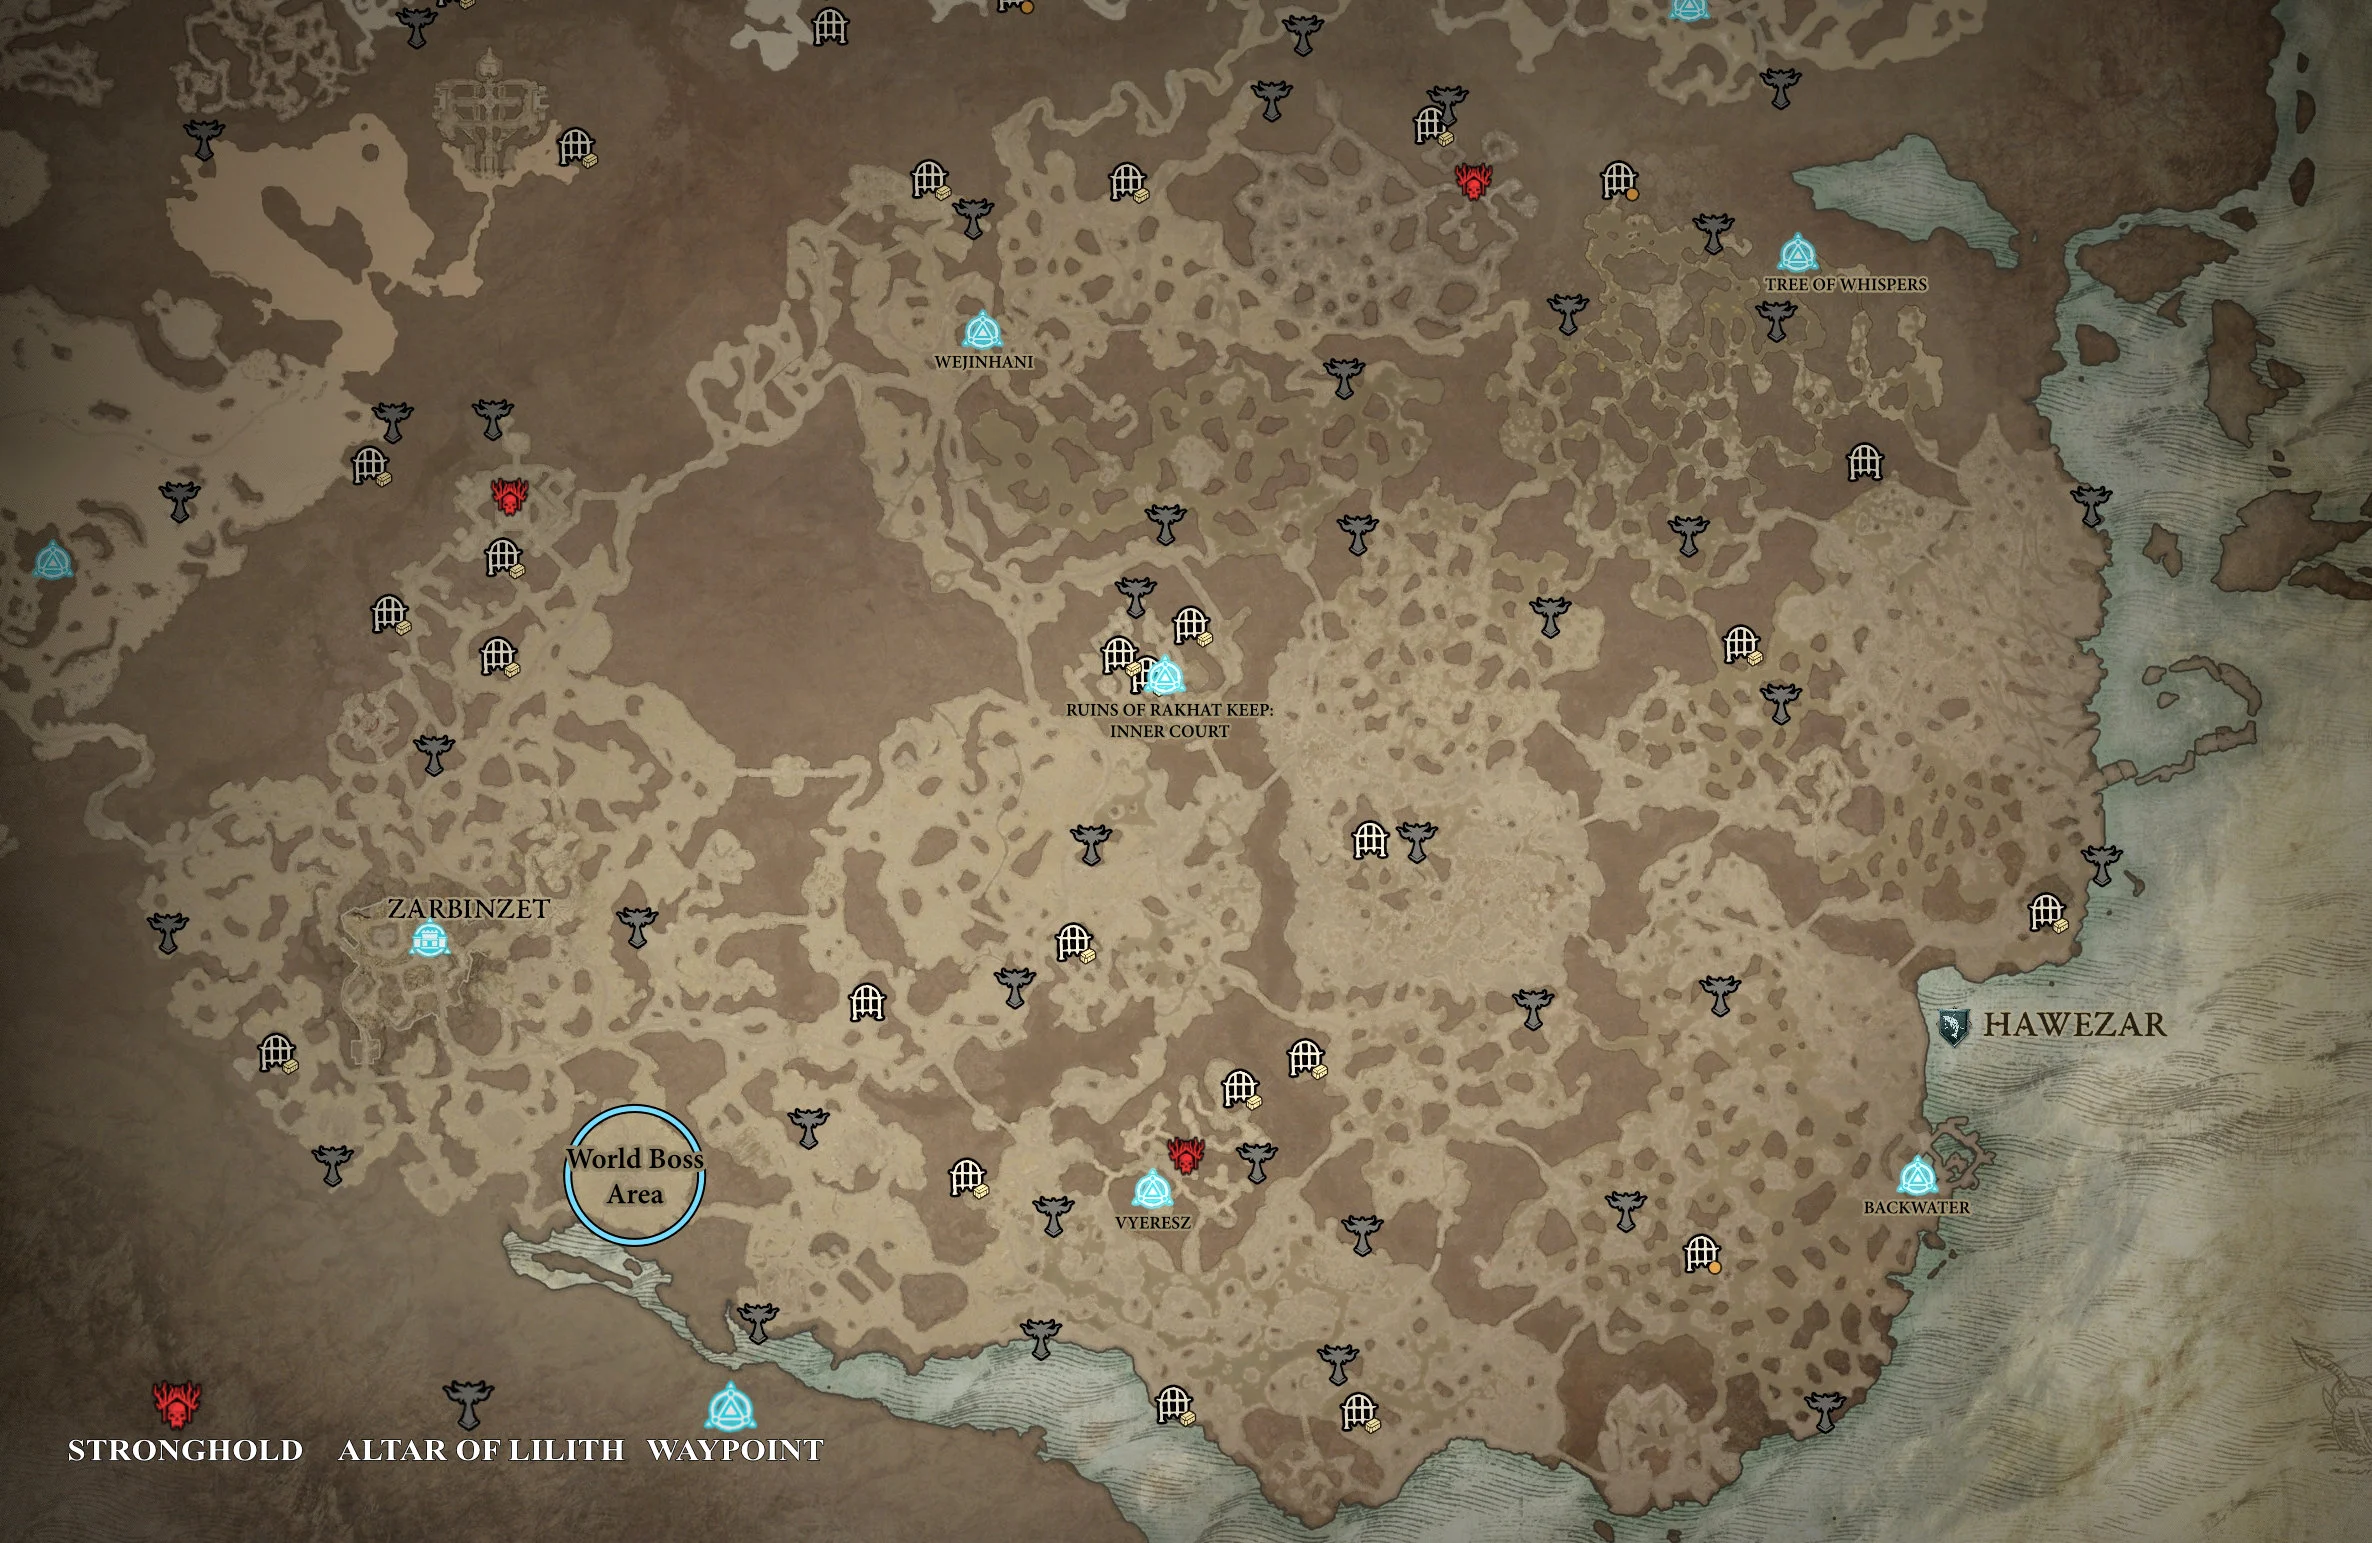
Wandering Death can have more than one spawn location, as players progress through Sanctuary. For example; he could spawn inside the Sarran Caldera in the Dry Steppes, or the Fields of Desecration in Hawezar, depending on the player’s region progress.
Dry Steppes Zone Overview Hawezar Zone OverviewWhen the time comes, a world boss icon will appear on the map, showing the location of the boss, and the time left until he appears.


Once the Wandering Death appears, an event timer will begin, and players that are in the area will automatically participate in the event. Furthermore, it is not necessary to group up or be in a party in order to take part in the event and obtain rewards afterward.
- When the event begins, the camera will zoom out, indicating that the fight has started.
- A timer will appear on the screen, indicating how much time remains to defeat the world boss before it retreats underground again.
It is recommended to have at least 12 players to engage in the challenging fight with this world boss. However, even with a group of this size, it won’t be an easy task to defeat the Wandering Death.
Wandering Death – Boss Mechanics
The Wandering Death is a challenging world boss that has multiple phases and abilities. The phases, which are marked by the arrows on the health bar turning upside down and becoming grey, not only indicate when the next stage is reached, but also when some more Health Potions are dropped.

Like other bosses, Wandering Death will have a stagger bar that can be filled by using crowd control effects. Once the stagger bar is full, Wandering Death will be immobilized for a few seconds, giving players time to unleash their most powerful attacks during that time.

The Wandering Death has a unique mechanic that’s triggered upon becoming staggered, spawning two caged souls. These cages can be destroyed before Wandering Death consumes them. Additionally, destroying these cages will deal massive damage to the boss.
In the event that a player dies during the fight, they can be revived by other players, or they can choose to revive at the checkpoint, which is located near the boss. However, it is important to note that reviving at the checkpoint will result in gear damage each time.
Fight Mechanics
The Wandering Death presents a challenging fight with six different mechanics that players will need to be aware of. Mobility skills and dodging will be essential, as you must be quick to evade hard-hitting attacks.
Below, we go over the six mechanics that participating players should pay attention to during this fight:
Death Beam
This is Wandering Death’s most powerful attack. He will channel two beams from his hands while rotating slowly. The more health players take from him, the more beams he will channel during the attack. An easy way to avoid this attack is to move at the same pace as the boss does while rotating, in order to stay between two beams.
Death Crater
For this ability, the Wandering Death will create a crater that will explode and deal heavy damage after 5 seconds. If you end up trapped inside, it will block all the attacks. After Phase 1, he will create more than one crater at the same time. Evade the craters as soon as they spawn, otherwise you will become trapped inside.
Death Grasp
Wandering Death will shoot two hooks underground, that will then rise back up and retract themselves, pulling in any player that was in the way. Again, as health goes down, the boss will shoot more than two hooks with time. Be aware that the hooks do a great amount of damage. The ground should change colors when the hooks are underground, so try to move as far away from the spots on the ground as possible.
Death Pound
Occasionally, Wandering Death will slam the ground twice in front of him before then slamming the ground behind him with both hands. This will create waves of multiple spike lines. This attack deals heavy damage to players that are hit. Note that the pound into the ground will be more dangerous when the boss has low health, while the spikes are more dangerous at high health. Evading this attack is no easy matter, so it is important to either be aware of the pound or the spike, depending on the boss’s health state, in order to take as little damage as possible.
Death Shout
Last but not least, Wandering Death will shout out and send shockwaves radiating from his body that will knock back players. This attack increases in distance and damage as Wandering Death’s health goes down.
Death Tornadoes
For this ability, the Wandering Death creates tornadoes that tear up the battlefield, three at a time. More sets of tornadoes appear as his health goes down, so you should be aware of your surroundings and look out for roaming dangers.
Rewards
After defeating the Wandering Death, you will receive various rewards, including ![]() Scattered Prism, which are rare items used to add gem sockets on certain gear. Moreover, there is a high chance to get Legendary gear, boss materials, temper manuals, and a (weekly) loot box, which contains additional Legendary gear, gold, and gem fragments. The weekly cache even has a chance to drop Unique Items. If you encounter connection issues before the end of the fight or forget to pick up the loot, the rewards will automatically be sent to the Stash, and can be collected later.
Scattered Prism, which are rare items used to add gem sockets on certain gear. Moreover, there is a high chance to get Legendary gear, boss materials, temper manuals, and a (weekly) loot box, which contains additional Legendary gear, gold, and gem fragments. The weekly cache even has a chance to drop Unique Items. If you encounter connection issues before the end of the fight or forget to pick up the loot, the rewards will automatically be sent to the Stash, and can be collected later.


