Crystalline Conflict PvP Guide for FFXIV
A new small-scale PvP mode, Crystalline Conflict, was introduced to FFXIV in Endwalker's Patch 6.1. This page provides general information about Crystalline Conflict, including explanations of the mode's rules, HUD, arenas, and rewards.
What is Crystalline Conflict?
Crystalline Conflict is the new Player vs. Player mode introduced in Patch 6.1. Crystalline Conflict pits two teams of five players, Teams Astra and Umbra, against each other with the primary objective of pushing the objective, the Tactical Crystal, to the other team's base. Matches of Crystalline Conflict have a time limit of five minutes, with the possibility of being shorter if one team finishes the objective or longer if the game goes into overtime. If a match reaches overtime, the objective to win will change for both teams depending on who is in the lead when overtime begins.
Crystalline Conflict Job Guides
All Job guides can be found below. Take note that they are specifically meant to be applied to Crystalline Conflict. The information may or may not be applicable to other PvP modes.
Tank Guides
Healer Guides
Melee Guides
Physical Ranged Guides
Caster Guides
Crystalline Conflict Rewards
Finishing a Crystalline Conflict match gives you a variety of rewards, including PvE Experience, Allagan tomestones, Wolf Marks, PvP experience, and Series experience.
PvP Experience is tied to your Grand Company, meaning your experience will not carry over if you switch Grand Companies. Leveling up your PvP rank will earn you different titles based on your current Grand Company.
Accumulating Series Experience and increasing your Series Level will allow you to reach new Series Malmstones. Different Series Malmstones will grant you different rewards, and rewards for certain malmstones will differ between series.
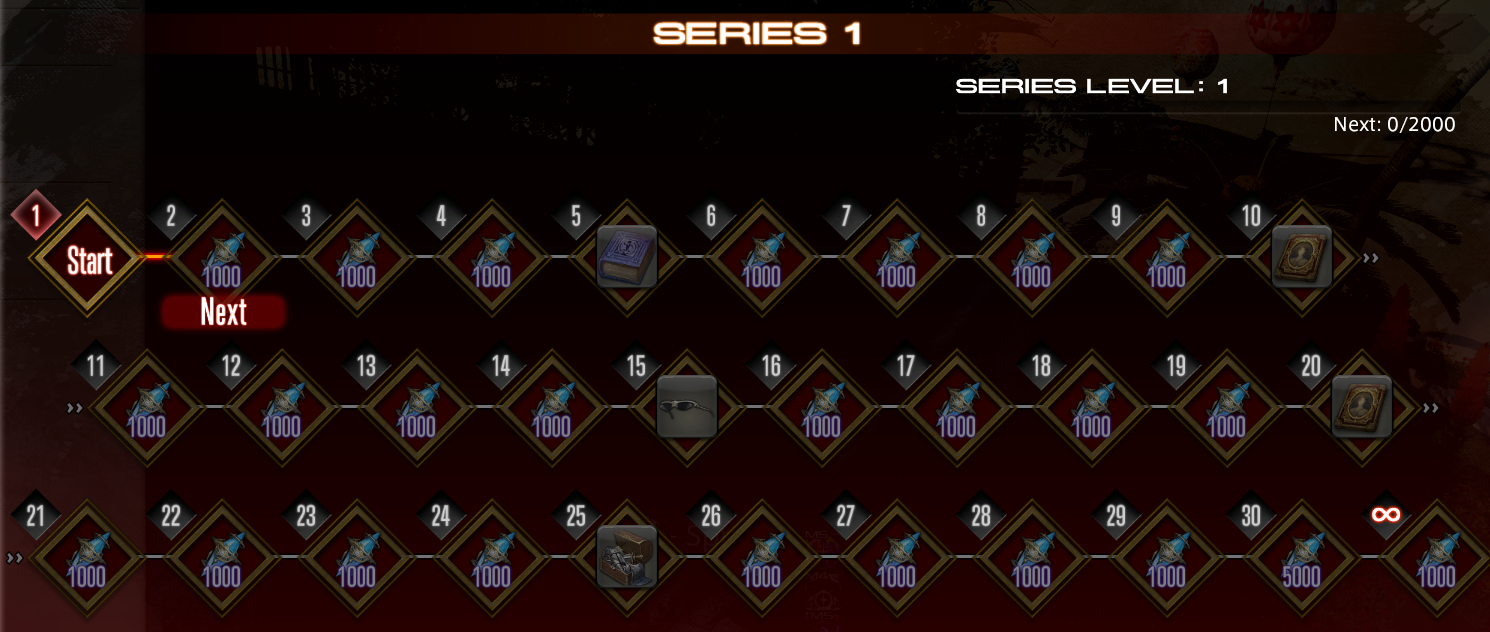
Some malmstones grant Trophy Crystals, a new currency added with the launch of Crystalline Conflict. Trophy Crystals can be traded with the Crystal Quartermaster in the Wolves' Den Pier for a variety of gear and rewards.
Crystalline Conflicts rewards are split into two groups; Seasonal and Series. The Seasonal rewards are based more upon your actual ranking within your server, while the Series rewards are based more upon participation and do not require you play Ranked mode.
Crystalline Conflict Rules
The objective in Crystalline Conflict is to push the Tactical Crystal to the other team's goal. Each match begins with the Tactical Crystal in the center of the arena. After 30 seconds pass, the Crystal is unlocked, allowing either team to begin pushing it towards the other team's goal. If the Crystal is occupied by a member of a single team, it will begin moving towards said team's objective. If it is occupied by members of both teams, however, the Crystal will stay in place until one team steps off the objective.
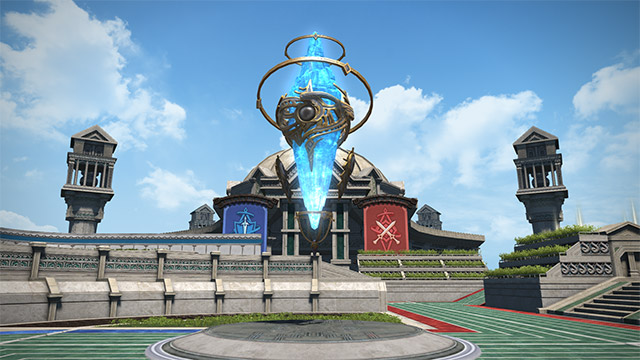
If the team pushing the Tactical Crystal has lower progress than the other team, or is retreading a part of the path it has already moved through, the Tactical Crystal's movement speed will increase. When a team reaches the halfway point towards the other team's goal, there is a checkpoint they must clear before the Crystal can begin moving past 50%. The team can progress the checkpoint by standing on the Crystal when it is at the halfway mark, while the opposing team can slow down checkpoint progress by contesting the point. After the checkpoint reaches 100%, the team can continue to move the Tactical Crystal towards the goal.
Overtime
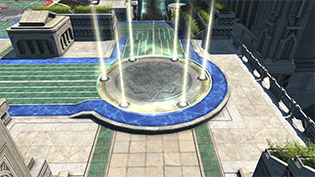
If neither team has reached the opposing team's goal when the match timer runs out, the game will enter overtime. During overtime, the victory conditions for each team will change depending on who has the advantage. If a team has pushed the Crystal farther and is in the lead, they can win by removing all enemy players from the Tactical Crystal. If a team has less progress and is losing, they must push the Crystal past the opposing team's progress score to win. If both teams have an equal score, either team can win by being the first to achieve a greater progress score. If both teams step off the Crystal while having an equal score, the match can end in a draw.
The HUD

The HUD displays important information during a match. The elements the HUD displays are as follows:
- Time Limit
- Team Astra Progress Number
- Team Umbra Progress Number
- Tactical Crystal Location and Occupying Players
- Team Astra Checkpoint Progress
- Team Umbra Checkpoint Progress
- Team Astra Goal
- Team Umbra Goal
- Team Astra Progress
- Team Umbra Progress
Crystalline Conflict Arenas
Crystalline Conflict currently supports five arenas: The Palaistra, The Volcanic Heart, Cloud Nine, The Clockwork Castletown, and The Red Sands. All five arenas feature Medicine Kits which can be found scattered across the arena. Standing on a medicine kit will restore 30,000 HP and remove the kit from the arena, denying other players from accessing it until it respawns after a set period of time.
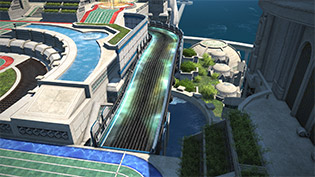
The Palaistra
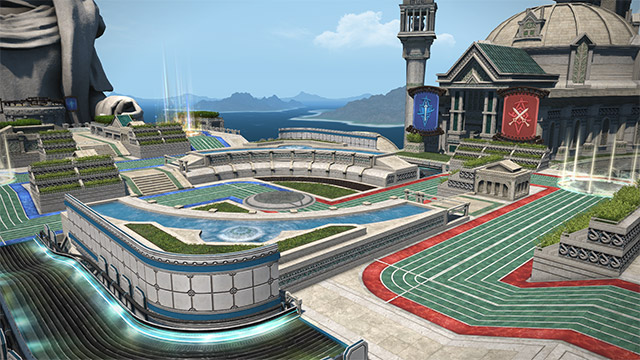
The Palaistra is the first and most simple of the three Crystalline Conflict arenas. While this map does not feature a unique arena event, sprint zones that will grant the buff Swift Sprint and increase player movement speed can be found in the arena.
The Volcanic Heart
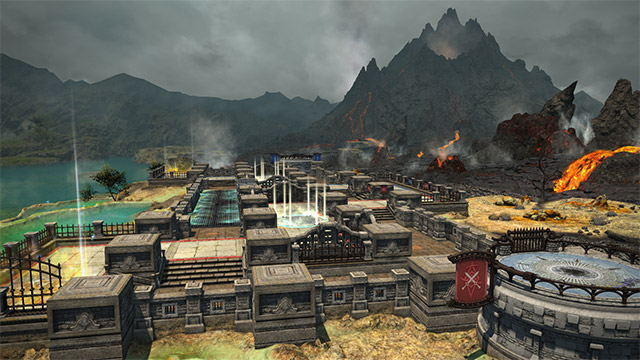
The Volcanic Heart is the second of the Crystalline Conflict arenas. Similar to the Palaistra, a sprint zone can be found in the map that will grant the Swift Sprint buff.
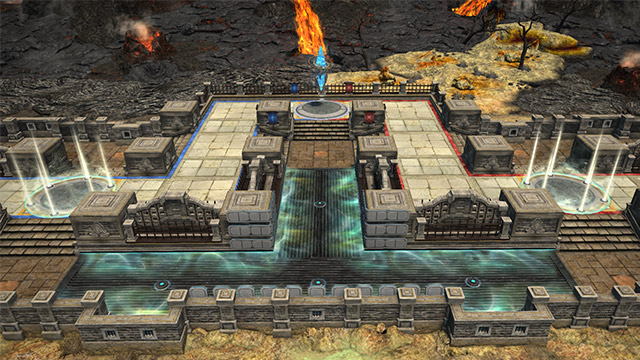
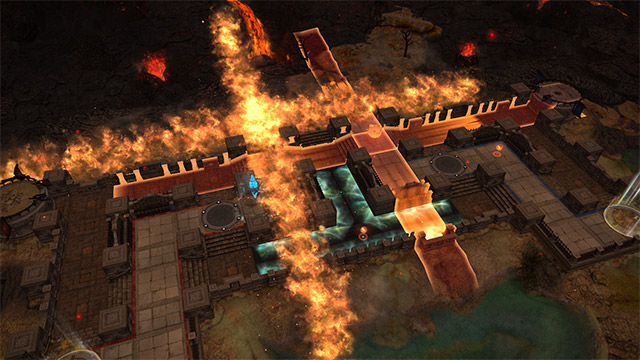
The Volcanic Heart also features the arena event Eruption. During this event, bombs will appear around the arena and explode, creating line AoEs that deal heavy damage to anyone hit. Bombs that explode will also leave behind Bomb cores, tiny red orbs that can be picked up by a player. Picking up a bomb core will temporarily increase damage dealt and boost the limit gauge, and can be stacked up to 10 times.
Cloud Nine
The third Crystalline Conflict arena is Cloud Nine.
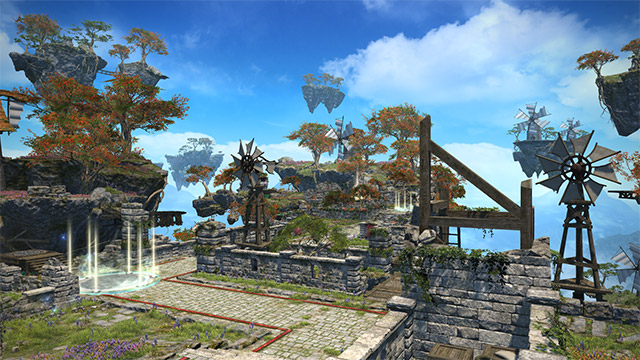
Unlike Palaistra and Volcanic Heart, Cloud Nine does not have Sprint Zones. Instead, Cloud Nine features Jump Glyphs, which will transport you to a specific point on the map when you step on them.
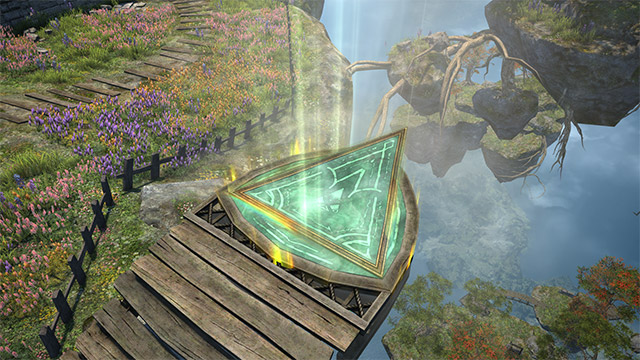
Cloud Nine features the arena event Turbulence, which will launch players into the air after a set time. Players who are launched will receive heavy damage upon landing. Before the initial turbulence launches players into the air, yellow chocobo markers can be found moving around the arena. If a player stands in one of these when they are knocked upwards, they will receive a black chocobo feather, preventing them from taking damage and increasing movement speed, attack speed, and the limit gauge. Players can also prevent this knockback using the Guard action.
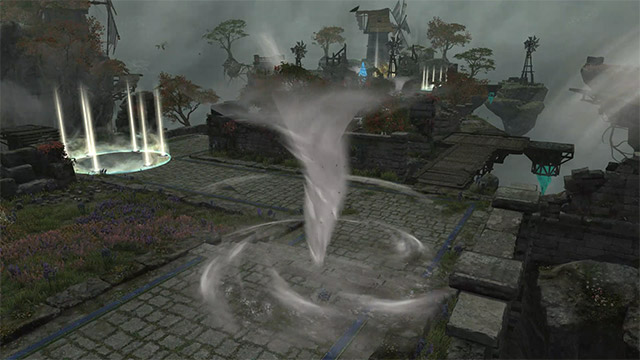
After the initial turbulence knocks players into the air, tornados that deal damage and push players can be found around the map for a short period of time.
The Clockwork Castletown
The fourth Crystalline Conflict arena is The Clockwork Castletown, added in patch 6.3.
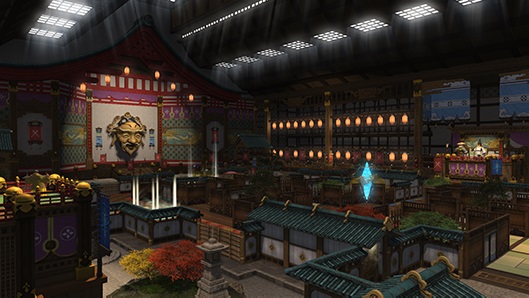
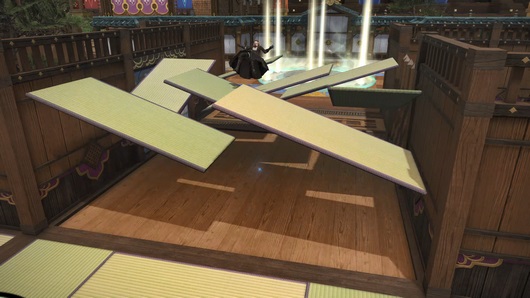
Clockwork Castletown is a Kugane themed map that features multiple arena events that you must play around during a match. The first event is refered to as Trick Floors. Standing on the tatami floors in the hallways next to each spawn for too long will cause them to launch into the air, dealing damage and stunning everyone who is still on the tile when it flips.
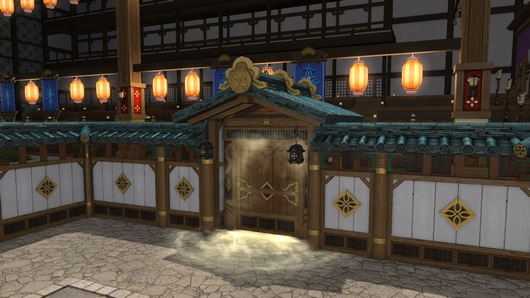
The second arena event are the Trick Doors in multiple spots around the arena. These doors act as warps to an exit point at a different place in the arena. They can be used to return to a fight much faster than running from your spawn, as well as for setting up ambushes or flanks. These doors are one way, so you cannot return through them.
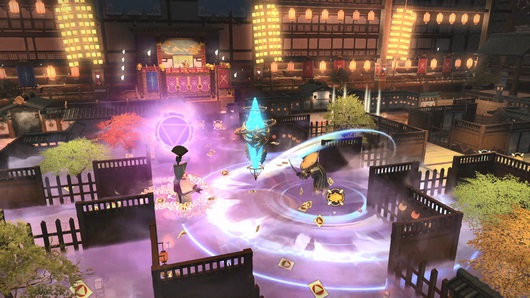
The last arena event in Clockwork Castletown is the Pneumatic Parade. The Penumatic Parade triggers a couple of minutes into a match, and it spawns 2 clockwork dolls that travel on predetermined tracks on the arena. They will stop at the centerpoints, both checkpoints, and both goals. Upon arriving at each of these locations, they will unleash a mechanic that must be dodged. The Clockwork Yojimbo will stop at each spot and unleash a wide circular AoE centered on it, that will kill anyone that is inside the AoE indicator when it goes off. The Clockwork Onmyoji will stop at each spot and unleash a look-away mechanic. Players must look away from the Onmyoji or else risk being afflicted with Minimize, which will make you smaller, deal less damage and take more from enemies, and will slow your movement down. In addition to the 2 clockwork dolls, piles of gold coins will spawn. Picking up one of these coins will grant you energy for your Limit Break.
The Red Sands
The fifth and newest Crystalline Conflict arena is The Red Sands, added in patch 6.51.
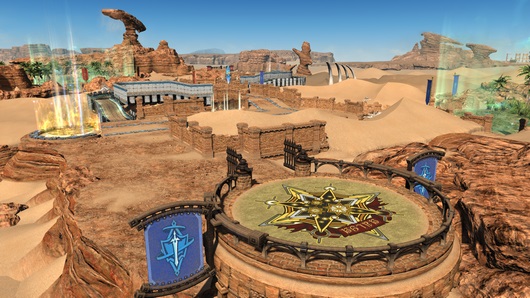
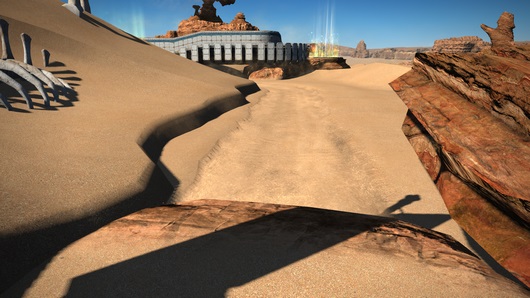
This desert themed map features a number of arena events, some of which are detrimental, and some that are beneficial. Playing around these events will be the key to victory. The first arena event to look out for are the Shifting Sands. They are areas of flowing sands that will transport you to another place on the map, much like Cloud Nine's jump pads.
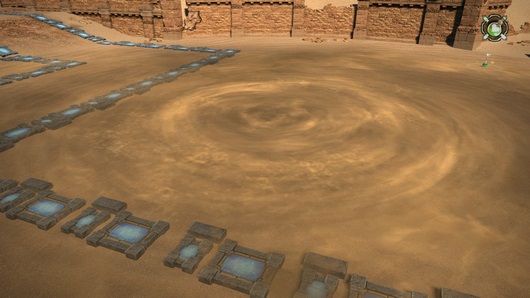
The next arena event are the Sandpits. By each checkpoint, there exists a large nest shaped like a ring. Clearing any checkpoint with the Crystal will trigger the nest, and cause it to spawn one of 3 monsters. The first spawn is the Antlion, and it will unleash a large AoE centered on the nest, and all players who are caught in it will be pulled in and die. The second spawn is the Sabotender. The Sabotender will cast 100,000 needles, a large AoE that will deal a total of 100,000 damage split between every player caught in the AoE. This means that if 4 players were caught in the AoE, they would each take 25,000. The third spawn is the Acutender, a lunatender that will cast Therapeutic Needles. All players caught within the AoE will be given a shield that equally splits between them. The more players in the AoE, the weaker the shields will be.
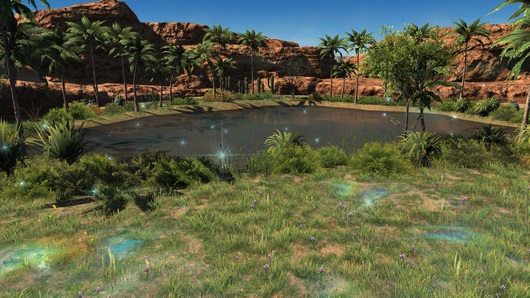
The third arena event is the Oasis. The Oasis area of the arena will grant players within it a regen that will persist for a few seconds after leaving.
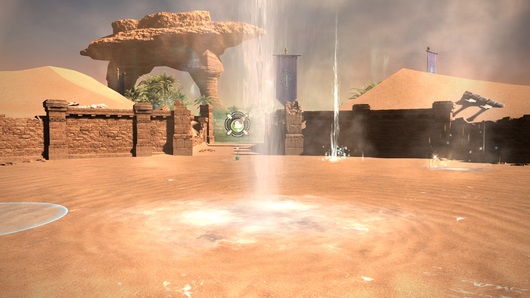
The final arena event are the Heatwaves. When Heatwaves are active, players will take damage over time. During these Heatwaves, the Sandpits will no longer spawn any of the monsters, but instead will turn into a geyser. This geyser will spawn friendly AoEs in the area of the sandpit that will heal you and grant and some charge for your Limit Break. Getting too close to the geyser itself will knock you back and deal damage, so staying far away from the geyser itself is advised.
Combat Overview
Every job has its own PvP actions separate from the actions they use in PvE. PvP actions are defined by the silver border surrounding their job icon.

In addition to their unique actions, there are five actions shared between
each job: ![]() Standard-issue Elixir,
Standard-issue Elixir, ![]() Recuperate,
Recuperate, ![]() Purify,
Purify,
![]() Guard, and
Guard, and ![]() Sprint.
Sprint.
![]() Standard-issue Elixir restores both your HP and your MP to maximum. It has a
five second cast time and can be interrupted by taking damage. This is an important action to use as it allows you
to disengage from a fight to recover and return with full HP and MP.
Standard-issue Elixir restores both your HP and your MP to maximum. It has a
five second cast time and can be interrupted by taking damage. This is an important action to use as it allows you
to disengage from a fight to recover and return with full HP and MP.
![]() Recuperate is an ability that recovers HP with a potency of 15,000. Recuperate
is arguably the most important action you have in PvP, as it allows you to regenerate your health and stay alive during
intense battles.
Recuperate is an ability that recovers HP with a potency of 15,000. Recuperate
is arguably the most important action you have in PvP, as it allows you to regenerate your health and stay alive during
intense battles.
![]() Purify is an ability that will remove most crowd control status effects when used.
If used successfully, Purify will also make you immune to further crowd control debuffs for five seconds.
Purify is an ability that will remove most crowd control status effects when used.
If used successfully, Purify will also make you immune to further crowd control debuffs for five seconds.
![]() Guard decreases all damage taken by 90% and provides immunity to crowd control debuffs.
Guard lasts for five seconds and using any action while under the effect of guard will remove it.
Guard is an invaluable tool that can be used in a variety of situations, such as guarding on the tactical
crystal to prevent the other team from moving it.
Guard decreases all damage taken by 90% and provides immunity to crowd control debuffs.
Guard lasts for five seconds and using any action while under the effect of guard will remove it.
Guard is an invaluable tool that can be used in a variety of situations, such as guarding on the tactical
crystal to prevent the other team from moving it.
Lastly, as in PvE modes, ![]() Sprint increases your movement speed. Unlike PvE, however,
Sprint in PvP lasts indefinitely until you execute your next action.
Sprint increases your movement speed. Unlike PvE, however,
Sprint in PvP lasts indefinitely until you execute your next action.
Each job also has their own unique Limit Break. The Limit Break gauge is individual per person, meaning each player can use their limit break as they see fit. Limit Break gauge is primary accumulated passively when you are alive, but can also be further increased by different effects on certain maps as noted above. Cooldowns for limit breaks vary between jobs.
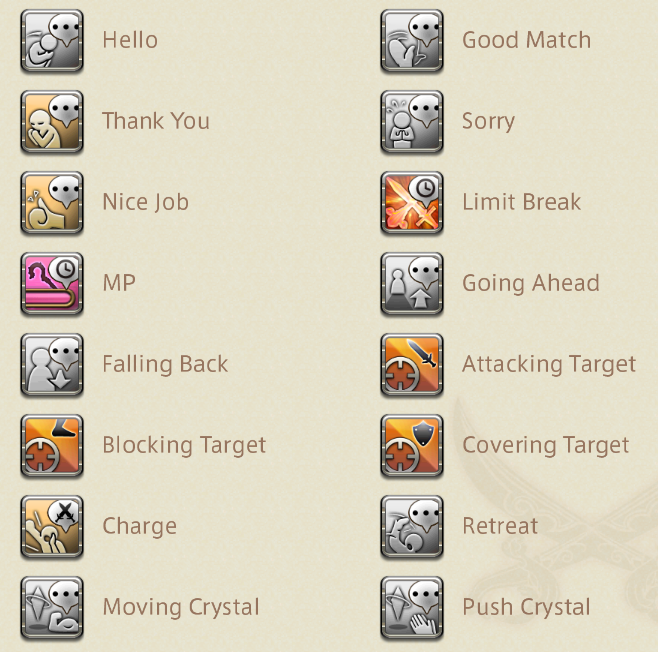
Communication in Crystalline Conflict is exclusively done through Quick Chat, preset messages that can be assigned to a hotbar to quickly communicate with your team during a match.
Ranking System
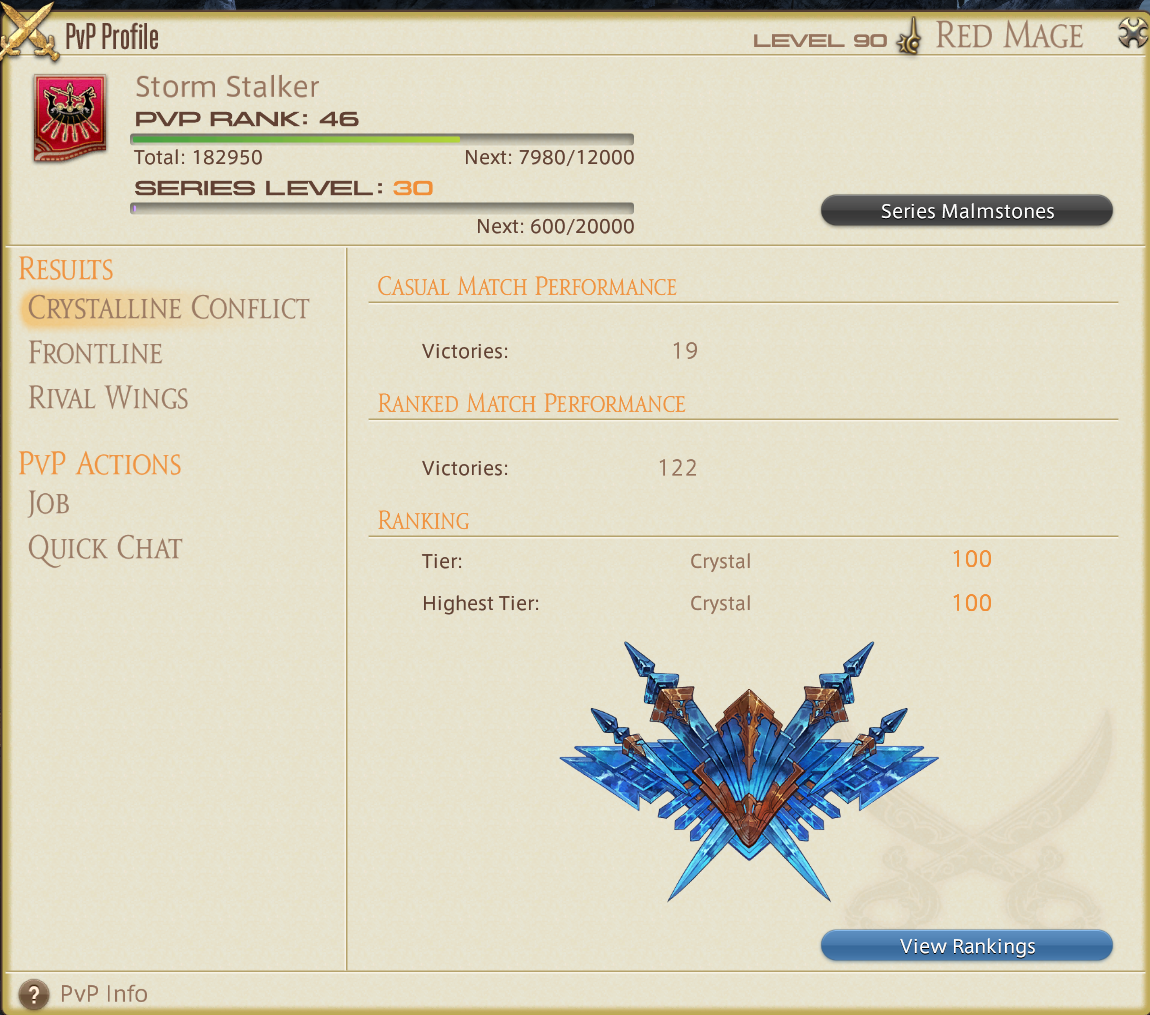
Crystalline Conflict features two playlists, casual and ranked. As the name implies, casual does not have any effect on rankings. Ranked, on the other hand, will affect your rank and primarily match you with players in similar ranks to yours. There are six ranks in total, those being Bronze, Silver, Gold, Platinum, Diamond, and Crystal. Ranking up from Bronze through Diamond will primarily be done through Rising Stars. Each victory will grant you one Rising Star while each loss will remove one Rising Star. Winning three games in a row will increase the rate you earn stars to two per win due to a "Streak bonus." Each tier up to Diamond is divided into subtiers called "risers," with Bronze and Silver being divided into three risers, Gold and Platinum being divided into four risers, and Diamond having five risers. While you can be demoted between risers, your rank will not drop below your current tier.
Unlike the other tiers, Crystal does not have risers and does not use Rising Stars. Crystal rankings are primarily done through Crystal Credit, which you will gain with each victory and lose with each defeat. The amount of credits earned or lost is based on the difference in average credit between each team.
Your current rank and highest rank is displayed in the Crystalline Conflict tab of your PvP profile. This tab also shows the number of victories in each playlist.
Achievements
Participating in Crystaline Conflict matches can allow you to earn achievements with mount, minion, and title rewards. Objectives for completing achievements can include getting as many as 5000 victories, knockouts, and assists. There are also achievements for winning 1000 matches as each role which grant a different title, the roles being tank, healer, melee DPS, physical ranged DPS, and magical ranged DPS.
Changelog
- 17 Nov. 2024: Updated for Series 7.
- 18 Sep. 2024: Layout update and tooltips added.
- 05 Jul. 2024: Series 6 rewards added, alongside Viper guide.
- 31 Oct. 2023: Guide updated for patch 6.51.
- 21 Apr. 2022: Guide added.


Lavender splits their time between FFXIV, where they play Machinist and Reaper in high-end raiding, and Last Epoch, theorycrafting builds for Forge Guard, Void Knight, and Lich.
- Patch 7.4 Moogle Treasure Trove Starts Next Week!
- Get Some Eggcellent New Cosmetics in This Year’s Hatching-tide!
- Savage Catchup: How to Ride Your Way to a Clear in M10S
- First Look at Patch 7.5 Comes This Friday — Here’s What to Know
- Here’s What You’ll Need to Step into The Merchant’s Tale
- Little Ladies’ Day 2026 Ends Soon! Don’t Miss These Free Rewards
- Savage Catchup: All the Must-Knows for Tackling M9S
- FFXIV Players Can Earn Free Glamour Items in Valentione’s Day Event