Guide to Gathering Shards, Crystals and Cluster in FFXIV
This guide will explain how best to farm Shards, Crystals and Clusters in FFXIV through methods such as Gardening, Aetherial Reduction, Retainers and Gathering.
Guide to Farm Shards, Crystals and Clusters in FFXIV
Shards, Crystals & Clusters are important materials in FFXIV, as they are the catalyst that allows crafting to occur, and used in every recipe in the game.
Shards are mainly used for crafting below level 50, while Crystals take the main stage after that, with Clusters being used mainly for crafts available at each expansions endgame. Each of the six elements in game has their own respective crystals to use while crafting.
It is not uncommon to use thousands of Crystals within a single crafting session, so the ability to easily have large stockpiles is important for both an endgame crafter and while leveling. You can store 9999 of each Shard, Crystal and Cluster in your inventory, as well as the inventory of any retainers you have and even your FC chest if you have that level of access.
This guide will go over the main methods available to farm these items. There are other options available, but no other methods are as efficient. Killing Sprites, for example, is so inefficient it is not even worth discussing.
Purchasing Directly Off of the Market Board
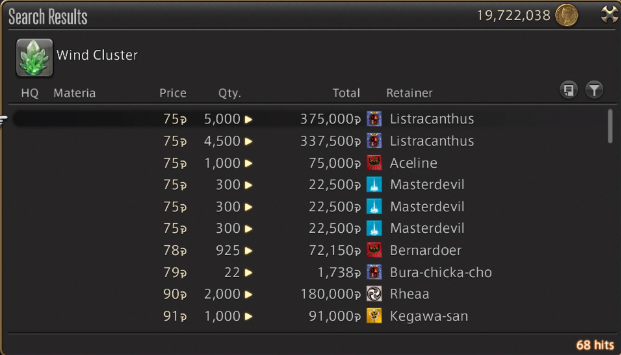
This is by far the most efficient way to obtain Shards, Crystals & Clusters, but is more efficient for Crystals and Clusters than it is Shards. This is because Crystals and Clusters are very easily given to the player as a small bonus while farming for Aethersand, so many players have Crystals and Clusters in excess.
Therefore, these items have a very low price due to players not needing the vast quantities the game gives you while undertaking Aetherial Reduction. This makes it more efficient to spend your time making gil and using that gil to instead purchase the crystals that you need.

Gardening for Shards
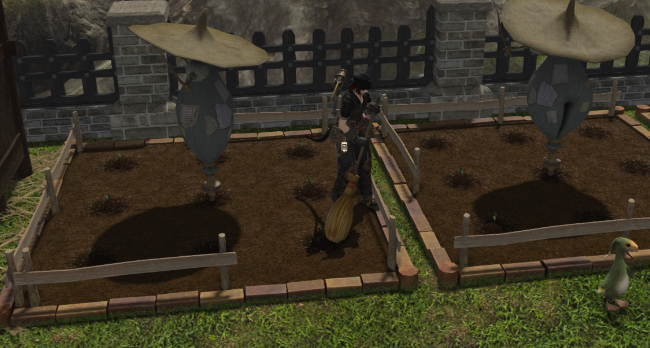
Gardening is a very passive, but easy way to gain Shards using either the
![]() Deluxe Garden Patch's available for outdoors or the smaller
indoor flowerpots, such as
Deluxe Garden Patch's available for outdoors or the smaller
indoor flowerpots, such as ![]() Oasis Flowerpot, which you can place
several of depending on the size of your estate. This makes it
the best way to gain Shards.
Oasis Flowerpot, which you can place
several of depending on the size of your estate. This makes it
the best way to gain Shards.
Once you have garden plots available, plant one of the following:
 Earthlight Seeds - Earth Shards
 Firelight Seeds - Fire Shards
 Icelight Seeds - Ice Shards
 Levinlight Seeds - Lightning Shards
 Waterlight Seeds - Water Shards
 Windlight Seeds - Wind Shards
You can choose to gather these with the locations in your gathering log or you can obtain them passively via ventures.
Depending on what soil you use, your crops will gain more yield after 18 hours
when fully grown. ![]() Grade 3 Shroud Topsoil is the best, but can only really
be obtained through timed Unspoiled Nodes.
Grade 3 Shroud Topsoil is the best, but can only really
be obtained through timed Unspoiled Nodes.
- 50 Shards - La Noscean/Thanalan Topsoil
- 65 Shards -
 Grade 1 Shroud Topsoil
 - 75 Shards -
 Grade 2 Shroud Topsoil
 - 100 Shards -
 Grade 3 Shroud Topsoil

Aetherial Reduction for Crystals and Clusters
![]() Aetherial Reduction allows you the ability to
break down specific collectables into Aethersands, Crystals and Clusters. Normally
the goal is the Aethersands, used to craft endgame gear with, while obtaining the Crystals
as a side benefit. This is the best way to gain Crystals and Clusters.
Aetherial Reduction allows you the ability to
break down specific collectables into Aethersands, Crystals and Clusters. Normally
the goal is the Aethersands, used to craft endgame gear with, while obtaining the Crystals
as a side benefit. This is the best way to gain Crystals and Clusters.
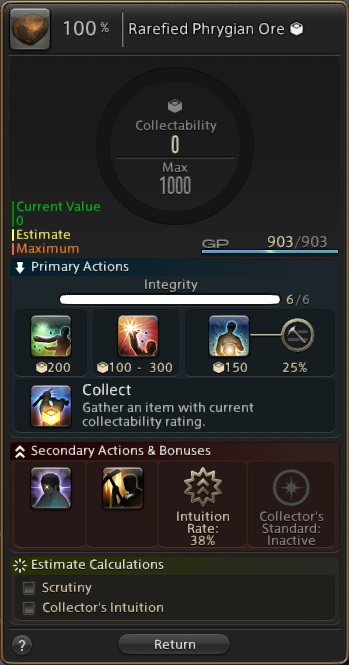
The methodolgy to farm Crystals and Clusters is the exact same as normal for those familiar. Your aim is to always go for 1000 collectability when you have GP to spend, otherwise 0GP to get 400-600 collectability instead. You can also sell any Aethersands for additional funds to spend on Crystals.

Your yield increases with your collectability in tiers with 1000 rating also giving you a chance at a bonus, roughly doubling your expected gains.
Check our gathering collectable guide below for further information on Ephemeral nodes and also rotations:
Normal Node Gathering
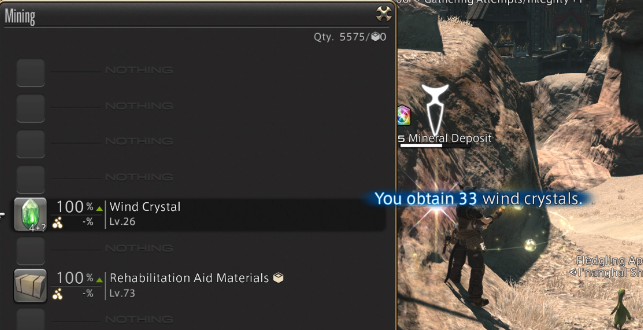
The final method is to simply gather Shards, Crystals & Clusters via Nodes. Shards and Crystals can be obtained through a range of normal Nodes whereas Clusters are only from Timed Nodes.
Locations can be easily found in the "26-30" pages of your gathering log. Any location is okay, but Nodes above level 50 have improved Node bonuses, which will improve things further.
To increase your yield, use ![]() The Twelve's Bounty and
The Twelve's Bounty and ![]() The Giving Land.
The Giving Land should be used on cooldown, so make sure to always have GP
to keep it on cooldown.
The Giving Land.
The Giving Land should be used on cooldown, so make sure to always have GP
to keep it on cooldown.

More FFXIV Content

This guide has been written by I'nanghal Shikhu (Discord - Shikhu). He is a Crafting & Gathering theorycrafter, mentor for The Balance and also a guide maker for Teamcraft alongside Icy Veins. He also managed to obtain 10 top 12's on the leaderboard during the Ishgard Restoration rankings.
- Savage Catchup: How to Ride Your Way to a Clear in M10S
- First Look at Patch 7.5 Comes This Friday — Here’s What to Know
- Here’s What You’ll Need to Step into The Merchant’s Tale
- Little Ladies’ Day 2026 Ends Soon! Don’t Miss These Free Rewards
- Savage Catchup: All the Must-Knows for Tackling M9S
- FFXIV Players Can Earn Free Glamour Items in Valentione’s Day Event
- Don’t Miss NEW Cosmic Exploration & Phantom Weapons — Out Now!
- Been on Break From FFXIV? Don’t Miss Extra Sub Time with the Free Login Campaign!