Bow Guide and Best Combos in Monster Hunter Wilds
Learn everything about the Bow in Monster Hunter Wilds, from mechanics and best combos to new features, control schemes, and coatings. This guide covers key mechanics like the Trick Arrow Gauge, Tracer Arrows, and Focus Strike, helping you land precise shots, stay mobile, and keep up steady damage.
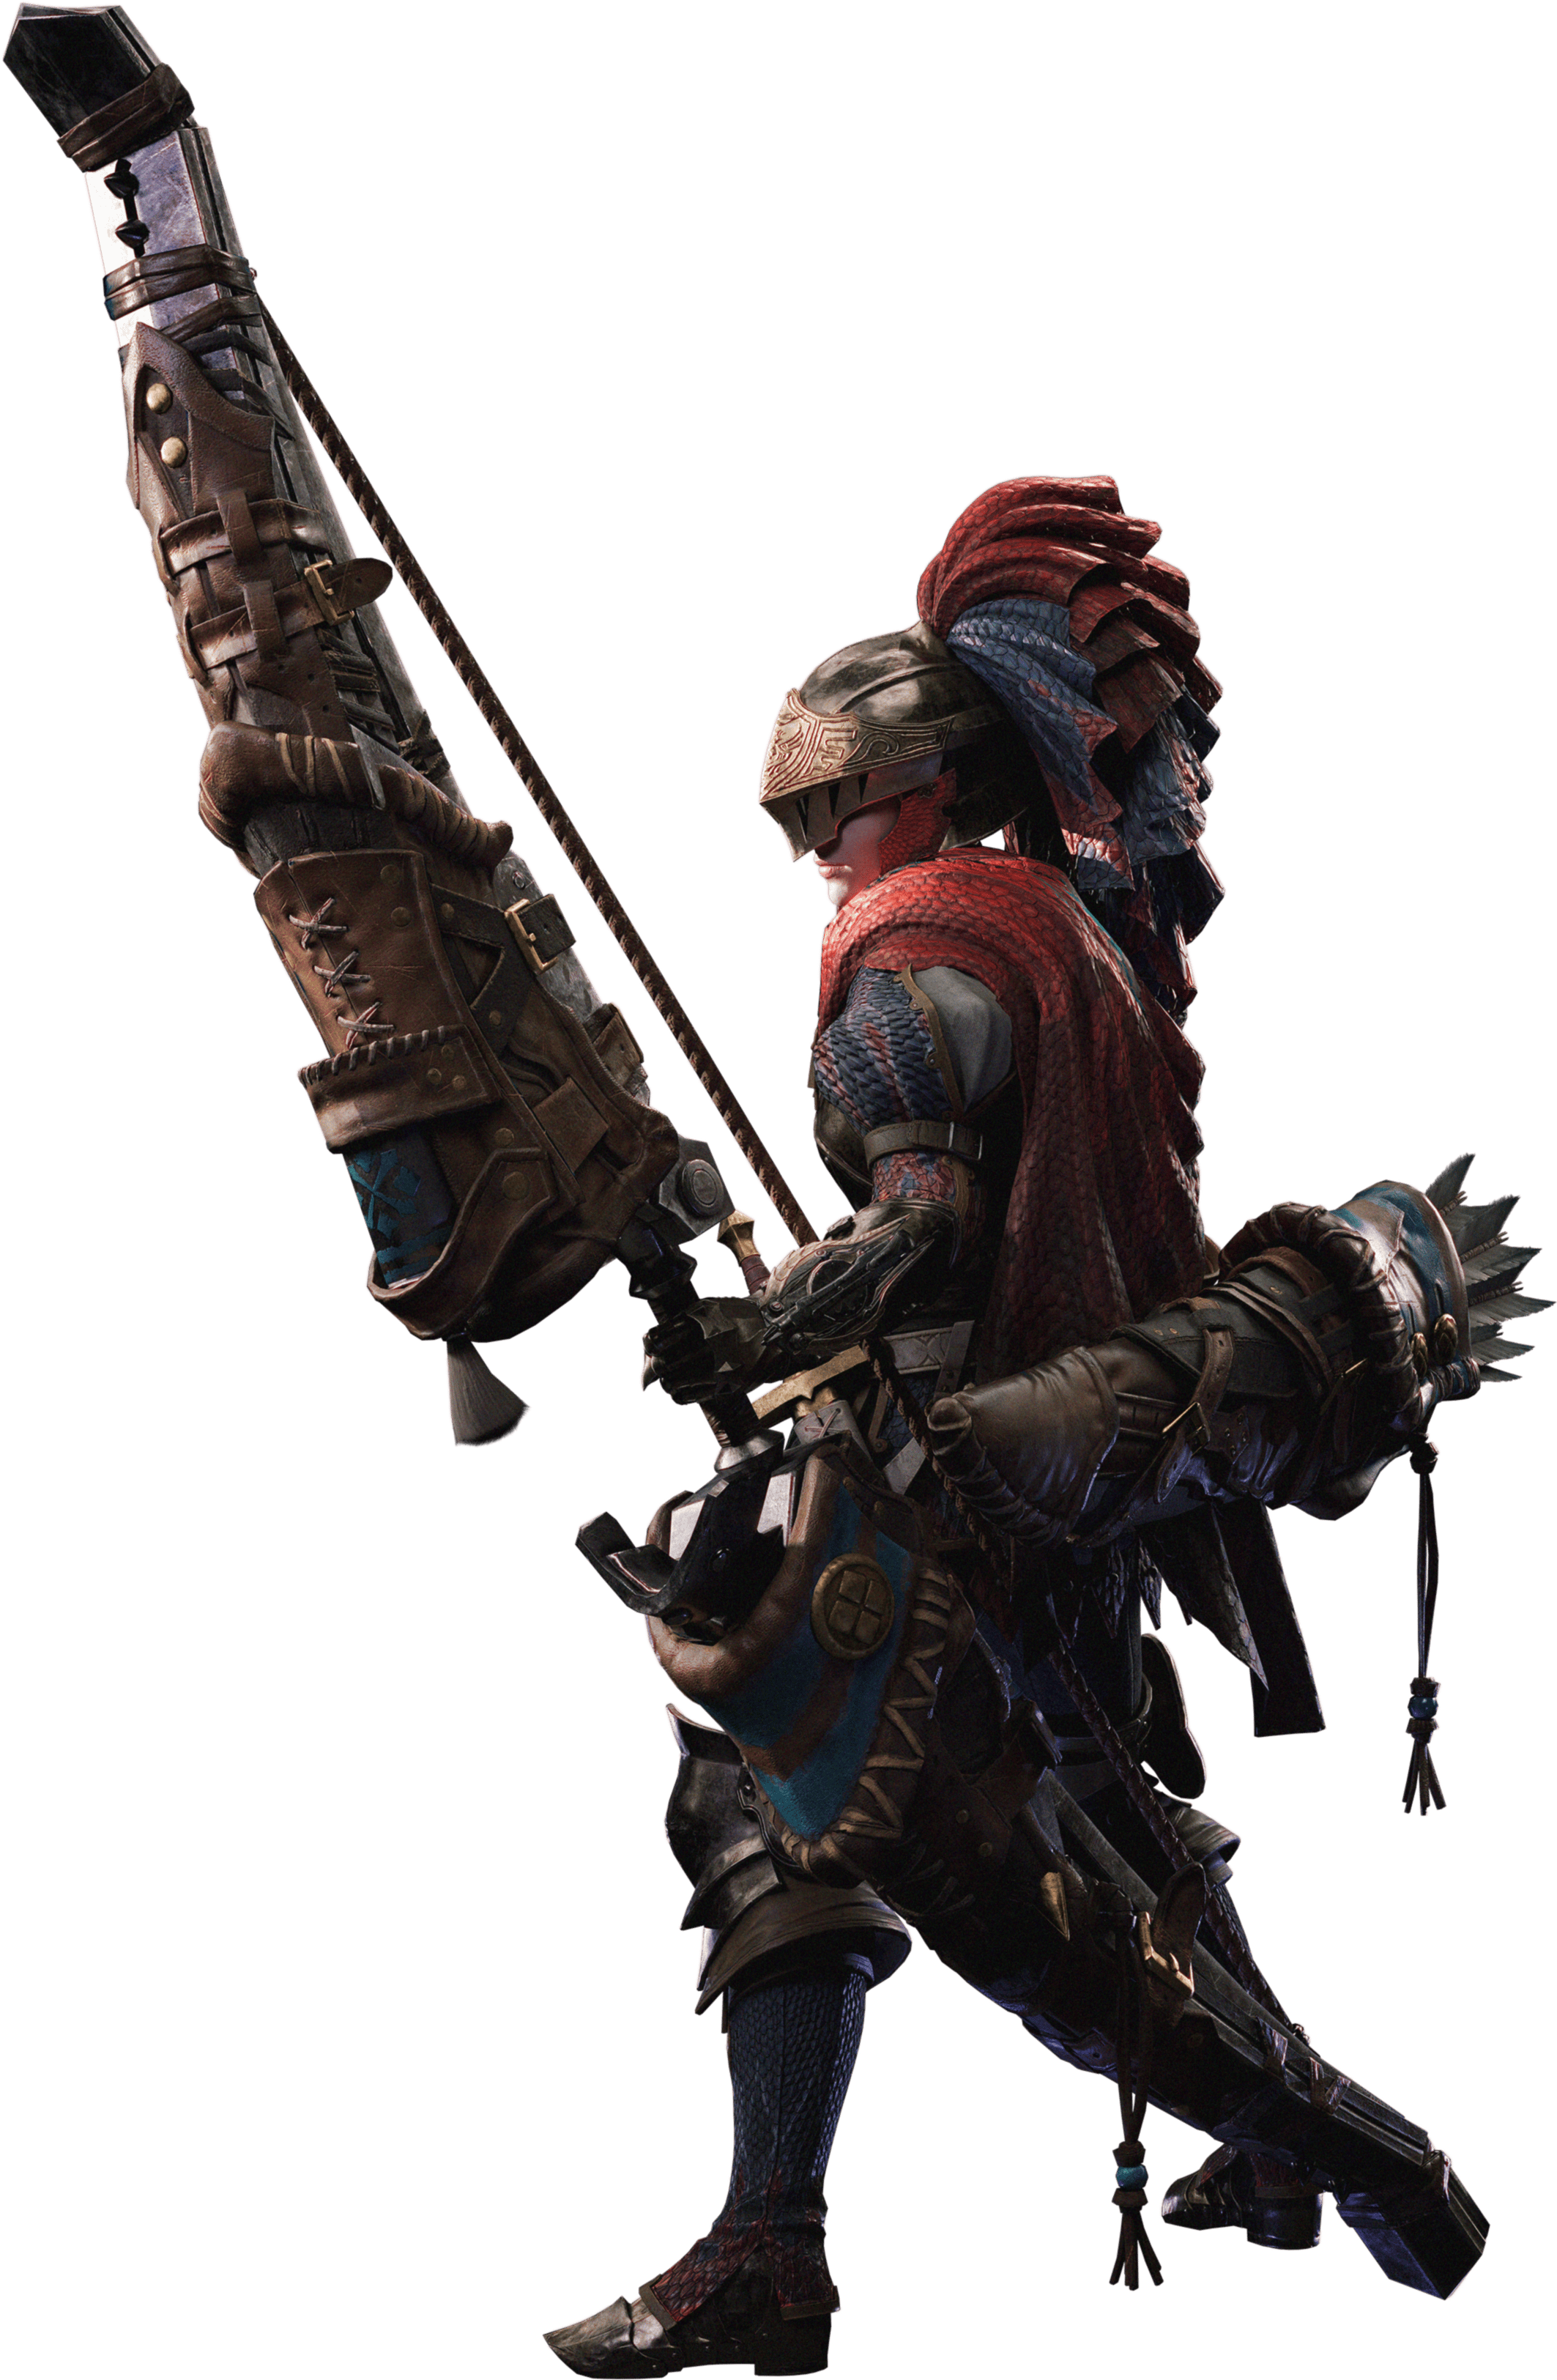
Introduction to the Bow
The Bow is a fast, precise, and very mobile ranged weapon that allows you to attack continuously without reloading. It is perfect for hunters who like to stay on the move, deal consistent damage, and use special coatings to boost attacks.
Unlike other ranged weapons, the Bow focuses on charged shots, dodging to maintain attack power, and status-based coatings to weaken monsters over time. On top of that, Monster Hunter Wilds introduced new mechanics to this weapon, such as the Trick Arrow Gauge, Tracer Arrows, and Focus Strike, which makes the bow more versatile than ever before.
This guide covers everything you need to know about the Bow in Monster Hunter Wilds, from its mechanics and best combos to its strengths, weaknesses, and how to use it during hunts.
In the event you are looking for our Bow builds, please click the link below.
Bow Strengths & Weaknesses
 High mobility – allows constant movement while attacking.
- Consistent ranged damage without needing to reload.
- Variety of coatings for status effects or increased damage.
- New mechanics (Trick Arrow Gauge and Tracer Arrows) add more depth.

 No Guarding - Requires precise dodging instead of blocking.
- Stamina Management - Charging and moves drain stamina fast.
- Close Range Combat - Being melee means staying close to land hits, which can be risky against certain monsters.
- Can Launch Allies - Hammer swings can knock teammates around.

Bow Control Scheme
| Action | PlayStation | Xbox | PC |
|---|---|---|---|
| Charge / Shoot | Hold then Release | Hold then Release | Hold then Release |
| Aim / Focus | Hold | Hold | Hold |
| Quick Shot | |||
| Power Shot | after a shot | after a shot | after a shot |
| Arc Shot | + + | + + | + + |
| Charging Sidestep | + | + | + |
| Flying Swallow Shot | during Charging Sidestep | during Charging Sidestep | during Charging Sidestep |
| Dragon Piercer | + | + | + |
| Instant Dragon Piercer | + during a combo | + during a combo | + during a combo |
| Thousand Dragons | + + | + + | + + |
| Select Coating | Hold + or | Hold + or | Hold + Up/Down Arrow Keys or / |
| Apply Coating | |||
| Ready Tracer | Hold + | Hold + | Hold + |
| Focus Fire: Hailstorm | + | + | + |
Bow Mechanics
Charge Levels and Critical Distance
In Monster Hunter Wilds, mastering the Bow involves understanding its charge levels and the concept of critical distance. Here is a quick breakdown:
- Charging Shots: Holding down the attack button (//) will charge your shot, increasing its power. The Bow has multiple charge levels, and the longer you hold it, the harder it hits. Releasing at a higher charge level deals more damage.
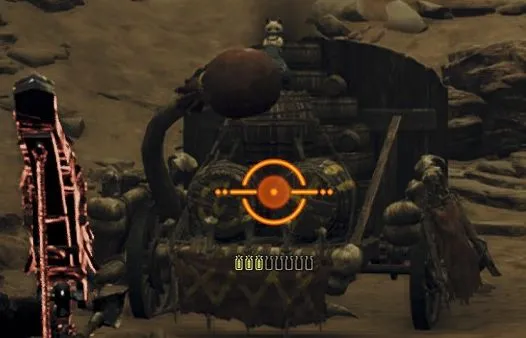
- Critical Distance: To hit for max damage, you need to be at the right range. Your reticle will glow orange when you are at the perfect distance. If you are too close or too far your arrows will not hit as hard.
Balancing these two mechanics is important if you want to make the Bow feel good and effective in hunts. So keep an eye on your charge levels, stay in the right range, and you will be dealing high-damage shots in no time.
Trick Arrow Gauge
The Bow in Monster Hunter Wilds has had some major changes, starting with the Trick Arrow Gauge, which completely replaces the old coating system. Instead of stocking up on coatings before a hunt, they are now tied to this gauge.
- A new resource that is unique to the Bow in Monster Hunter Wilds.
- Fills when you land attacks or perform perfect dodges (Discerning Dodge).
- Used for:
- Loading Tracer Arrows (for better targeting).
- Executing various special attacks.
- Applying coatings.
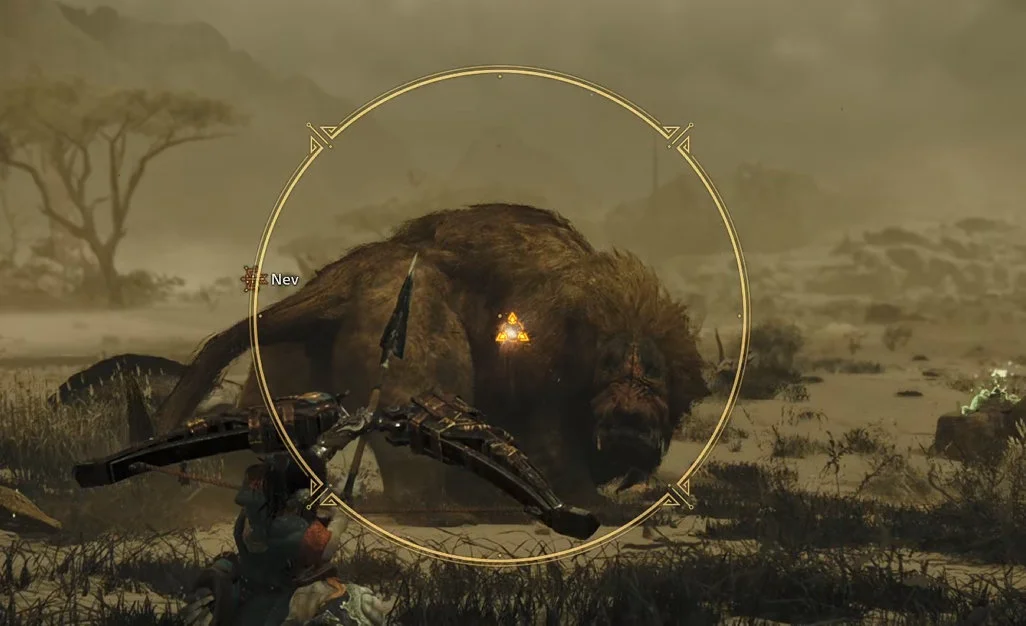
Tracer Arrows and Focus Mode
Another big addition is the Tracer Arrow, a homing beacon you can shoot and stick onto a monster. Once placed, all your Bow attacks, including Dragon Piercer, will automatically lock onto the target until the arrow explodes, making it easier to land consistent hits.
Arc Shot is also way more useful now, dealing AOE damage over time and placing explosive arrows into the monster. You can then detonate them with Thousand Dragons or Focus Strike.
- Tracer Arrows stick to the monster, allowing all following shots to hit the same mark.
- Great for precise damage and hitting weak points.
- Arc Shots apply Tracer Arrows AND cause stun damage, making them useful for setting up combos.
- Focus Mode (//) aligns you with the target, making aiming easier.
- Focus Strike (// in Focus Mode):
- If the monster has a half-open wound, Focus Strike forces it fully open.
- If the wound is fully open, Focus Strike deals extra burst damage.
- If used on an unwounded part, it still deals bonus damage.
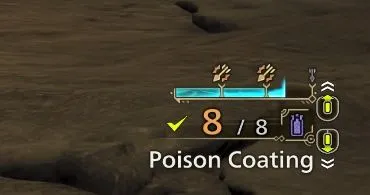
Coatings and Their Effects
Bow coatings in Monster Hunter Wilds, like Paralysis Coating, do not apply status effects instantly. Instead, each shot builds up status over time, and once the monster's resistance threshold is reached, the effect triggers. Some monsters are more resistant than others, meaning you will need more hits to get the effect to land - or it might not work at all. After a status effect is applied, the monster's resistance increases temporarily, making it harder to trigger again right away. To make the most of status coatings, focus on monsters with known vulnerabilities and keep up steady pressure to build up the effect as quickly as possible.
Coatings in Monster Hunter Wilds also work differently compared to previous games. As explained in the Trick Arrow Gauge section, coatings no longer have a limited inventory; instead, they drain energy from the Trick Arrow Gauge, which is refilled by landing attacks or performing Discerning Dodge.
- Coatings are no longer separate items that you need to stock up on before a hunt.
- Coatings add more flexibility to the Bow and provide unique effects.
- Applying coatings now consumes Trick Arrow energy instead of depleting a set number of arrows.
- You regain Trick Arrow energy by landing attacks and successfully executing Discerning Dodge (a new evasive mechanic).
- Each coating does something specific, so check which monster you are hunting first!
- The coatings you have access to will depend on your equipped Bow. Each Bow has access to a different set of coatings.
| Coating Type | Effect |
|---|---|
| Power Coating | Boosts raw damage. |
| Close-Range Coating | Increases damage up close. |
| Piercing Coating | Makes arrows penetrate through targets. |
| Poison Coating | Applies poison, dealing damage over time. |
| Paralysis Coating | Temporarily immobilizes the monster. |
| Sleep Coating | Puts the monster to sleep. |
| Blast Coating | Causes small explosions after multiple hits. |
| Exhaust Coating | Drains the monster's stamina, making it tired. |
Because coatings now share the same resource as Tracer Arrows and Focus Strike, you will need to manage your Trick Arrow energy wisely to balance damage, utility, and survivability.
Discerning Dodge
For defense, the Bow gets Discerning Dodge, a perfectly timed evade that not only negates damage but also restores stamina and refills the Trick Arrow Gauge . If timed right, it is a great survival tool that keeps you in the fight.
All these changes make the Bow feel much more dynamic, as it rewards smart resource management and precise execution. And if this still has not convinced you, there are 13 other Weapons to choose from in Monster Hunter Wilds. So, there is plenty to be excited about for the next hunt!
Bow Combos and Skills
Understanding how the Bow and its combos work is important if you want to keep up damage and stay on the offensive. The bow is all about smooth, continuous attacks, letting you adjust to different situations on the go. By combining charge shots, sidesteps, and special attacks, you can keep up steady pressure while still staying mobile and dealing big bursts of damage.
Basic Combos
Basic combos are rather easy to pull off and good for beginners or anyone just starting out with the bow. Once you get the hang of the basics, you can easily move on to more advanced combos.
Power Shot Combo
Fire Arrow → Charge Shot → Power Shot
A simple yet effective combo for consistent ranged damage.
- Fire Arrow: Hold / / then release
- Charge Shot: Hold until fully charged, then release
- Power Shot: Press / / after the shot
Power Volley Combo
Charge Shot → Charging Sidestep → Power Shot → Power Volley
This is a good combo for when you want to keep attacking while you reposition.
- Charge Shot: Hold / / then release
- Charging Sidestep: Press + / + / +
- Power Shot: Press / / immediately after the shot
- Power Volley: Press / / again for a follow-up volley
Thousand Dragons Combo
Jump Shot → Arc Shot → (Land) Power Shot → Thousand Dragons
A great combo for aerial combat or ledge-based attacks.
- Jump Shot: Fire while airborne from a ledge or mount
- Arc Shot: Press + + / + + / + +
- Land, then Power Shot: Press / /
- Thousand Dragons finisher: Hold + Press + / + + / + +
Advanced Combos
Once you got the basics down, it is time to step up to more advanced combos. They can be tricky to pull off, but if you can land them consistently, you will deal massive damage and have better control over the fight.
Focus Fire: Hailstorm Combo
Tracer Arrow → Charging Sidestep → Power Volley → Focus Fire:
Hailstorm
Marks weak spots and deals heavy damage.
- Ready Tracer Arrow: Hold + / + / +
- Charging Sidestep: Press + / + / +
- Power Volley: Press / / repeatedly
- Focus Fire: Hailstorm: Press + / + / +
Power Shot Loop Combo
Arc Shot → Stun Monster → Focus Strike → Power Shot Loop
Uses Arc Shot to stagger the enemy, setting up heavy damage follow-ups.
- Arc Shot: Hold + + / Hold + + / Hold + +
- Stun the monster: Wait for stagger effect
- Focus Strike: Follow up with normal shots or Hailstorm
- Power Shot Loop: Press / / repeatedly for a multi-hit sequence
Charge Shot Loop Combo
Perfect Dodge → Thousand Dragons → Charge Shot Loop
A high-risk, high-reward combo that takes advantage of dodge mechanics and the
trick arrow gauge.
- Perfect Dodge: Evade an attack just before impact, triggering evasion window bonus
- Thousand Dragons: Press + + / + + / + +
- Charge Shot Loop: Hold / / , then release repeatedly to continue attacking
Advanced Arc Shot Combo
Arc Shot → Flying Swallow Shot → Charging Sidestep → Dragon Piercer
Great combo that sets up explosive damage using Arc Shot and Fuse Arrows,
followed by a precise Dragon Piercer.
- Arc Shot: Press + + / + + / + +
- Flying Swallow Shot: Press / / during Charging Sidestep.
- Charging Sidestep: Press + / + / + to reposition while keeping the charge.
- Dragon Piercer: Press + / + / + to unleash a high-damage piercing shot, detonating all Fuse Arrows applied by Arc Shot.
This combo is best used against stationary monsters, after stunning them, or when they are locked in an animation for maximum damage!
Quick Summary
The Bow in Monster Hunter Wilds is perfect if you like a fast, skill-based playstyle. With charged shots, coatings, and new mechanics like Tracer Arrows, it brings high damage, great mobility, and plenty of utility. It does take good positioning and stamina management, but once you get the hang of it, you will be landing precise, powerful shots and defeat monsters in no time.
Changelog
- 01 Mar. 2025: Updated Controls.
- 21 Feb. 2025: Added Arc Shot Combo.
- 18 Feb. 2025: Guide created.
More Monster Hunter Wilds Content
This guide was written by Neviriah, a longtime Diablo and World of Warcraft fan with thousands of hours spent in both worlds. She covers news and guides for various games, with a passion for ARPGs, progression systems, and deep lore. If you have any questions, you can find her on YouTube, Twitch, and X/Twitter.
- Capture vs. Carve in MH Wilds – What You Really Need to Know
- Best Way to Prevent Monsters From Leaving in Monster Hunter Wilds!
- Poke It, Stab It, and Get Instant A-Rank in Wilds’ Arena!
- New Weekly MH Wilds Events and Challenge Quests!
- Monster Hunter Wilds – The Best Weapon Tier List Updated!
- Monster Hunter Wilds’ Arena Hidden Armors!
- Monster Hunter Wilds Surges Back After Major Update
- MH Wilds Blossomdance: What Cosmetics Can You Expect?