Auchenai Crypts Dungeon Guide
The recommended level range to run this dungeon on Normal is 65-69. Heroic
mode will require Level 70 and the ![]() Auchenai Key to enter.
Auchenai Key to enter.
Auchenai Crypts will take approximately 15-25 minutes to complete with an average group. This dungeon is commonly abbreviated as "AC" or "Crypts". The dungeon is located on the western side of the Auchindoun structure in Terokkar ForestZone.
In this guide, we will cover dungeon quests, the layout of the dungeon, an overview of trash mobs, tactics for each boss, loot that can be obtained, and ideal group compositions.
The Auchenai Crypts Quests
Before heading into Auchenai Crypts, we advise you to get all the dungeon quests related to it. To make this process easier, we have written a separate guide for the quests and their chains.
Auchenai Crypts Entrance Location
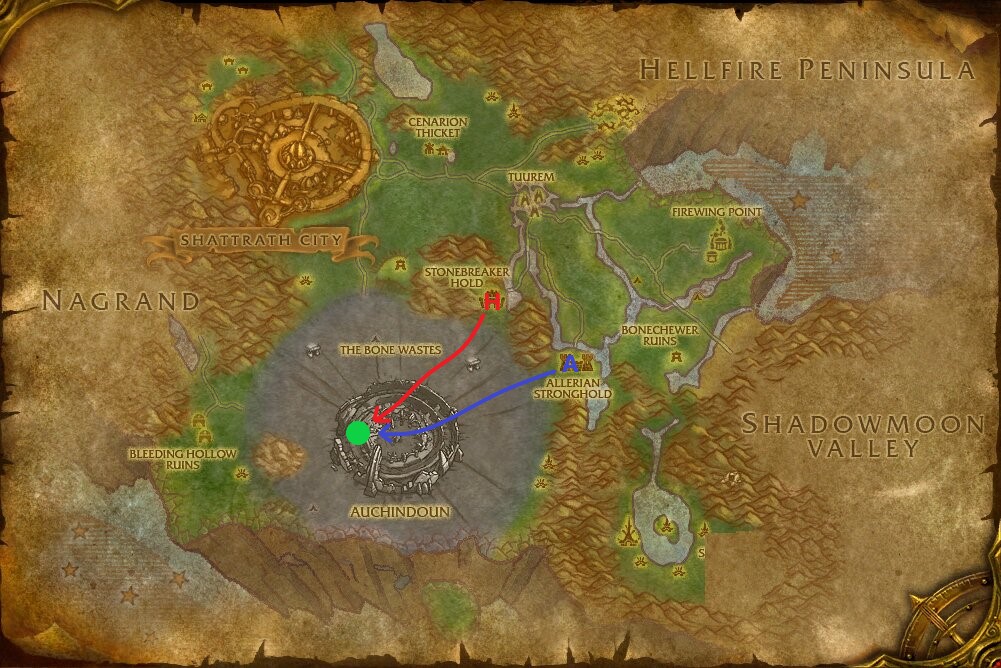
Conveniently, all dungeons in Terrokar Forest are located in one centralized location: Auchindoun. This structure can be easily found in the middle of the Bone Wastes.
To reach the bottom of this structure you will need to either fly down, take one of the passages found along the outside, or carefully jump from ledge to ledge. The summoning stone can be found in the very center of Auchindoun. Auchenai Crypts is the dungeon found on the western side of Auchindoun.
If your faction controls the spirit towers in Terokkar Forest, you will get
![]() Spirit Shards from each boss you kill inside this dungeon. These can be
exchanged at the nearest town for various rewards.
Spirit Shards from each boss you kill inside this dungeon. These can be
exchanged at the nearest town for various rewards.
Layout of Auchenai Crypts
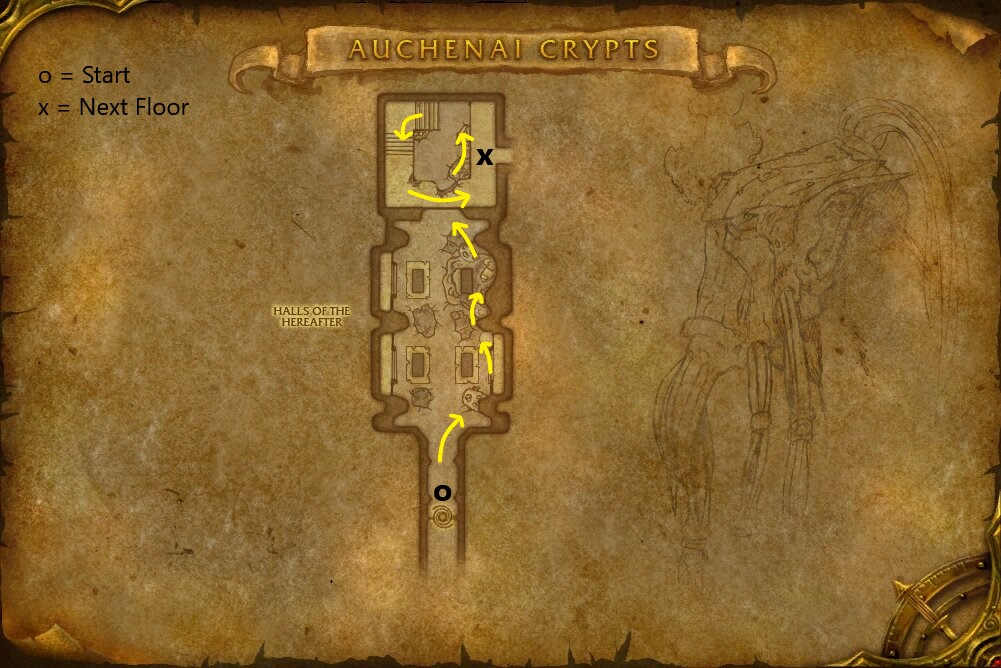
Auchenai Crypts is very linear in its pathing, only offering the choice of going along the left or right sides of rooms with both leading to the same path. On the first floor here you will fight your way through a few trash packs and work your way toward the staircase in the back, leading to the second level of the dungeon. Make sure to hug the sides tightly to avoid pulling packs you can skip.
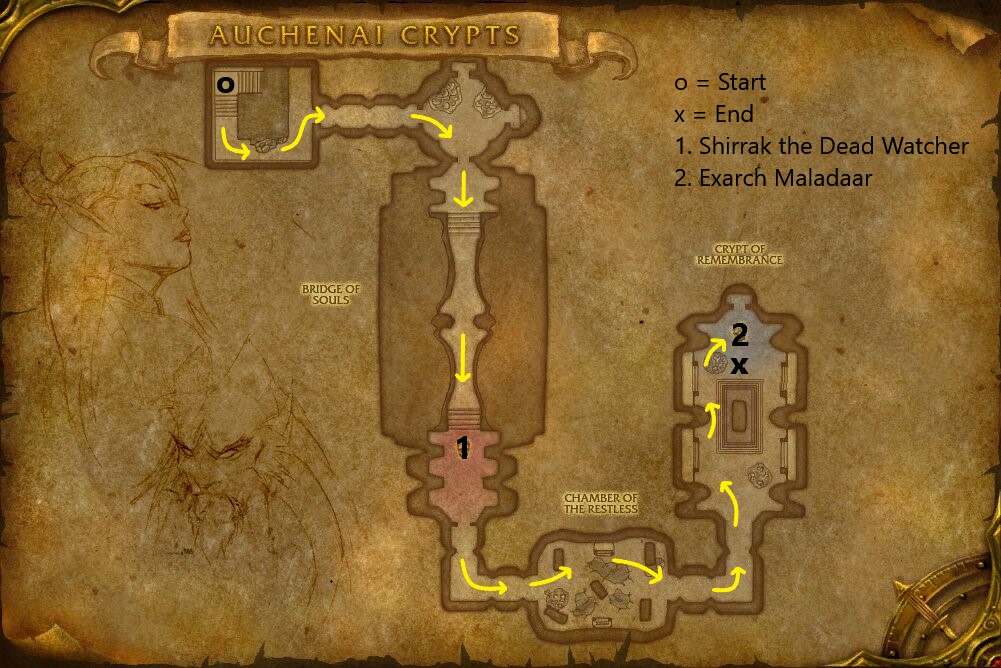
Here we have the second floor of the dungeon. This floor of the dungeon follows a very strict one-way path. At the end of the path you can go left or right to reach Exarch Maladaar. Stay together with your group and take the pulls slowly as these packs can be quite dangerous if handled poorly.
Reputation From Auchenai Crypts
Killing mobs in this instance grants Lower City reputation.
Normal Difficulty
- Most enemies grant 10 reputation each.
- Summoned adds grant 8 reputation each.
- Each boss grants 90 reputation.
- A Normal Auchenai Crypts run will give around 750 reputation.
Heroic Difficulty
- Most enemies grant 18 reputation each.
- Summoned adds grant 15 reputation each.
- Each boss grants 250 reputation.
- A Heroic Auchenai Crypts run will give around 1,450 reputation.
Notable Auchenai Crypts Trash
In this section, we will briefly go over each of the trash mobs that pose a threat to you in this dungeon.
Summoned Spirit Adds
The Humanoid trash mobs in this dungeon all have an ability that summons a spirit add to their side at the start of combat. The spirit summoned can be multiple different mobs, some of which are extremely dangerous. Below is a list of all of the spirits and their dangerous abilities:
- Phantasmal Possessor — If left alive long enough, this add
will mind control a target. Kill these as soon as possible; they are the most
dangerous spirit.

- Unliving Sorcerer

- Unliving Cleric

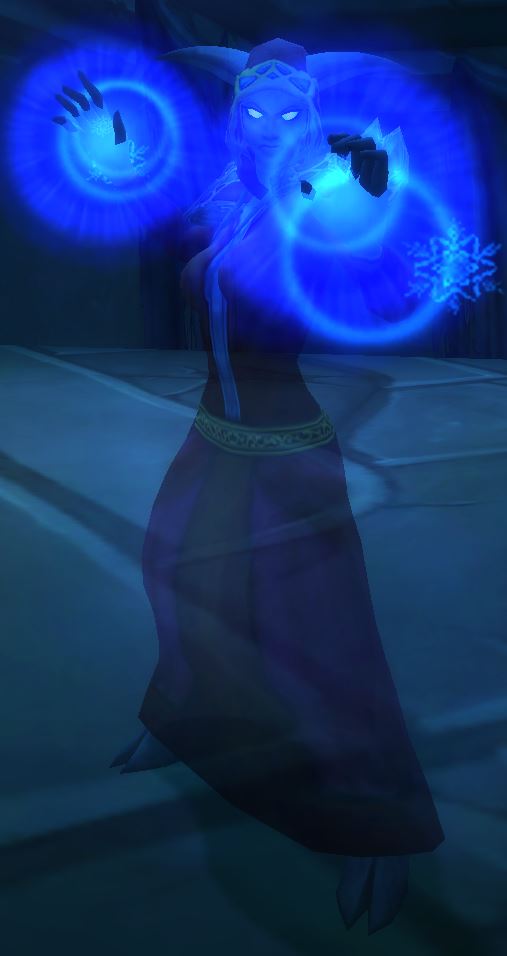
You will want to prioritize killing these in the order shown above, as they can easily cause a wipe if ignored.
Auchenai Monk
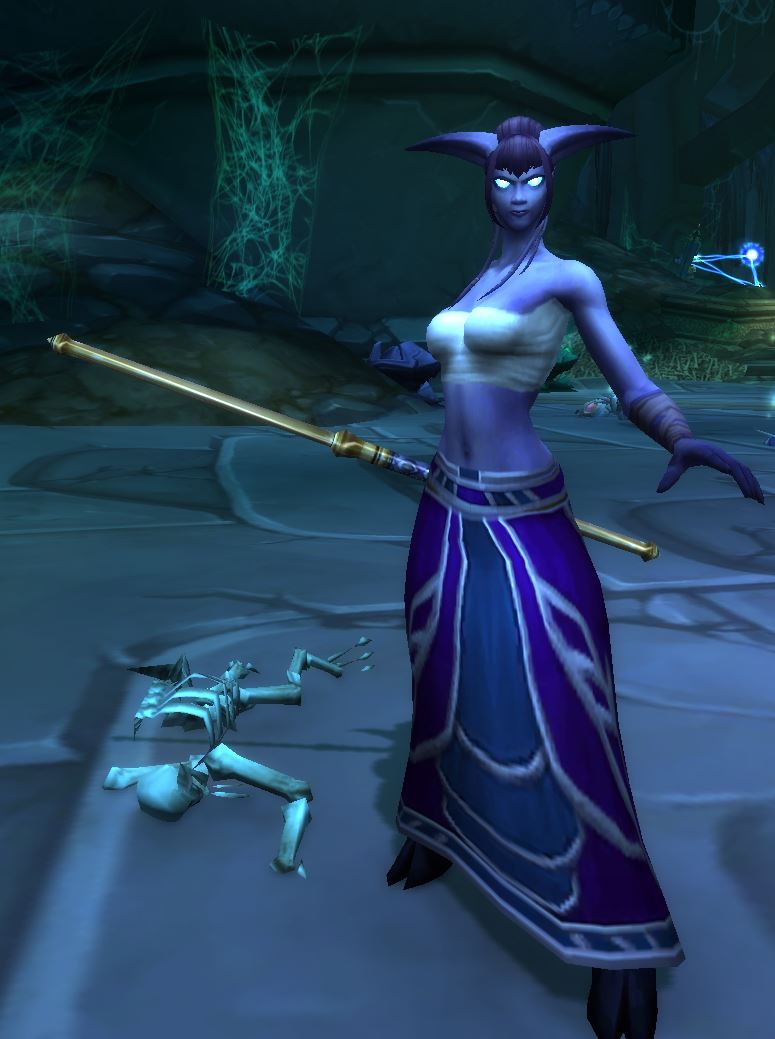
These are worth mentioning as they can deal very high burst damage to tanks if their abilities line up. Make sure to tank them away from the group to avoid the interrupts and AoE damage.
Raging Soul
These are all along the bridge right before Shirrak the Dead Watcher.
They are invisible and will only appear when a player gets close to them. As
soon as they appear, they will start to cast ![]() Rage. If the cast is
allowed to finish they will knock all nearby players off of the bridge,
instantly killing them. The party needs to be ready to kill these as soon as
they appear.
Rage. If the cast is
allowed to finish they will knock all nearby players off of the bridge,
instantly killing them. The party needs to be ready to kill these as soon as
they appear.
Overview of Auchenai Crypts Bosses
Here we will give you a full rundown of what you can expect from each of the bosses found here on both Normal and Heroic difficulties as well as the items they drop.
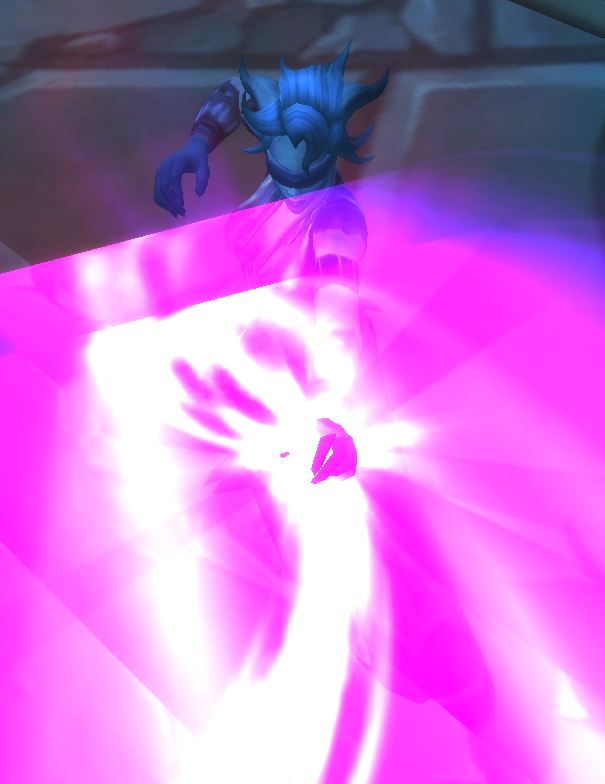
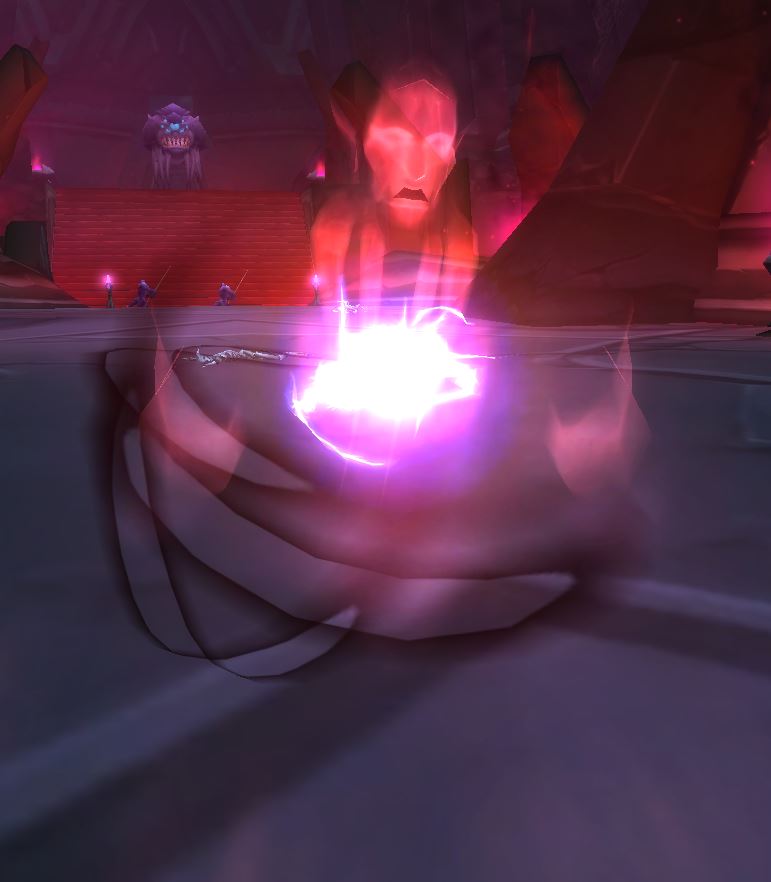
Shirrak the Dead Watcher
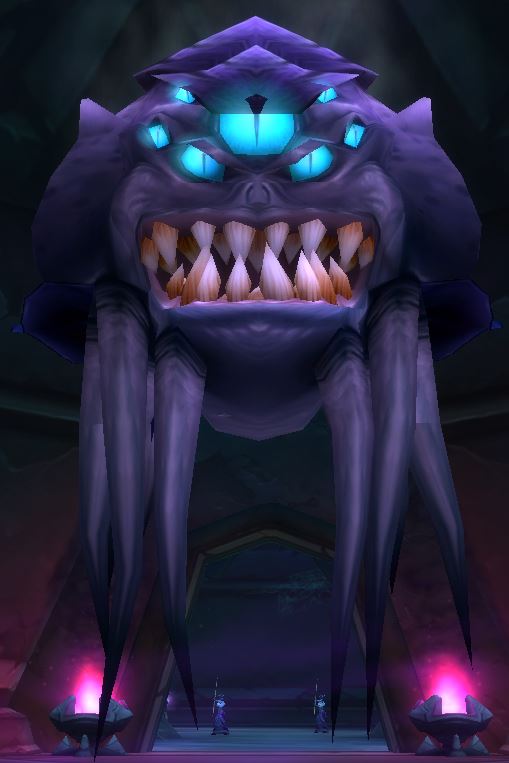
The main threat of this fight is the ![]() Focus Fire. It will target a
random player, mark them with a flare, and after a short delay that area will be
blasted by a barrage of fire damage. Players need to be ready to move out of the
flare as soon as it spawns, as anyone caught inside of the flare will surely be
killed.
Focus Fire. It will target a
random player, mark them with a flare, and after a short delay that area will be
blasted by a barrage of fire damage. Players need to be ready to move out of the
flare as soon as it spawns, as anyone caught inside of the flare will surely be
killed.
![]() Inhibit Magic is also a major threat on this fight as your healer
will have very long cast times on their healing spells. This debuff can be
line-of-sighted to prevent it from refreshing, so you may want to tank the boss
in an area where breaking line-of-sight is an option.
Inhibit Magic is also a major threat on this fight as your healer
will have very long cast times on their healing spells. This debuff can be
line-of-sighted to prevent it from refreshing, so you may want to tank the boss
in an area where breaking line-of-sight is an option.
Other than the two above mentioned abilities, the boss is very
straightforward. You will need to burn the boss down quickly before the
![]() Carnivorous Bite bleed stacks too high on the tank and any melee
players and becomes unhealable. Use all your cooldowns available and kill him
quickly.
Carnivorous Bite bleed stacks too high on the tank and any melee
players and becomes unhealable. Use all your cooldowns available and kill him
quickly.
Loot from Normal
| Item | Required Level | Item Type | Slot |
|---|---|---|---|
| 65 | Cloth | Head | |
| 65 | Leather | Head | |
| 65 | Plate | Head | |
| 65 | Accessory | Trinket | |
| 65 | One-Handed Sword | Main-Hand |
Loot from Heroic
| Item | Required Level | Item Type | Slot |
|---|---|---|---|
| 70 | Cloth | Head | |
| 70 | Plate | Shoulder | |
| 70 | Wrist | ||
| 70 | Cloth | Hands | |
| 70 | Feet | ||
| 70 | Fist Weapon | Main-Hand | |
| BoP | Gem | Misc | |
| BoP | Gem | Misc | |
| BoP | Gem | Misc |
Exarch Maladaar
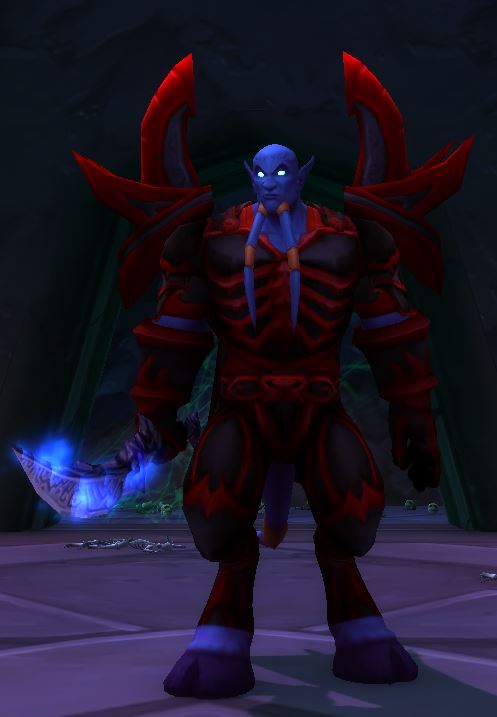
This is a very straightforward fight. Tank the boss away from the ranged group, kill any shadow images that spawn, and make sure to pick up Avatar of the Martyred when he spawns.
Loot from Normal
| Item | Required Level | Item Type | Slot |
|---|---|---|---|
| 65 | Leather | Head | |
| 65 | Head | ||
| 65 | Cloth | Feet | |
| 65 | Accessory | Finger | |
| 65 | Accessory | Trinket | |
| 65 | Staff | Weapon |
Loot from Heroic
| Item | Required Level | Item Type | Slot |
|---|---|---|---|
| 70 | Accessory | Neck | |
| 70 | Leather | Shoulder | |
| 70 | Cloak | Back | |
| 70 | Cloak | Back | |
| 70 | Leather | Hands | |
| 70 | Cloth | Waist | |
| 70 | Waist | ||
| 70 | Plate | Legs | |
| 70 | Leather | Feet | |
| 70 | Accessory | Finger | |
| 70 | Accessory | Finger | |
| 70 | One-Handed Axe | Weapon | |
| 70 | One-Handed Mace | Main-Hand | |
| 70 | One-Handed Mace | Main-Hand | |
| 70 | Staff | Weapon | |
| BoP | Gem | Misc | |
| BoP | Gem | Misc | |
| BoP | Gem | Misc |
Recommended Auchenai Crypts Group Composition
Auchenai Crypts does not have any large pulls that require AoE. The majority of the pulls in this dungeon consist of two mobs, so having one form of crowd control is highly recommended as crowd-controlling one of the humanoids will prevent a spirit add from being summoned.
You will want to avoid bringing too many caster-based damage dealers as
the ![]() Inhibit Magic from Shirrak the Dead Watcher will make
casters deal much lower DPS.
Inhibit Magic from Shirrak the Dead Watcher will make
casters deal much lower DPS.
Changelog
- 10 Jun. 2021: Added pictures of mobs.
- 26 May 2021: Guide added.
This guide has been written by Abide, TBC veteran for nearly a decade. Abide is a Warrior tank and multi-class expert currently playing on Faerlina as Horde. You can find him in the the Icy Veins Discord. You can also see him live on Twitch.
- Did Blizzard Just Quietly Invite Creators to Play WoW Classic’s Next Chapter?
- WoW Weekly Returns: Patch 12.0.5, Twitch Drops & Classic Updates
- WoW BCC Anniversary Edition: Overlords of Outland – Everything Coming May 14
- Battleground Honor Significantly Increased
- Limited-Time Mount Alert: Get the Voidfeather Dragonhawk for TBC Classic Servers Now!
- Could WoW Be Added to Xbox Game Pass Ultimate?
- MoP Classic Escalation PTR Update Details New Content
- TBC Classic Players Are Earning Arena Points Differently Now