Mana-Tombs Dungeon Guide
The recommended level range to run this dungeon on Normal is 64-68. Heroic
mode will require Level 70 and the ![]() Auchenai Key to enter.
Auchenai Key to enter.
Mana-Tombs will take approximately 20-30 minutes to complete with an average group. This dungeon is commonly abbreviated as "MT" and is located on the Northern side of the Auchindoun structure.
In this guide, we will cover dungeon quests, the layout of the dungeon, an overview of trash mobs, tactics for each boss, loot that can be obtained, and ideal group compositions.
The Mana-Tombs Quests
Before heading into Mana-Tombs, we advise you to get all the dungeon quests related to it. To make this process easier, we have written a separate guide for the quests and their chains.
Mana-Tombs Entrance Location
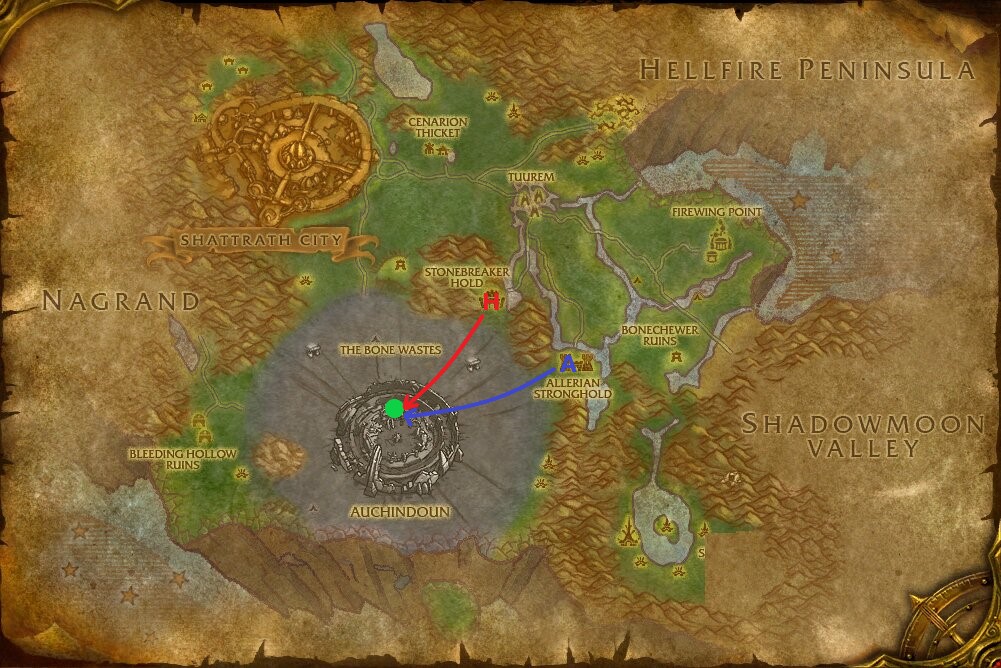
Conveniently, all dungeons in Terokkar Forest are located in one centralized location: Auchindoun. This structure can be easily found in the middle of the Bone Wastes.
To reach the bottom of this structure you will need to either fly down, take one of the passages found along the outside, or carefully jump from ledge to ledge. The summoning stone can be found in the very center of Auchindoun. Mana-Tombs is the dungeon found on the North side of Auchindoun.
If your faction controls the spirit towers in Terokkar Forest, you will get
![]() Spirit Shards from each boss you kill inside this dungeon. These can be
exchanged at the nearest town for various rewards.
Spirit Shards from each boss you kill inside this dungeon. These can be
exchanged at the nearest town for various rewards.
Layout of Mana-Tombs
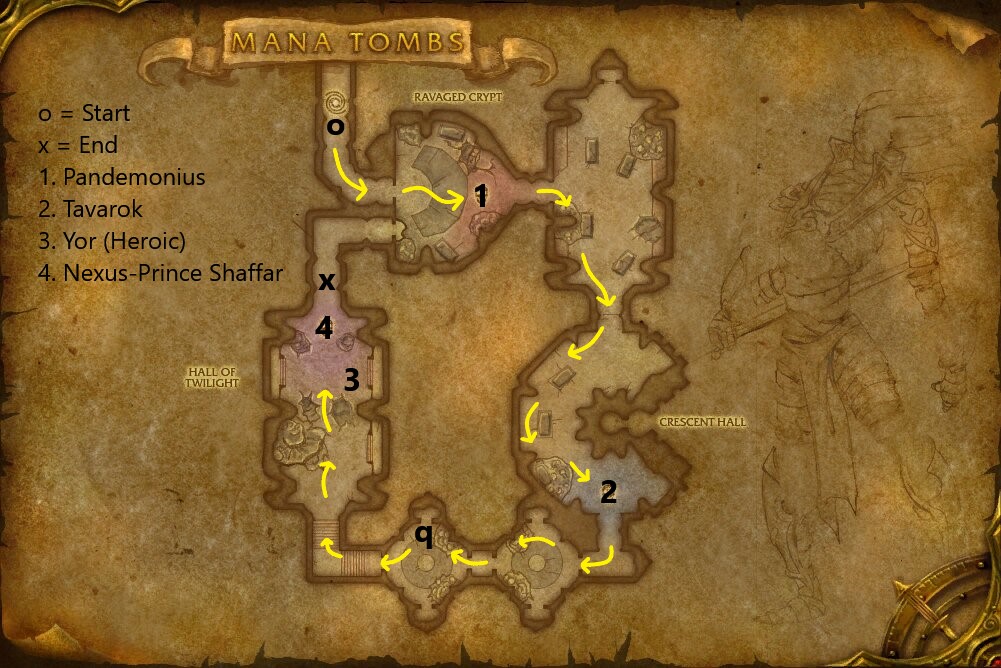
Mana-Tombs is unique, as it is the only dungeon that will grant players The Consortium reputation from the creatures inside. While the dungeon itself is somewhat small, there are quite a few pulls inside that can be dangerous. It is recommended to follow a similar path to the picture shown above to avoid packs that can be skipped.
After defeating Nexus-Prince Shaffar at the end of the dungeon players may run behind where he was and jump from a ledge that will return them to the start of the dungeon, allowing easy departure from the tombs.
Reputation From Mana-Tombs
Killing mobs in this instance grants The Consortium reputation.
Normal Difficulty
- Most monsters grant 7 reputation each.
- Each boss grants 70 reputation.
- A Normal Mana-Tombs run will give around 850 reputation.
- Reputation gains in Normal stop at (5999/6000) Friendly, including bosses.
Heroic Difficulty
- Most monsters grant 15 reputation each.
- Each boss grants 250 reputation.
- A Heroic Mana-Tombs run will give around 2,100 reputation, 250 more if Yor is summoned.
Notable Mana-Tombs Trash
In this section, we will briefly go over each of the trash mobs that pose a threat to you in this dungeon.
Ethereal Crypt Raider
These can be rather dangerous as ![]() Soul Strike does high damage and
cuts healing received in half. Their
Soul Strike does high damage and
cuts healing received in half. Their ![]() Charge can also cause problems,
especially at the start of a pull. Try to line-of-sight these at the start of
combat to force them to walk into melee range.
Charge can also cause problems,
especially at the start of a pull. Try to line-of-sight these at the start of
combat to force them to walk into melee range.
Ethereal Sorcerer
This Caster-type mob deals high damage with ![]() Arcane Missiles.
Line-of-sight these and kill them quickly to avoid summoning in Arcane Fiends.
If any Arcane Fiends do get summoned in, they should be focused down quickly as
they cast
Arcane Missiles.
Line-of-sight these and kill them quickly to avoid summoning in Arcane Fiends.
If any Arcane Fiends do get summoned in, they should be focused down quickly as
they cast ![]() Counterspell which silences casters for 15
seconds.
Counterspell which silences casters for 15
seconds.
Ethereal Priest
These are very strong healer mobs that can easily cause issues in pulls. Their
![]() Holy Nova deals heavy damage and also heals for a large
amount. It is recommended to either kill these first or use any crowd control
available on them. Be ready to stun or interrupt their
Holy Nova deals heavy damage and also heals for a large
amount. It is recommended to either kill these first or use any crowd control
available on them. Be ready to stun or interrupt their ![]() Heal.
Heal.
Nexus Terror
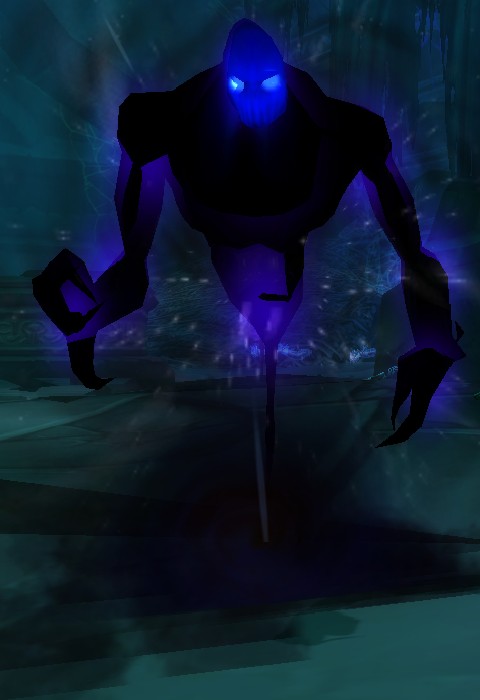
These are the most dangerous trash mob in the entire dungeon. They deal purely Shadow damage, even with their melee attacks. Use any form of debuff available to you to weaken them as much as possible. Make sure to pull these far away from other trash mobs, as it is very easy to accidentally pull other groups if feared.
Ethereal Darkcaster
The ![]() Mana Burn from these enemies destroys a large amount of Mana.
You will want to make sure to line-of-sight these as much as possible and
interrupt the Mana Burn every time. Focus these down quickly or
use crowd control on them to prevent needing to drink every pull.
Mana Burn from these enemies destroys a large amount of Mana.
You will want to make sure to line-of-sight these as much as possible and
interrupt the Mana Burn every time. Focus these down quickly or
use crowd control on them to prevent needing to drink every pull.
Mana Leech
While these appear to be very weak, they are quite dangerous. They come in
groups of anywhere between 3 to 8, which can be quite deadly if not handled
properly. Line-of-sight whenever possible to avoid the ![]() Mana Burn.
it is not recommended to AoE these down when facing the larger packs of them as
the
Mana Burn.
it is not recommended to AoE these down when facing the larger packs of them as
the ![]() Arcane Explosion they cast on death does quite a large amount of
damage and can kill anyone in melee range, including tanks, if even a few of
them die at the same time.
Arcane Explosion they cast on death does quite a large amount of
damage and can kill anyone in melee range, including tanks, if even a few of
them die at the same time.
Nexus Stalker
The ![]() Gouge occurs often and can be quite deadly, especially when
facing multiple Stalkers at once, as the tank will be unable to help and all
mobs will begin attacking other targets.
Gouge occurs often and can be quite deadly, especially when
facing multiple Stalkers at once, as the tank will be unable to help and all
mobs will begin attacking other targets.
Apply any slow debuffs to these to help players kite while the tank is incapacitated. It is also possible for the tank to taunt any mob they are fighting before getting Gouged, as this will force the mob to hit them and break the Gouge.
Ethereal Spellbinder
The main threat of these mobs is the ![]() Summon Ethereal Wraith they cast
if left alive long enough. If any Ethereal Wraiths do get summoned in,
they should be focused down quickly as they cast
Summon Ethereal Wraith they cast
if left alive long enough. If any Ethereal Wraiths do get summoned in,
they should be focused down quickly as they cast ![]() Shadow Bolt Volley
which can quickly cause problems.
Shadow Bolt Volley
which can quickly cause problems.
Overview of Mana-Tombs Bosses
Here we will give you a full rundown of what you can expect from each of the bosses found here on both Normal and Heroic difficulties as well as the items they drop.
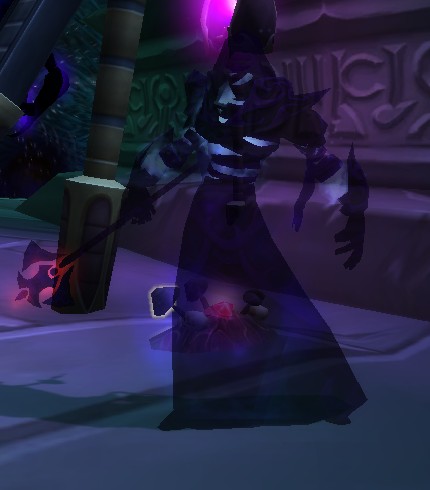
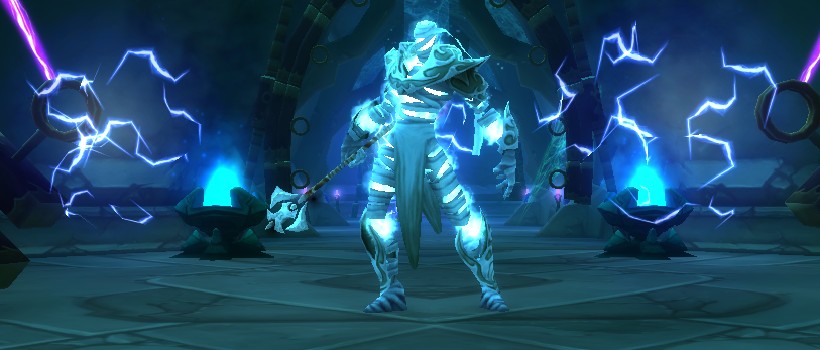
Pandemonius
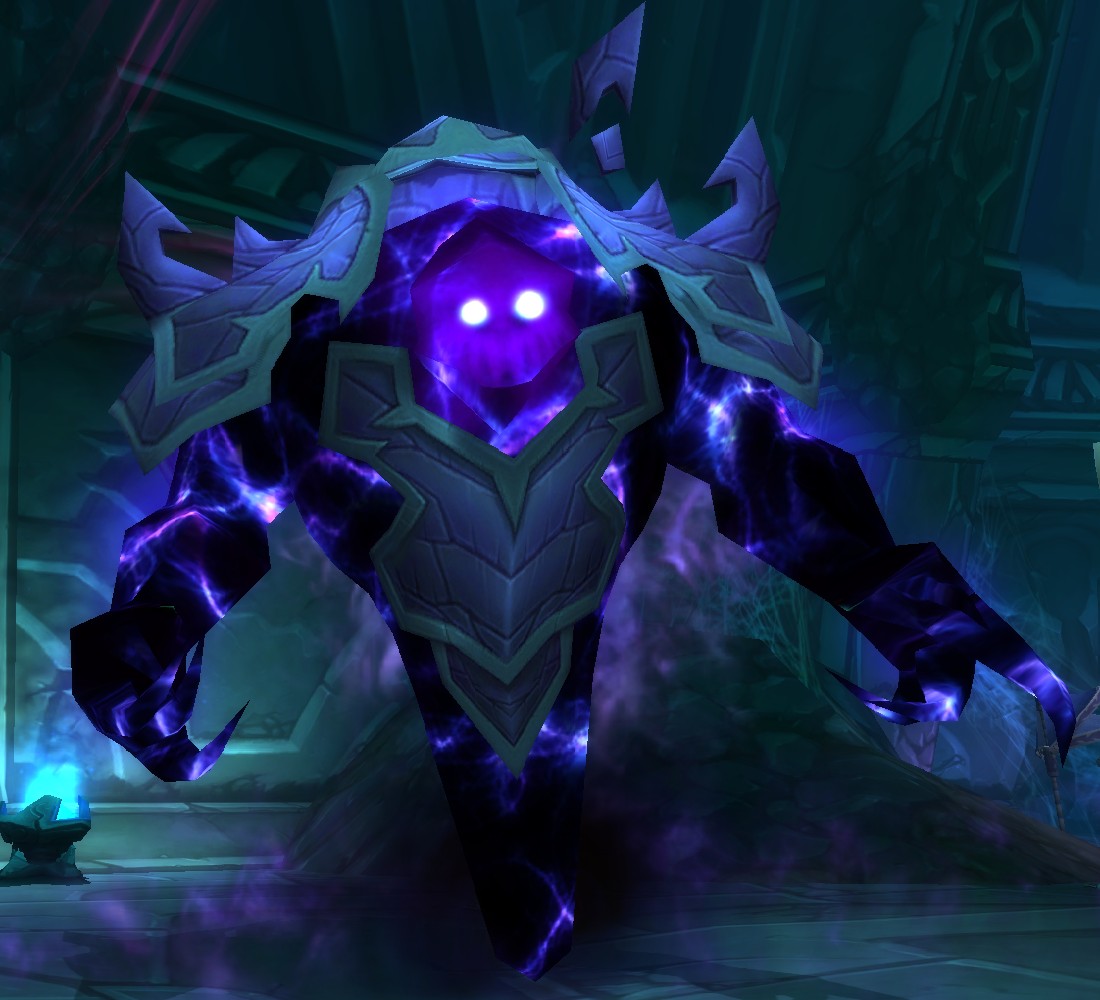
This is one of the hardest bosses in all the dungeons throughout Outland. He deals high shadow damage with all attacks, including his melee attacks. Shadow resistance is a huge help on this, especially for the tank as Armor will have no effect against his high Shadow melee damage.
During the ![]() Dark Shell, it is very important that all casters and
melee stop damaging the boss as this will cause your party to take
much more damage. This fight is already very healing-intensive, so do not make it
even harder for your healer. Tanks should also stop melee attacking during
the shell.
Dark Shell, it is very important that all casters and
melee stop damaging the boss as this will cause your party to take
much more damage. This fight is already very healing-intensive, so do not make it
even harder for your healer. Tanks should also stop melee attacking during
the shell.
![]() Void Blast will target each player individually, dealing
high Shadow damage to them and knocking them back. If you have a
Shaman in your group,
Void Blast will target each player individually, dealing
high Shadow damage to them and knocking them back. If you have a
Shaman in your group, ![]() Grounding Totem will trivialize this
mechanic as it will absorb all of the attacks. If not, place your back against
an object.
Grounding Totem will trivialize this
mechanic as it will absorb all of the attacks. If not, place your back against
an object.
Loot from Normal
| Item | Required Level | Item Type | Slot |
|---|---|---|---|
| 64 | Plate | Hands | |
| 64 | Feet | ||
| 64 | Fist Weapon | Main-Hand | |
| 64 | Shield | Off-Hand | |
| 64 | Wand | Ranged Weapon | |
| 64 | Idol | Relic |
Loot from Heroic
| Item | Required Level | Item Type | Slot |
|---|---|---|---|
| 70 | Cloth | Shoulder | |
| 70 | Leather | Chest | |
| 70 | Plate | Feet | |
| 70 | Dagger | Weapon | |
| 70 | Bow | Ranged Weapon | |
| 70 | Totem | Relic | |
| BoP | Gem | Misc | |
| BoP | Gem | Misc | |
| BoP | Gem | Misc |
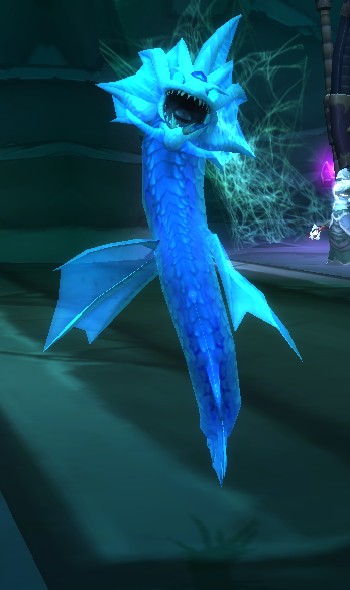
Tavarok
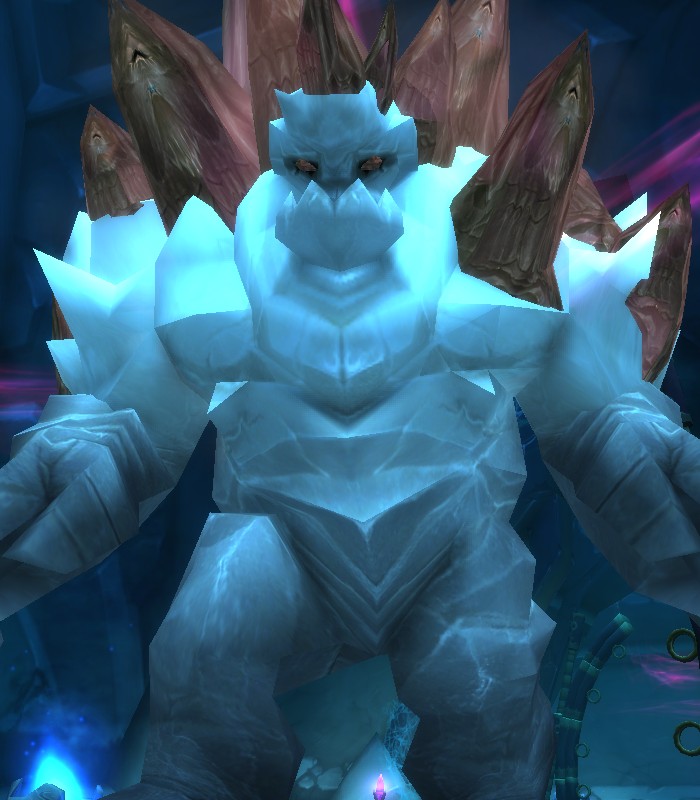
Ranged players should stay at max range as it is possible to outrange the
![]() Earthquake. Healers need to be ready to heal whoever gets hit
by the
Earthquake. Healers need to be ready to heal whoever gets hit
by the ![]() Crystal Prison. DPS players should mind their threat as
the tank will frequently get stunned.
Crystal Prison. DPS players should mind their threat as
the tank will frequently get stunned.
Loot from Normal
| Item | Required Level | Item Type | Slot |
|---|---|---|---|
| 64 | Shoulder | ||
| 64 | Cloak | Back | |
| 64 | Leather | Feet | |
| 64 | One-Handed Sword | Weapon | |
| 64 | Two-Handed Sword | Weapon | |
| 64 | Staff | Weapon |
Loot from Heroic
| Item | Required Level | Item Type | Slot |
|---|---|---|---|
| 70 | Shoulder | ||
| 70 | Cloth | Chest | |
| 70 | Chest | ||
| 70 | Leather | Hands | |
| 70 | Cloth | Feet | |
| 70 | Accessory | Finger | |
| BoP | Gem | Misc | |
| BoP | Gem | Misc | |
| BoP | Gem | Misc |
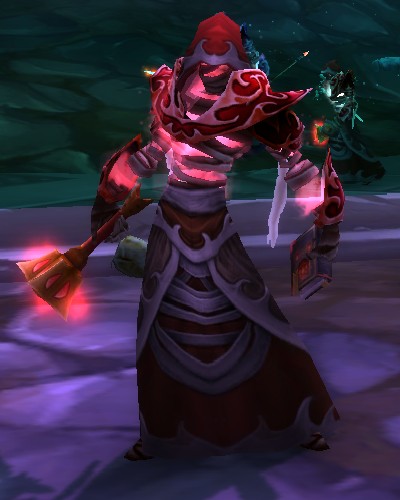
Yor
Yor can only be summoned in Heroic difficulty, after players have completed a long quest chain; details about it can be found in Mana Tombs Quests. The fight itself is very easy: simply face Yor away from the group and have your tank put their back against a wall.
Loot from Heroic
As this boss is specific to Heroic difficulty only, he only has a Heroic loot table. In addition to the gear below, Yor drops a Level 70 Rare chest piece that rolls with a random enchantment.
| Item | Required Level | Item Type | Slot |
|---|---|---|---|
| 70 | Accessory | Finger | |
| 70 | Accessory | Finger | |
| 70 | Accessory | Finger | |
| 70 | Accessory | Finger | |
| 70 | Accessory | Finger | |
| 70 | Accessory | Finger | |
| BoP | Gem | Misc | |
| BoP | Gem | Misc | |
| BoP | Gem | Misc |
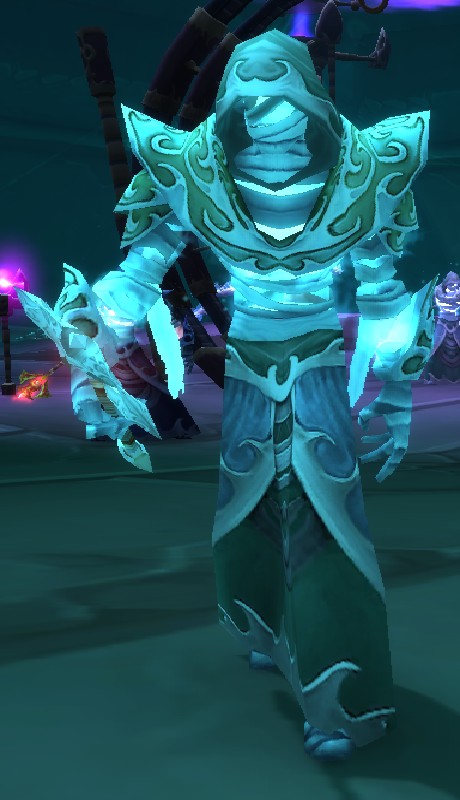
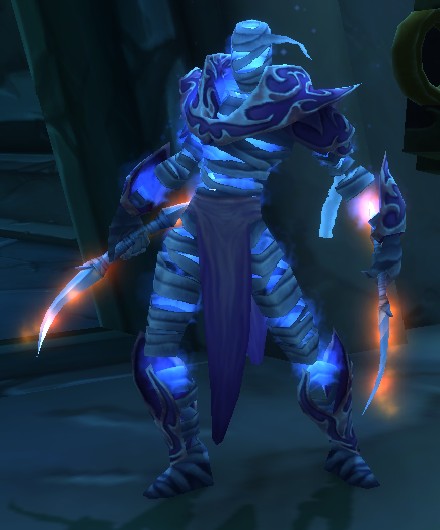
Nexus-Prince Shaffar
This fight can seem difficult, but it is fairly simple.
Nexus-Prince Shaffar himself will constantly ![]() Blink
around the room and
Blink
around the room and ![]() Frost Nova nearby players. Try to keep the Nova
dispelled from the tank so they can keep threat high. Shaffar is mostly a
caster, using
Frost Nova nearby players. Try to keep the Nova
dispelled from the tank so they can keep threat high. Shaffar is mostly a
caster, using ![]() Fireball and
Fireball and ![]() Frostbolt as his main attacks.
Frostbolt as his main attacks.
The main threat in this fight is the Ethereal Beacons, which will be constantly summoned into the fight. If these are ignored, they eventually change into a Ethereal Apprentice, which deals high damage. DPS should quickly swap over to any Ethereal Beacons and kill them fast before they transform. Keep the beacons under control and this fight is very easy.
Loot from Normal
| Item | Required Level | Item Type | Slot |
|---|---|---|---|
| 64 | Head | ||
| 64 | Accessory | Neck | |
| 64 | Plate | Wrist | |
| 64 | Cloth | Feet | |
| 64 | Accessory | Finger | |
| 64 | Bow | Ranged Weapon | |
| 360 | Alchemy Recipe | Misc |
Loot from Heroic
| Item | Required Level | Item Type | Slot |
|---|---|---|---|
| 70 | Leather | Shoulder | |
| 70 | Plate | Shoulder | |
| 70 | Cloth | Wrist | |
| 70 | Leather | Wrist | |
| 70 | Plate | Hands | |
| 70 | Cloth | Waist | |
| 70 | Waist | ||
| 70 | Leather | Legs | |
| 70 | Leather | Legs | |
| 70 | Accessory | Finger | |
| 70 | Accessory | Trinket | |
| 70 | One-Handed Sword | Weapon | |
| 70 | Two-Handed Mace | Weapon | |
| 70 | Staff | Weapon | |
| 70 | Two-Handed Axe | Weapon | |
| 70 | Shield | Off-Hand | |
| BoP | Gem | Misc | |
| BoP | Gem | Misc | |
| BoP | Gem | Misc |
Recommended Mana-Tombs Group Composition
Mana-Tombs does not have any large pulls that require AoE. One form of crowd
control is strongly advised as there are multiple mobs in this dungeon that are
dangerous. A Shaman is also highly recommended as
![]() Tremor Totem,
Tremor Totem, ![]() Grounding Totem, and
Grounding Totem, and
![]() Earth Shock can all be highly utilized in Mana-Tombs.
Earth Shock can all be highly utilized in Mana-Tombs.
Changelog
- 26 May 2021: Guide added.
This guide has been written by Abide, TBC veteran for nearly a decade. Abide is a Warrior tank and multi-class expert currently playing on Faerlina as Horde. You can find him in the the Icy Veins Discord. You can also see him live on Twitch.
- Arathi Basin, Higher Honor Ranks, and Battleground Weekends Live Now on Classic Anniversary Realms!
- Improvements to Black Lotus Accessibility Coming Soon to Anniversary Realms
- Hardcore DDoS Resurrections Start: Dates and Future Plans
- Blizzard Revives Hardcore Characters Affected by DDoS Attacks
- Blizzard Releases Remastered WoW Classic 20th Anniversary Trailer “The Return”
- WoW Classic 20th Anniversary Edition Phase 3 Now Live: BWL, Darkmoon Faire, and More
- Season of Discovery Phase 8 Arrives on April 8th
- Season of Discovery Hotfixes: March 4th