Shadow Labyrinth Dungeon Guide
The recommended level range to run this dungeon on Normal is 68-70. Heroic
mode will require Level 70 and the ![]() Auchenai Key to enter.
Auchenai Key to enter.
Shadow Labyrinth will take approximately 30-40 minutes to complete with an average group. This dungeon is commonly abbreviated as "SL" or "Shadow Labs". The dungeon is located on the Southern side of the Auchindoun structure.
In this guide, we will cover dungeon quests, the layout of the dungeon, an overview of trash mobs, tactics for each boss, loot that can be obtained, and ideal group compositions.
The Shadow Labyrinth Quests
Before heading into Shadow Labyrinth, we advise you to get all the dungeon quests related to it. To make this process easier, we have written a separate guide for the quests and their chains.
Shadow Labyrinth Entrance Location
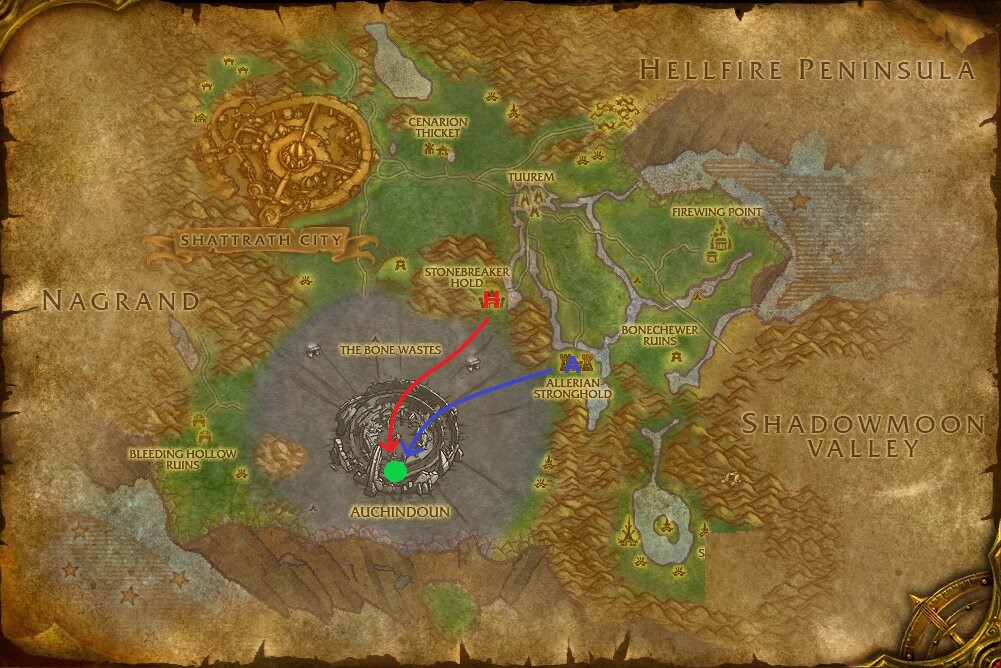
Conveniently, all dungeons in Terokkar Forest are located in one centralized location: Auchindoun. This structure can be easily found in the middle of the Bone Wastes.
To reach the bottom of this structure, you will need to either fly down, take one of the passages found along the outside, or carefully jump from ledge to ledge. The summoning stone can be found in the very center of the Auchindoun. Shadow Labyrinth is the dungeon found on the Southern side of Auchindoun.
If your faction controls the spirit towers in Terokkar Forest, you will get
![]() Spirit Shards from each boss you kill inside this dungeon. These can be
exchanged at the nearest town for various rewards.
Spirit Shards from each boss you kill inside this dungeon. These can be
exchanged at the nearest town for various rewards.
Layout of Shadow Labyrinth
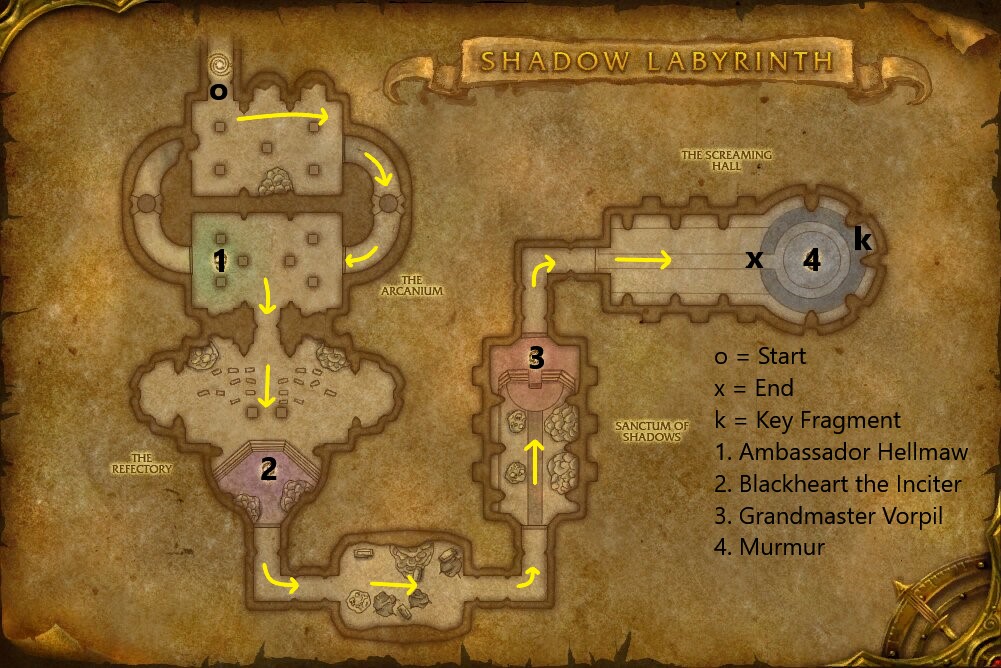
Shadow Labyrinth is a very long dungeon, but it mostly follows a singular path. You will have to kill almost all of the trash in the dungeon as most of it is linked to a boss. Use line-of-sight whenever possible when pulling groups as there are a large number of caster mobs in the trash.
Reputation From Shadow Labyrinth
Killing mobs in this instance grants Lower City reputation.
Normal Difficulty
- Most humanoids grant 12 reputation each.
- Large demons grant 24 reputation each.
- Each boss grants 120 reputation.
- A Normal Shadow Labyrinth run will give around 2,150 reputation.
Heroic Difficulty
- Most humanoids grant 15 reputation each.
- Large demons grant 30 reputation each.
- Each boss grants 250 reputation.
- A Heroic Shadow Labyrinth run will give around 3,000 reputation.
Notable Shadow Labyrinth Trash
In this section, we will briefly go over each of the trash mobs that pose a threat to you in this dungeon.
Cabal Deathsworn
These are one of the most dangerous mobs in the dungeon. Your group will
want to use any crowd control spells on these, or focus them down quickly. The
![]() Knockdown can easily cause a tank to die if they are tanking multiple
mobs at once.
Knockdown can easily cause a tank to die if they are tanking multiple
mobs at once.
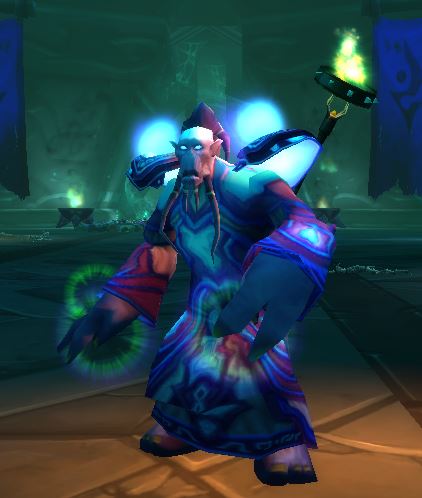
Cabal Acolyte
This is a healer-type mob. Make sure to interrupt these whenever possible to prevent them from healing too much.
Cabal Warlock
These caster-type mobs that deal fairly large amounts of damage. You will
want to kill these early on and dispel the ![]() Seed of Corruption if possible.
Seed of Corruption if possible.
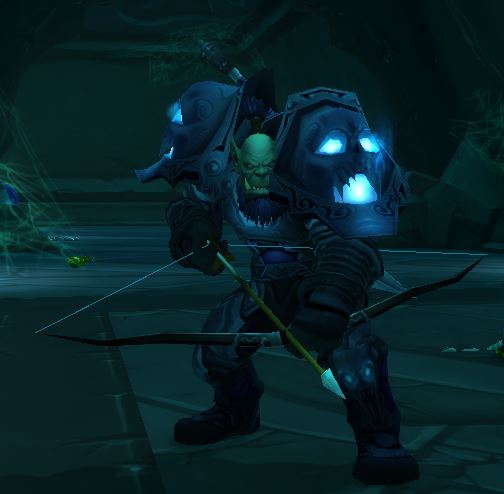
Cabal Assassin
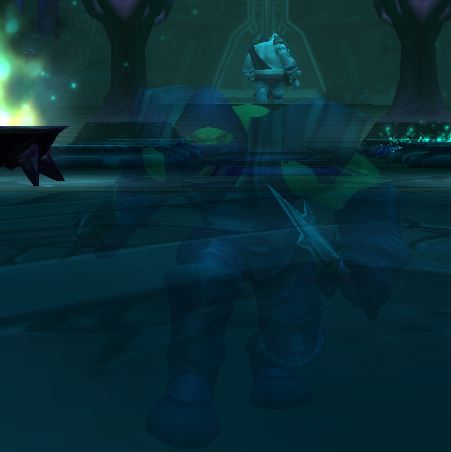
These are hidden throughout the dungeon in ![]() Stealth. Be
cautious about running ahead of the group too far as these can quickly kill
non-tanks.
Stealth. Be
cautious about running ahead of the group too far as these can quickly kill
non-tanks.
Cabal Ritualist
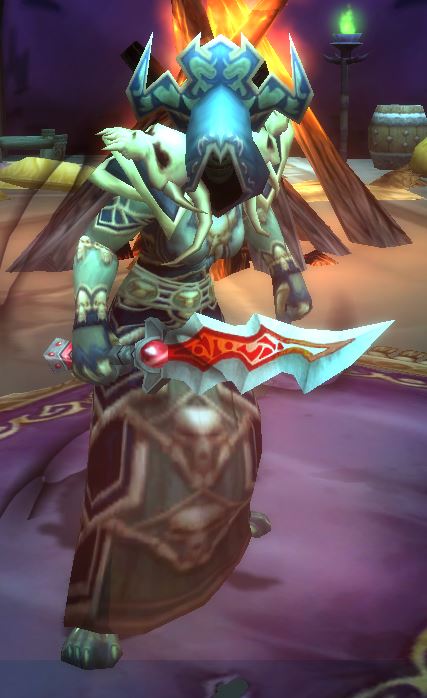
These have two different mob types. One will be a caster-mob with a staff
equipped that casts spells such as ![]() Addle Humanoid and
Addle Humanoid and
![]() Frost Nova. The second is a Rogue-type, wielding two
daggers and periodically using
Frost Nova. The second is a Rogue-type, wielding two
daggers and periodically using ![]() Gouge on the tank.
Gouge on the tank.
Fel Overseer
You will want to pull these far away from other groups of mobs as their
![]() Frightening Shout can easily cause additional mobs to be
pulled. Make sure to tank with your back against a wall to avoid the knockback.
Frightening Shout can easily cause additional mobs to be
pulled. Make sure to tank with your back against a wall to avoid the knockback.
Cabal Shadow Priest
These caster-type mobs can deal fairly large amounts of damage. You will
want to kill these early on and dispel the ![]() Shadow Word: Pain if
possible.
Shadow Word: Pain if
possible.
Malicious Instructor
Make sure to tank these away from the group to avoid having the
![]() Shadow Nova hit additional party members. Be mindful of your threat as
the tank will be getting
Shadow Nova hit additional party members. Be mindful of your threat as
the tank will be getting ![]() Disarmed frequently.
Disarmed frequently.
Cabal Fanatic

Non-tank players need to be ready to kite these if targeted by the
![]() Fixate. Crowd control these or apply any movement speed
slows available to you.
Fixate. Crowd control these or apply any movement speed
slows available to you.
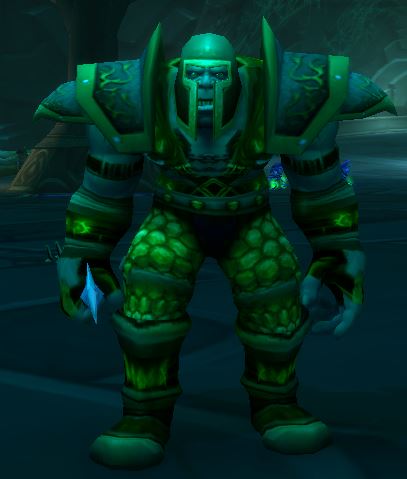
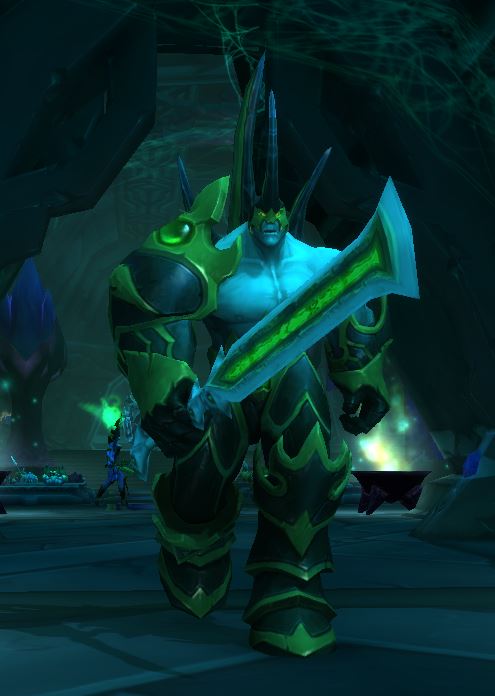
Cabal Executioner
These are immune to most forms of crowd control and deal high damage. Most
of the time you will be fighting two of these at once. Make sure to tank them away
from the rest of the group as the ![]() Whirlwind can easily kill anyone,
including tanks, very quickly. While they channel the Whirlwind you can move
away from them as they stay in place during this time.
Whirlwind can easily kill anyone,
including tanks, very quickly. While they channel the Whirlwind you can move
away from them as they stay in place during this time.
Cabal Spellbinder
These caster-type mobs can deal fairly large amounts of damage. You will want
to line-of-sight these and interrupt their spells as they hit quite hard. The
![]() Brain Wash should be a priority to either interrupt or stun as this
can easily lead to a wipe if a tank or healer is mind-controlled.
Brain Wash should be a priority to either interrupt or stun as this
can easily lead to a wipe if a tank or healer is mind-controlled.
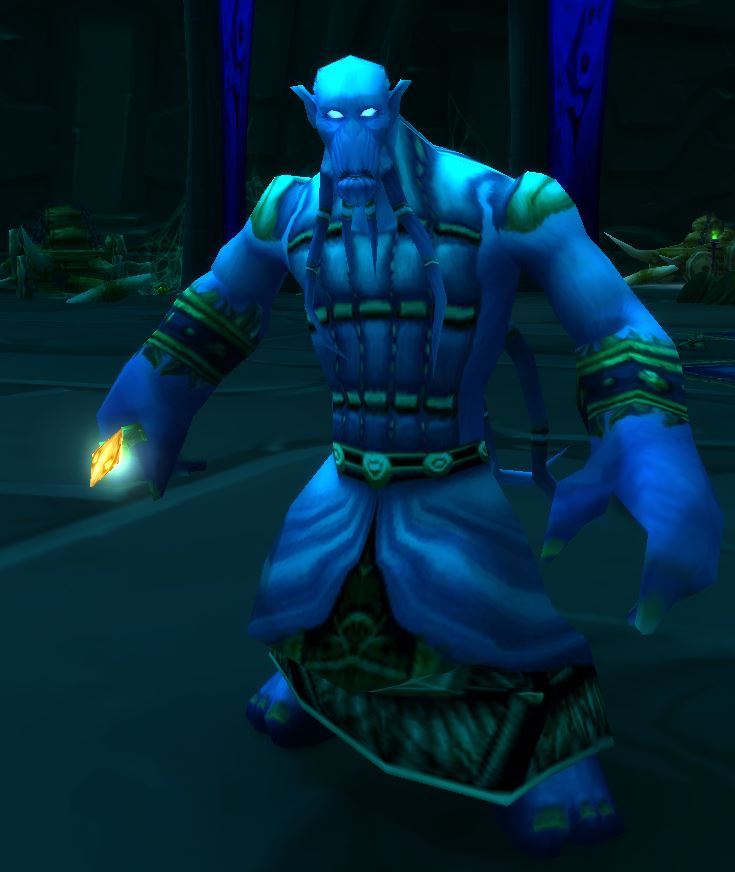
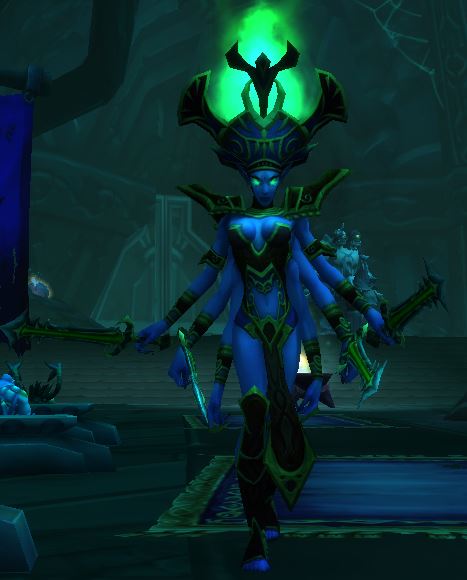
Cabal Summoner
These caster-type mobs are quite dangerous. You will want to kill these first or use any crowd control on them. The Summon spells should be the top priority to interrupt as the extra adds called in can easily cause a wipe. Put these on focus and always be ready with any interrupts or stuns available and stop them from casting as much as possible.
Overview of Shadow Labyrinth Bosses
Here we will give you a full rundown of what you can expect from each of the bosses found here on both normal and heroic difficulties as well as the items they drop.
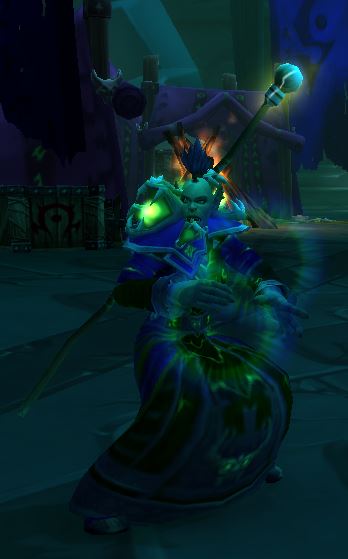
Ambassador Hellmaw
This boss is fairly easy to deal with. Make sure to have him faced away from
the group for the ![]() Corrosive Acid and keep the tank at full
health before the
Corrosive Acid and keep the tank at full
health before the ![]() Fear goes off.
Fear goes off.
Loot from Normal
| Item | Required Level | Item Type | Slot |
|---|---|---|---|
| 68 | Head | ||
| 68 | Cloth | Hands | |
| 68 | Plate | Feet | |
| 68 | Shield | Off-Hand | |
| 68 | Wand | Ranged Weapon | |
| 68 | Idol | Relic |
Loot from Heroic
As with most end game level 68+ dungeons, Rare drops are the same between normal and heroic difficulties. In this section, we'll list the items specific to heroic mode only.
| Item | Required Level | Item Type | Slot |
|---|---|---|---|
| BoP | Gem | Misc | |
| BoP | Gem | Misc | |
| BoP | Gem | Misc |
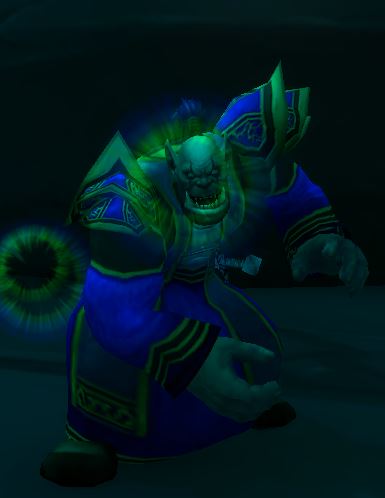
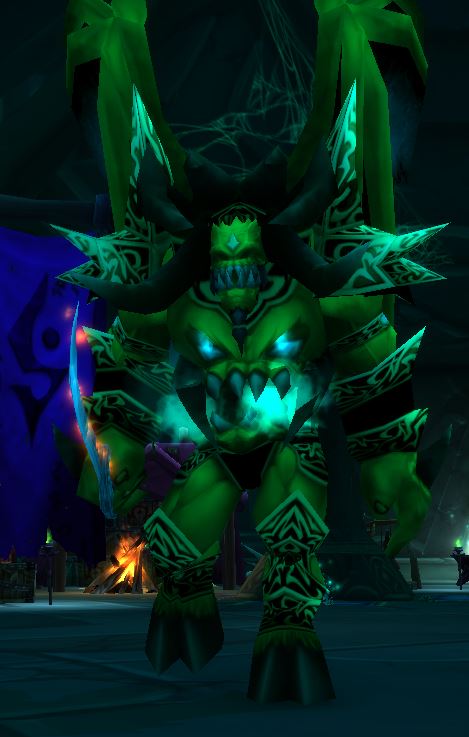
Blackheart the Inciter
![]() Incite Chaos will hit everyone, mind-controlling
the entire party and making them attack each other. This ability makes this fight
extremely difficult, as the more geared your party is the more likely you are to
kill each other. Physical damage dealers will want to remove their weapons
before the mind control goes out to lower their damage as much as possible.
Incite Chaos will hit everyone, mind-controlling
the entire party and making them attack each other. This ability makes this fight
extremely difficult, as the more geared your party is the more likely you are to
kill each other. Physical damage dealers will want to remove their weapons
before the mind control goes out to lower their damage as much as possible.
![]() War Stomp occurs frequently, and can be used as a
"timer" to track when the next
War Stomp occurs frequently, and can be used as a
"timer" to track when the next ![]() Incite Chaos will
occur. After every odd number of the War Stomps a mind control will occur, so
after the first War Stomp there will be a mind control, then after the third,
then the fifth, and so on. Tanks and melee DPS should make sure to put their
backs to a wall, as the knockback will send you across nearly the entire
room.
Incite Chaos will
occur. After every odd number of the War Stomps a mind control will occur, so
after the first War Stomp there will be a mind control, then after the third,
then the fifth, and so on. Tanks and melee DPS should make sure to put their
backs to a wall, as the knockback will send you across nearly the entire
room.
Surviving the ![]() Incite Chaos should be the main
focus of the group. Use any gear you have that has high Stamina, such as PvP
gear, as this can be the difference between living and dying. It is very
important that Physical damage dealers remove their weapons before the mind
control goes out to greatly reduce their friendly-fire damage.
Incite Chaos should be the main
focus of the group. Use any gear you have that has high Stamina, such as PvP
gear, as this can be the difference between living and dying. It is very
important that Physical damage dealers remove their weapons before the mind
control goes out to greatly reduce their friendly-fire damage.
Loot from Normal
| Item | Required Level | Item Type | Slot |
|---|---|---|---|
| 68 | Accessory | Neck | |
| 68 | Cloak | Back | |
| 70 | Leather | Hands | |
| 68 | Plate | Legs | |
| 68 | Accessory | Trinket | |
| 68 | Wand | Ranged | |
| 350 | Leatherworking Pattern | Misc |
Loot from Heroic
As with most end game Level 68+ dungeons, Rare drops are the same between Normal and Heroic difficulties. In this section, we will list the items specific to Heroic mode only.
| Item | Required Level | Item Type | Slot |
|---|---|---|---|
| BoP | Gem | Misc | |
| BoP | Gem | Misc | |
| BoP | Gem | Misc |
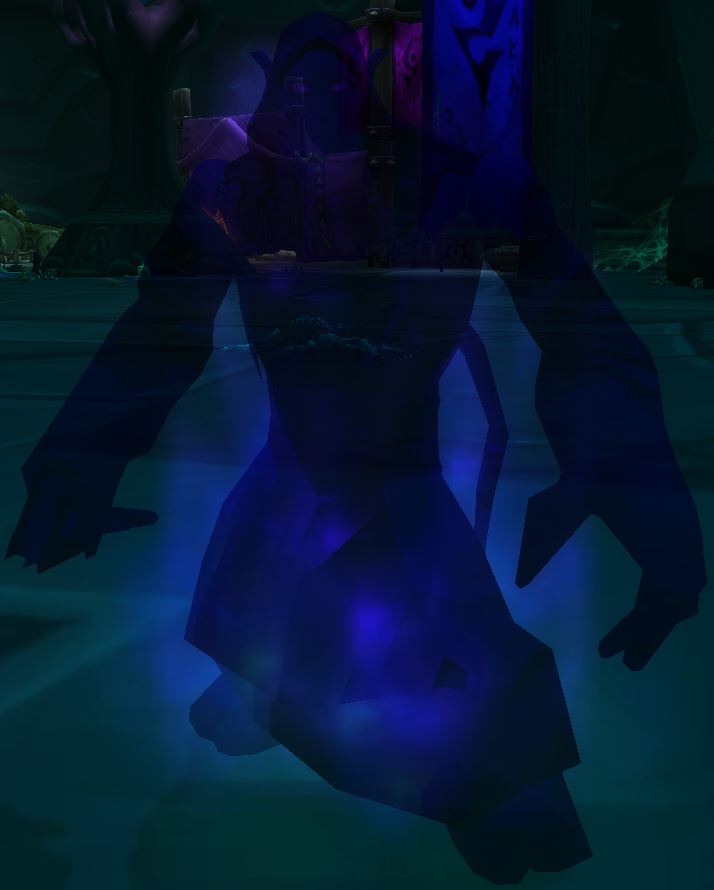
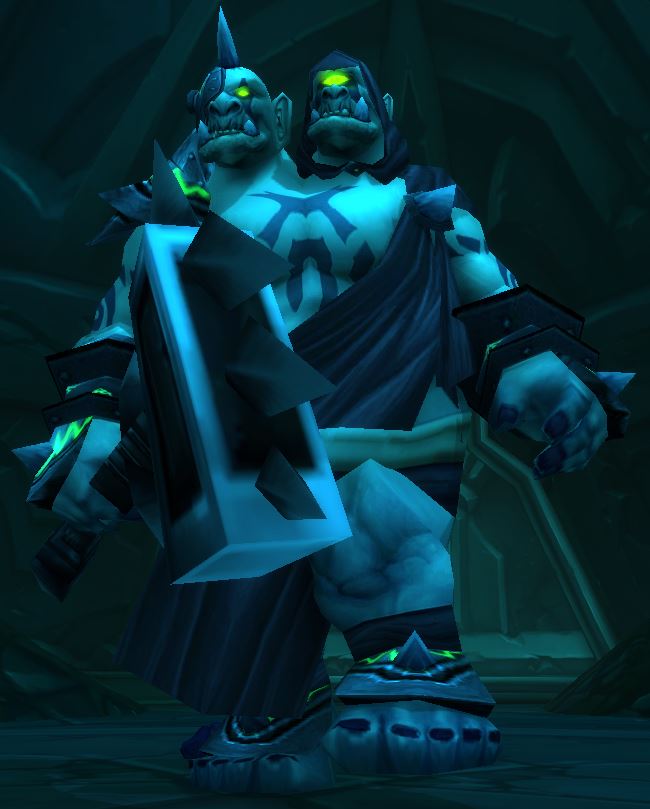
Grandmaster Vorpil
During the fight, Voidwalkers will spawn and walk slowly towards Grandmaster Vorpil. If they reach him he will consume them, healing for a small amount and increasing his Shadow damage done for the rest of the fight. The Voidwalkers have low health, so DPS players can turn and kill them quickly to prevent the heal and stacking buff.
The ![]() Draw Shadows and
Draw Shadows and ![]() Rain of Fire work together;
first he will pull everyone on top of him and then cast to channel Rain of Fire.
Move out of it quickly as it deals fairly heavy damage.
Rain of Fire work together;
first he will pull everyone on top of him and then cast to channel Rain of Fire.
Move out of it quickly as it deals fairly heavy damage.
Loot from Normal
| Item | Required Level | Item Type | Slot |
|---|---|---|---|
| 70 | Cloth | Shoulder | |
| 68 | Plate | Chest | |
| 68 | Accessory | Trinket | |
| 68 | One-Handed Mace | Weapon | |
| 68 | Gun | Ranged Weapon |
Loot from Heroic
As with most end game Level 68+ dungeons, Rare drops are the same between Normal and Heroic difficulties. In this section, we will list the items specific to Heroic mode only.
| Item | Required Level | Item Type | Slot |
|---|---|---|---|
| BoP | Gem | Misc | |
| BoP | Gem | Misc | |
| BoP | Gem | Misc |
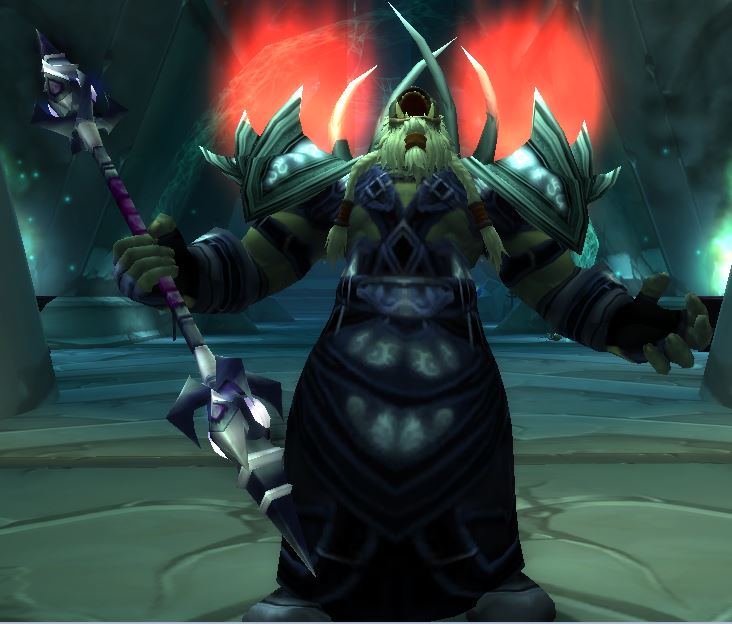
Murmur
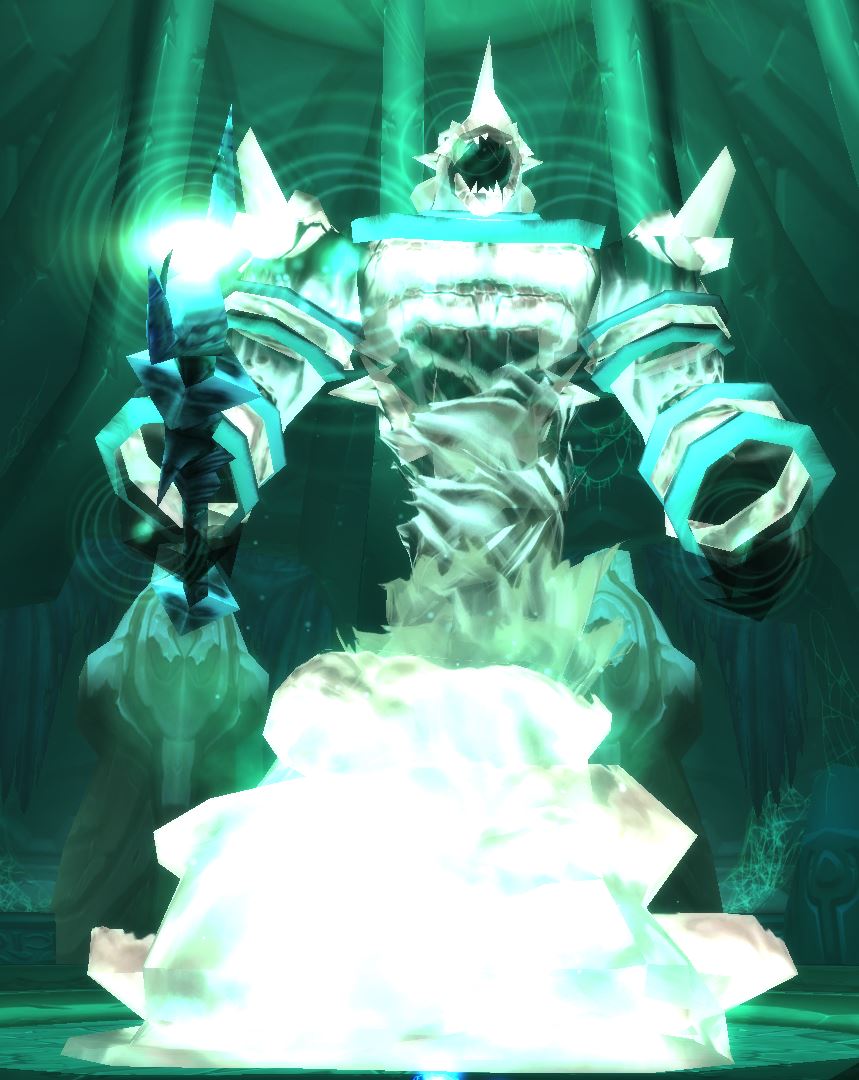
The key to this fight is proper group positioning. As long as your group understands the mechanics above, the fight becomes very trivial. Be aware of your positioning, who has what debuffs, and keep the group healthy.
Everyone in the group must be ready to move away from the boss during the
![]() Sonic Boom cast, and move back in after. The
Sonic Boom cast, and move back in after. The
![]() Magnetic Pull and
Magnetic Pull and ![]() Murmur's Touch combo will occur
frequently, so be ready to spread out quickly after it happens to avoid the
high damage, the knock up, and the silence.
Murmur's Touch combo will occur
frequently, so be ready to spread out quickly after it happens to avoid the
high damage, the knock up, and the silence.
The main reason groups struggle on this boss is not understanding the range
that they must maintain. If any player is more than 25 yards away from
Murmur, they will be blasted by ![]() Thundering Storm. To
avoid this players must stand on the inner circle where Murmur is, as any
farther out will trigger this spell. If you are on the raised ledge or further
out, you will be hit by the Thundering Storm constantly.
Thundering Storm. To
avoid this players must stand on the inner circle where Murmur is, as any
farther out will trigger this spell. If you are on the raised ledge or further
out, you will be hit by the Thundering Storm constantly.
![]() Resonance is similar to
Resonance is similar to ![]() Thundering Storm, but
this will hit the entire party if there is no one in Murmur's melee range. The
Resonance not only deals moderate damage, but it also applies a stacking debuff
that increases all Nature damage taken by 2,000 for 45 seconds. Since most of
Murmur's damage dealt is Nature, this will almost certainly lead to a wipe.
The tank must make sure that they are always in range of the boss, except during
the
Thundering Storm, but
this will hit the entire party if there is no one in Murmur's melee range. The
Resonance not only deals moderate damage, but it also applies a stacking debuff
that increases all Nature damage taken by 2,000 for 45 seconds. Since most of
Murmur's damage dealt is Nature, this will almost certainly lead to a wipe.
The tank must make sure that they are always in range of the boss, except during
the ![]() Sonic Boom. After the Sonic Boom, the tank must quickly enter back
into melee range to prevent any Resonance from occurring. It may also be possible
for a tank to stay in during the Sonic Boom cast if the healer quickly heals them
right after the damage occurs.
Sonic Boom. After the Sonic Boom, the tank must quickly enter back
into melee range to prevent any Resonance from occurring. It may also be possible
for a tank to stay in during the Sonic Boom cast if the healer quickly heals them
right after the damage occurs.
Loot from Normal
| Item | Required Level | Item Type | Slot |
|---|---|---|---|
| 70 | Cloth | Shoulder | |
| 70 | Plate | Shoulder | |
| 70 | Cloth | Chest | |
| 70 | Cloth | Chest | |
| 70 | Chest | ||
| 70 | Leather | Legs | |
| 70 | Legs | ||
| 70 | Cloth | Feet | |
| 70 | Dagger | Weapon | |
| 70 | One-Handed Sword | Main-Hand | |
| 70 | Shield | Off-Hand | |
| 70 | Polearm | Weapon | |
| 375 | Tailoring Pattern | Misc |
Loot from Heroic
| Item | Required Level | Item Type | Slot |
|---|---|---|---|
| 70 | Leather | Hands | |
| 70 | Waist | ||
| 70 | Cloth | Legs | |
| 70 | One-Handed Mace | Main-Hand | |
| BoP | Gem | Misc | |
| BoP | Gem | Misc | |
| BoP | Gem | Misc |
Recommended Shadow Labyrinth Group Composition
The pulls in Shadow Labyrinth are somewhat large, and while AoE is not needed, it can be used often. Having at least one form of reliable crowd control is highly recommended, as the Cabal Deathsworn are extremely dangerous mobs. It is also highly recommended to have at least one form of reliable interrupt, as there are many caster-based mobs in this dungeon.
A Shaman will be a great addition to your group, as
![]() Tremor Totem and
Tremor Totem and ![]() Earth Shock will both get very high
value in this dungeon.
Earth Shock will both get very high
value in this dungeon.
Changelog
- 10 Jun. 2021: Added pictures of mobs.
- 26 May 2021: Guide added.
This guide has been written by Abide, TBC veteran for nearly a decade. Abide is a Warrior tank and multi-class expert currently playing on Faerlina as Horde. You can find him in the the Icy Veins Discord. You can also see him live on Twitch.
- Could WoW Be Added to Xbox Game Pass Ultimate?
- MoP Classic Escalation PTR Update Details New Content
- TBC Classic Players Are Earning Arena Points Differently Now
- Population Density Adjustments Coming to Burning Crusade Classic Zones
- Blizzard Are Fixing the Incorrect Armor Values in BCC!
- WoW Players Were Already Arguing About This on Launch Day
- Burning Crusade Classic Hotfixes, February 4th
- Free Riding Skill Fix: Burning Crusade Classic Hotfixes, February 3rd