The Blood Furnace Dungeon Guide
The recommended level range to run this dungeon on Normal is 60-64. Heroic
mode will require Level 70 and the ![]() Flamewrought Key to enter.
Flamewrought Key to enter.
This dungeon will take approximately 20-30 minutes to complete with an average group. The Blood Furnace is commonly abbreviated as "BF".
In this guide, we will cover dungeon quests, the layout of the dungeon, an overview of trash mobs, tactics for each boss, loot that can be obtained, and ideal group compositions.
The Blood Furnace Quests
Before heading into The Blood Furnace, we advise you to get all the dungeon quests related to it. To make this process easier, we have written a separate guide for the quests and their chains.
The Blood Furnace Entrance Location
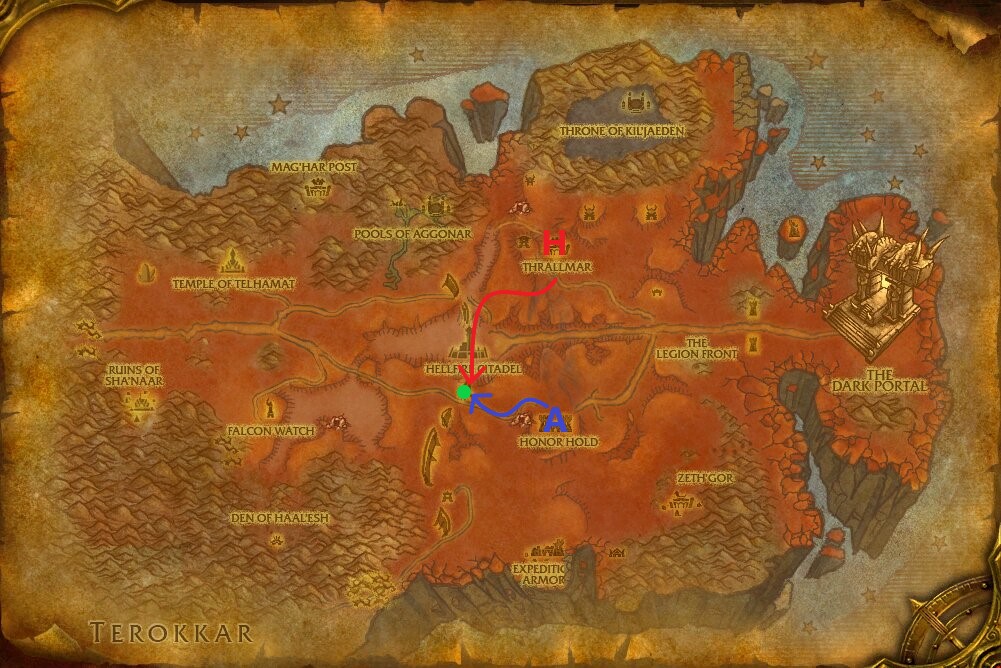
Conveniently, all dungeons in Hellfire Peninsula are located in one centralized location: Hellfire Citadel. This structure can be easily found in the very center of the map and can be reached by using one of the two connecting bridges on either the North or South side.
Unlike the other two dungeons in this area, The Blood Furnace can only be reached by a side passage on the Southern side of the Citadel. The path to Blood Furnace starts with a ramp that can be found at coordinates (45,61).
The dungeon portal for The Blood Furnace is located at coordinates (46,51). The summoning stone is located directly next to the Ramparts dungeon portal.
Layout of The Blood Furnace
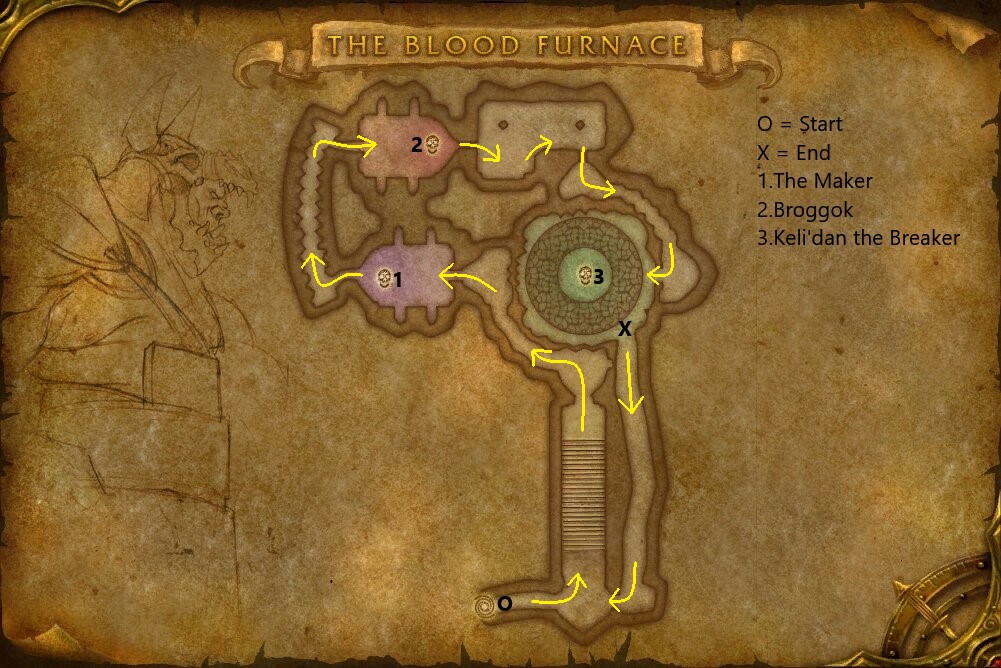
The layout of The Blood Furnace is completely linear, following a one-way path for the entire dungeon. After defeating the last boss, a tunnel will unlock that allows you to return to the entrance of the dungeon very quickly.
Reputation From The Blood Furnace
Killing mobs in this instance grants either Thrallmar or Honor Hold reputation.
Normal Difficulty
- Orcs grant 5 reputation each.
- Most demons will grant 5 reputation each.
- Each boss grants 50 reputation.
- A Normal run of The Blood Furnace will give around 750 reputation.
- Reputation gains in Normal stop at (5999/6000) Friendly, including bosses.
Heroic Difficulty
- Orcs grant 15 reputation each.
- Most demons will grant 15 reputation each.
- Each boss grants 250 reputation.
- A Heroic run of The Blood Furnace will give around 2,500 reputation.
Notable Trash in The Blood Furnace
In this section, we will briefly go over each of the trash mobs that may pose a threat to you in this dungeon.
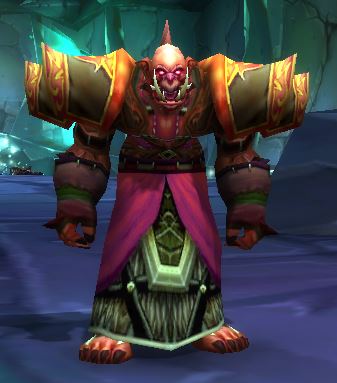
Shadowmoon Adept

The ![]() Thrash can lead to some very spiky tank damage,
so it is recommended to CC one of these and make sure to debuff or stun whenever
possible. Try to avoid tanking these near your casters to prevent their
Thrash can lead to some very spiky tank damage,
so it is recommended to CC one of these and make sure to debuff or stun whenever
possible. Try to avoid tanking these near your casters to prevent their
![]() Kick from interrupting your allies.
Kick from interrupting your allies.
Laughing Skull Rogue
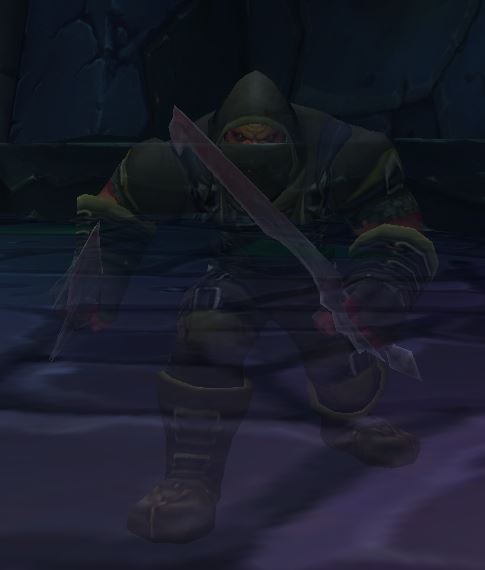
These will be hidden throughout the entire dungeon. Avoid running ahead of
the tanks or these might kill you before the tank can react and pick them up.
Remove their poison if possible and try to use any stealth detection such as
![]() Flare to bring them out of stealth. Overall you will fight around
six or seven of these in total.
Flare to bring them out of stealth. Overall you will fight around
six or seven of these in total.
Laughing Skull Legionnaire
These deal very high damage and splash that damage to other nearby players. Try to crowd control these if possible and use any stuns when fighting them to prevent their high damage. Melee DPS need to be aware of their health when facing these, as the cleave damage they deal can easily kill any nearby non-tanks.
Shadowmoon Summoner
All abilities can be interrupted. At the very least you should try to
interrupt both ![]() Summon Felhound Manastalker and
Summon Felhound Manastalker and
![]() Summon Seductress as the extra adds summoned by these
casts can cause chaos and disrupt your healer.
Summon Seductress as the extra adds summoned by these
casts can cause chaos and disrupt your healer.
Shadowmoon Technician

These are one of the most deadly trash mobs in the entire dungeon. Their
![]() Silence and the constant, high AoE damage these deal can quickly lead
to deaths if they are mishandled. Make sure to spread out for the
Silence and the constant, high AoE damage these deal can quickly lead
to deaths if they are mishandled. Make sure to spread out for the
![]() Throw Dynamite and keep moving to see where they place the
Bombs from
Throw Dynamite and keep moving to see where they place the
Bombs from ![]() Throw Proximity Bomb.
Throw Proximity Bomb.
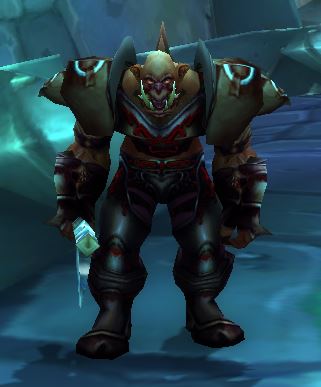
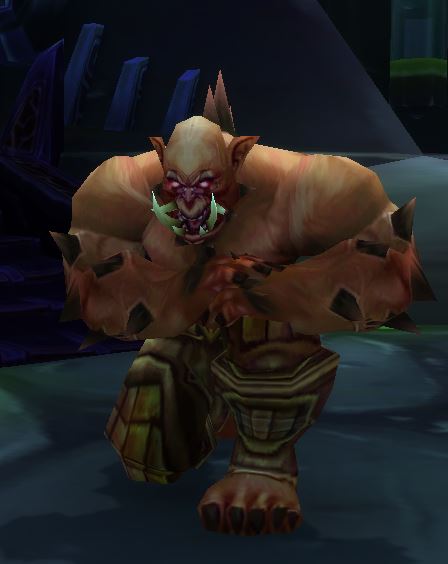
Nascent Fel Orc
These can be quite painful to deal with, especially on Heroic. When facing
more than one of these at a time, it is possible for your tank to be stunned
very often. In addition to that, ![]() Stomp can be very
annoying with its knockback.
Stomp can be very
annoying with its knockback. ![]() Stomp also deals somewhat
high damage, so melee players need to be aware of their health as a healer can
easily fall behind on these packs with the tank being stunned constantly.
Stomp also deals somewhat
high damage, so melee players need to be aware of their health as a healer can
easily fall behind on these packs with the tank being stunned constantly.
Felguard Annihilator
These constantly drop threat and start attacking different targets. This will
typically be associated with a ![]() Charge on the new
target. On Heroic difficulty, aim to crowd control these with
Charge on the new
target. On Heroic difficulty, aim to crowd control these with ![]() Fear,
Fear,
![]() Banish or any form of stun you have as they deal very high
damage to non-tanks.
Banish or any form of stun you have as they deal very high
damage to non-tanks.
Shadowmoon Channeler
A group of 5 Channelers are linked with the boss; when the last one of
them dies Keli'dan the Breaker will engage your party. Utilize line of
sight, interrupts, stuns, and CC as much as possible to avoid taking as many
![]() Shadow Bolts as possible.
Shadow Bolts as possible. ![]() Mark of Shadow makes you take
significantly higher Shadow damage, so try to avoid as many of the casts as
possible. If you have someone who can remove magical debuffs, have them
prioritize dispelling this debuff as soon as possible.
Mark of Shadow makes you take
significantly higher Shadow damage, so try to avoid as many of the casts as
possible. If you have someone who can remove magical debuffs, have them
prioritize dispelling this debuff as soon as possible.
Overview of Bosses in The Blood Furnace
Here we will give you a full rundown of what you can expect from each of the bosses found here on both Normal and Heroic difficulties as well as the items they drop.
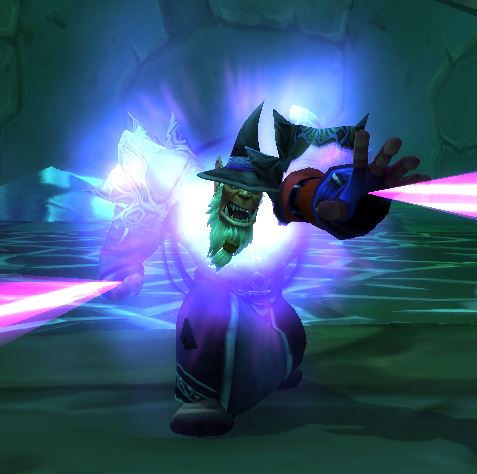
The Maker
This is a fairly easy boss. It can be rather annoying at times with the
knockback and some bad mind control targets. Ranged players should spread out
and stand at max range away from the boss in case the tank is targeted by
![]() Domination. Try to use some form of crowd control on mind
controlled players and, if it is on the tank, try to kite the boss until the tank
is free.
Domination. Try to use some form of crowd control on mind
controlled players and, if it is on the tank, try to kite the boss until the tank
is free.
Loot from Normal
| Item | Required Level | Item Type | Slot |
|---|---|---|---|
| 61 | Accessory | Neck | |
| 61 | Plate | Hands | |
| 61 | Waist | ||
| 61 | One-Handed Mace | Main-Hand | |
| 61 | Libram | Relic |
Loot from Heroic
| Item | Required Level | Item Type | Slot |
|---|---|---|---|
| 70 | Cloth | Head | |
| 70 | Cloak | Back | |
| 70 | Leather | Wrist | |
| 70 | Cloth | Feet | |
| 70 | Plate | Legs | |
| 70 | Libram | Relic | |
| BoP | Gem | Misc | |
| BoP | Gem | Misc | |
| BoP | Gem | Misc |
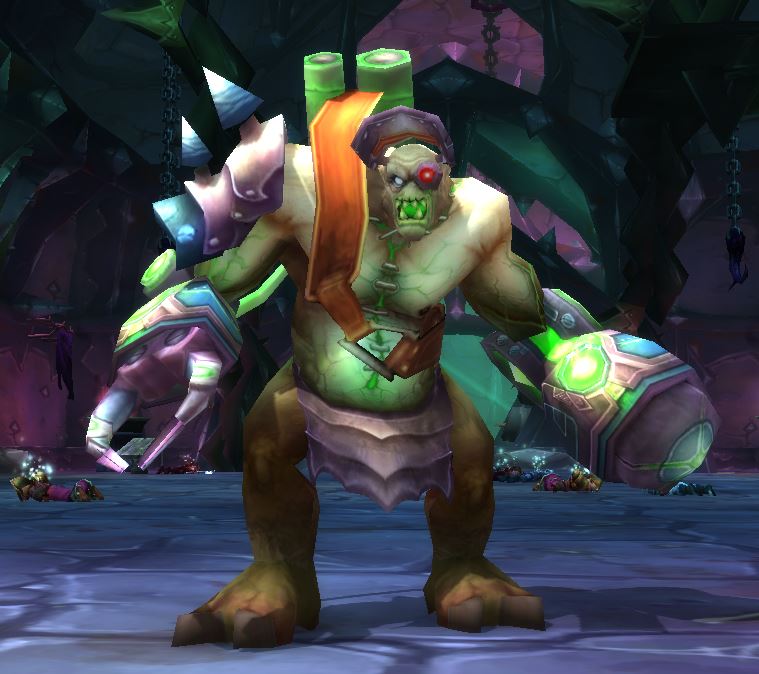
Broggok

Before engaging the boss, you will first need to pull the lever in the middle of the room. This will trigger combat and you will need to fight four waves of Fel Orc Neophyte and Nascent Fel Orc. Shortly after defeating the fourth wave, the boss will come out and enter combat. Be mindful of your healer's Mana as these four packs can deal a lot of damage. If needed, keep one orc alive on the last wave and crowd control it while your healer regenerates Mana.
Make sure to face Broggok away from the group and avoid being in
front of the boss to not take any damage from the ![]() Slime Spray. The
tank should be frequently moving him to prevent the melee taking any
damage from
Slime Spray. The
tank should be frequently moving him to prevent the melee taking any
damage from ![]() Poison Cloud.
Poison Cloud.
![]() Poison Bolt can be a lot of pressure for healers to keep up
with, especially if there are limited means of removing poison debuffs
available in the party. A Shaman placing
Poison Bolt can be a lot of pressure for healers to keep up
with, especially if there are limited means of removing poison debuffs
available in the party. A Shaman placing ![]() Poison Cleansing Totem
trivializes this mechanic.
Poison Cleansing Totem
trivializes this mechanic.
Loot from Normal
| Item | Required Level | Item Type | Slot |
|---|---|---|---|
| 61 | Cloth | Wrist | |
| 61 | Cloth | Hands | |
| 61 | Leather | Legs | |
| 61 | Accessory | Trinket | |
| 61 | Gun | Ranged Weapon |
Loot from Heroic
| Item | Required Level | Item Type | Slot |
|---|---|---|---|
| 70 | Plate | Wrist | |
| 70 | Leather | Legs | |
| 70 | Cloth | Feet | |
| 70 | Accessory | Finger | |
| 70 | One-Handed Axe | Weapon | |
| BoP | Gem | Misc | |
| BoP | Gem | Misc | |
| BoP | Gem | Misc |
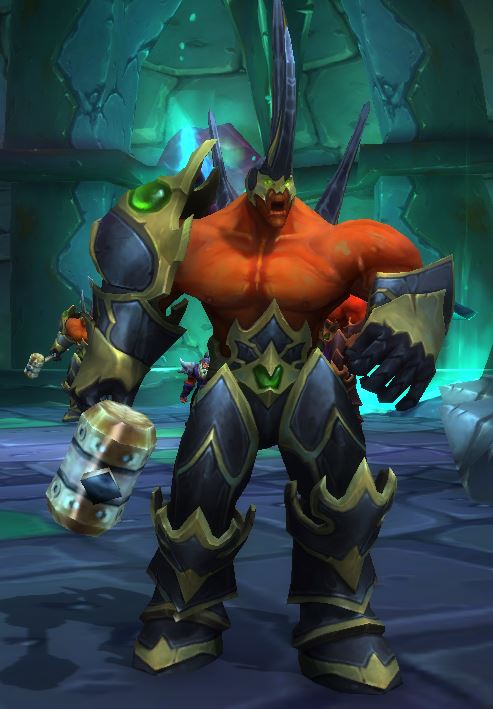
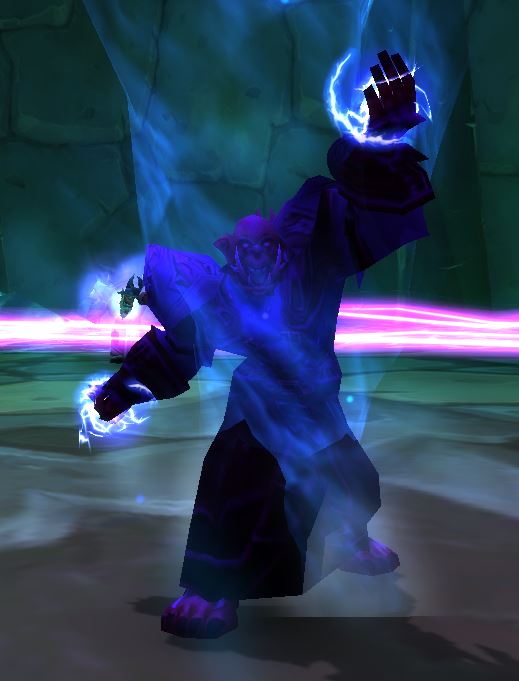
Keli'dan the Breaker
 Corruption
 Shadow Bolt Volley
 Burning Nova — On Heroic difficulty, this will also pull in
all players when cast.
Burning Nova — On Heroic difficulty, this will also pull in
all players when cast. Fire Nova — This will be cast after
Burning Nova ends.
Fire Nova — This will be cast after
Burning Nova ends.
If you have no way of removing ![]() Mark of Shadow
applied by the five previous Shadowmoon Channeler, this fight will be
very hard for the healer to keep up. Ranged players should stay at max range
to avoid
Mark of Shadow
applied by the five previous Shadowmoon Channeler, this fight will be
very hard for the healer to keep up. Ranged players should stay at max range
to avoid ![]() Shadow Bolt Volley if possible.
Shadow Bolt Volley if possible.
When he casts ![]() Burning Nova and goes invulnerable, all melee players
— and anyone that got pulled in on Heroic difficulty — need to be
sure to run away from the boss as soon as possible to avoid the
Burning Nova and goes invulnerable, all melee players
— and anyone that got pulled in on Heroic difficulty — need to be
sure to run away from the boss as soon as possible to avoid the
![]() Fire Nova that follows the ability up.
Fire Nova that follows the ability up.
Loot from Normal
| Item | Required Level | Item Type | Slot |
|---|---|---|---|
| 61 | Leather | Shoulder | |
| 61 | Leather | Chest | |
| 61 | Cloth | Chest | |
| 61 | Cloth | Waist | |
| 61 | Two-Handed Axe | Weapon |
Loot from Heroic
| Item | Required Level | Item Type | Slot |
|---|---|---|---|
| 70 | Plate | Helm | |
| 70 | Accessory | Neck | |
| 70 | Accessory | Neck | |
| 70 | Leather | Shoulder | |
| 70 | Leather | Chest | |
| 70 | Cloth | Chest | |
| 70 | Wrist | ||
| 70 | Wrist | ||
| 70 | Plate | Hands | |
| 70 | Leather | Legs | |
| 70 | Plate | Feet | |
| 70 | Plate | Feet | |
| 70 | Feet | ||
| 70 | Accessory | Trinket | |
| 70 | One-Handed Sword | Main-Hand | |
| 70 | Crossbow | Ranged Weapon | |
| BoP | Gem | Misc | |
| BoP | Gem | Misc | |
| BoP | Gem | Misc |
Recommended Group Composition for The Blood Furnace
While not required, having one form of crowd control will make things go
smoother. Shadowmoon Technician are the ideal target of any available
CC to help sustain healer Mana and prevent large amounts of party-wide damage.
This is especially important when doing Heroic in lower gear. A
Warlock is a great addition to any Blood Furnace group, especially
on Heroic difficulty, as they have a multitude of utility spells at their
disposal such as ![]() Banish,
Banish, ![]() Fear and even
Fear and even
![]() Curse of Tongues.
Curse of Tongues.
The pulls in The Blood Furnace are generally small, so no significant amount of AoE is needed. It is recommended to have at least one form of reliable interrupt as there are casters in almost every pack. Shadowmoon Summoner in particular is a great target to keep interrupted as much as possible.
Changelog
- 16 Jun. 2021: Added images of enemies.
- 26 May 2021: Guide added.
This guide has been written by Abide, TBC veteran for nearly a decade. Abide is a Warrior tank and multi-class expert currently playing on Faerlina as Horde. You can find him in the the Icy Veins Discord. You can also see him live on Twitch.
- Chalice Quest NPC Rewards Temporarily Disabled Disabled in Season of Discovery
- Two Mounts Drop in the Scarlet Enclave Raid — Here’s Where to Get Them
- This Level 42 Gnome Reached Exalted with Darnassus by Turning In 1,800 Eggs One at a Time—Over 800 Hours Played
- Season of Discovery Hotfixes, April 15th
- Fan-Made WoW Armory Lets You Track Characters, Talents, PvP, and More in Cataclysm Classic
- Gold Swapping/Trading in Classic and Between Classic and Retail Now Prohibited by Blizzard
- Beatrix Encounter in Scarlet Enclave Raid Has Special Features, as Blizzard Explain in Detail
- Season of Discovery Phase 8 Raid Adjustments Now Live