Sunken Temple Dungeon Guide
The Temple of Atal'Hakkar, most commonly referred to as Sunken Temple, can be found in Swamp of Sorrows. The recommended level range to run this dungeon is 50-55.
In this guide, we will cover dungeon quests, the layout of the dungeon, tactics for each boss, loot that can be obtained, and ideal group compositions.
Sunken Temple Entrance Location
Sunken Temple is located in the middle of the Swamp of Sorrows. As the name implies, it is a large temple that has sunken into the middle of the lake. Alliance players will need to fly to Nethergarde Keep in The Blasted Lands and ride a short distance up into Swamp of Sorrows. Horde players can land even closer to the dungeon simply by flying to Stonard in Swamp of Sorrows.
Sunken Temple is found in the middle of the lake towards the eastern side of the zone. You will need to swim down through the flooded entrance until you can resurface on the inside of the temple. Quickly traverse a couple flights of stairs and you will be facing the entrance of the dungeon.
Sunken Temple Quests
Before heading into Sunken Temple, we advise you to get all the dungeon quests related to it. There are general quests that anyone can grab, as well as class specific quests only available to each individual class. To make this process easier, we have written separate guides for the quests and their chains below:
Overview of Bosses in Sunken Temple
Here we will give you a full rundown of what you can expect from each of the bosses found here as well as the items they drop.
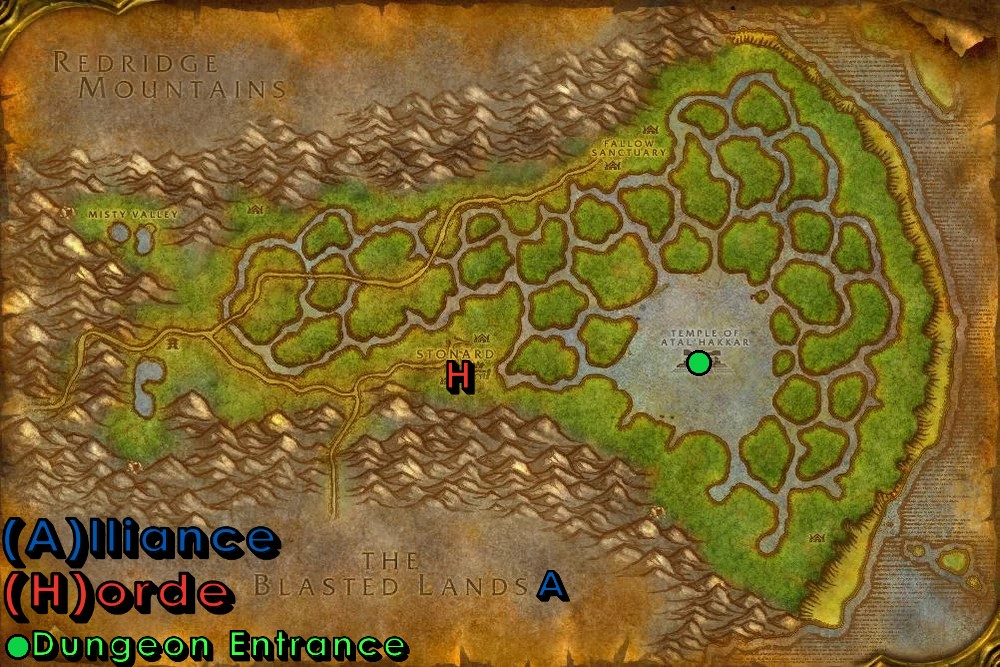
Atal'ai Defenders
While not a single boss, these six guardians are referred to as the Atal'ai Defenders. You must defeat all six of these mini-bosses on their respective platforms spread around the lower dungeon levels. These six mini-bosses are: Gasher, Hukku, Loro, Mijan, Zolo, and Zul'Lor. These Defenders have little to no abilities and mainly serve as a requirement to unlock the rest of the dungeon.
Loot
| Item | Required Level | Item Type |
|---|---|---|
| 47 | Leather Shoulder | |
| 47 | Mail Chest | |
| 47 | Cloth Gloves | |
| 47 | Plate Belt | |
| 47 | Leather Legs | |
| 47 | Mail Boots |
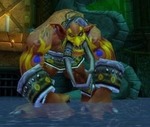
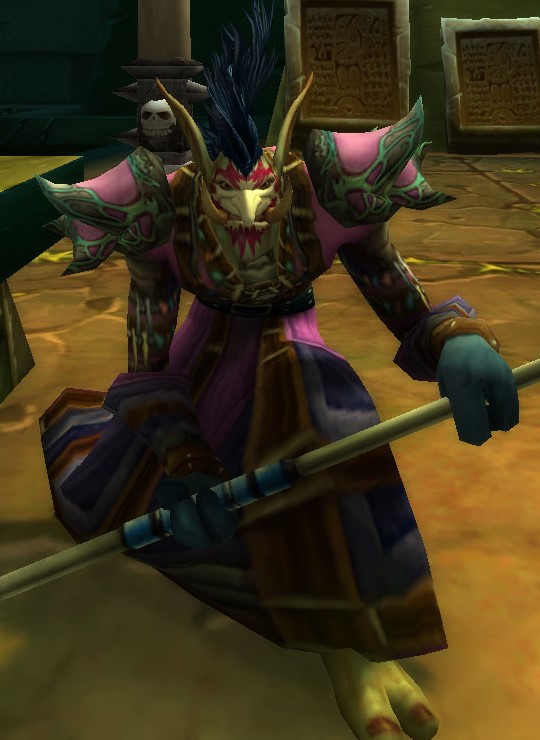
Atal'alarion
-
 Ground Tremor
  Sweeping Slam
Before you can engage Atal'alarion you must first click the Serpent Statues in the correct order listed below. If the statues are clicked in an incorrect order you must start again. After all 6 statues have been properly clicked, Atal'alarion will spawn down in the water bellow.
- South
- North
- Southwest
- Southeast
- Northwest
- Northeast
Atal'alarion himself hits fairly hard and has multiple stuns. Have your ranged DPS and healer stand at max range to avoid being stunned frequently and be ready to keep the tank alive.
Loot
| Item | Required Level | Item Type |
|---|---|---|
| 47 | Leather Bracers | |
| 46 | Plate Belt | |
| 46 | Polearm |
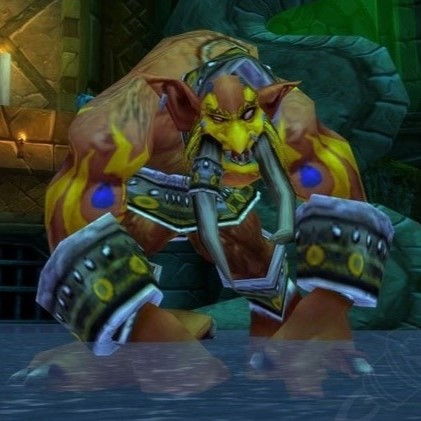
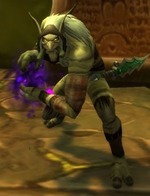
Jammal'an the Prophet & Ogom the Wretched
-
 Flamestrike
  Healing Wave
 Hex of Jammal'an
-
 Curse of Weakness
  Shadow Bolt
 Shadow Word: Pain
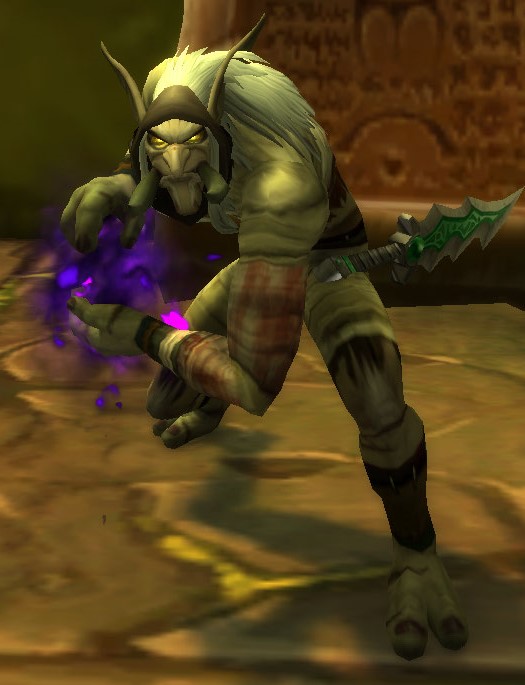
This fight has 2 bosses, Ogom the Wretched and
Jammal'an the Prophet. Quickly deal with Ogom the Wretched as he
has a much lower health pool than Jammal'an the Prophet. Make sure to
interrupt the ![]() Healing Wave casts and spread out to avoid the
Healing Wave casts and spread out to avoid the
![]() Flamestrikes. When a player gets charmed by
Flamestrikes. When a player gets charmed by
![]() Hex of Jammal'an they will deal significantly more damage, but
move at a much slower speed; do your best to kite them and avoid being
attacked.
Hex of Jammal'an they will deal significantly more damage, but
move at a much slower speed; do your best to kite them and avoid being
attacked.
Loot
| Item | Required Level | Item Type |
|---|---|---|
| 50 | Cloth Chest | |
| 50 | Cloth Gloves | |
| 50 | Cloth Legs | |
| 49 | Main-Hand Sword | |
| 49 | Main-Hand Axe | |
| 49 | One-Hand Mace |
Dreamscythe & Weaver
-

 Acid Breath
  Wing Flap
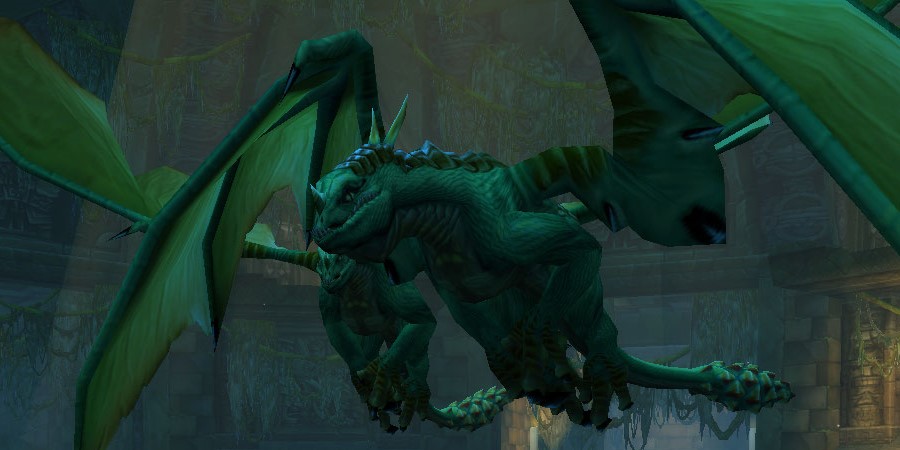
Both Dreamscythe and Weaver have the same abilities,
![]() Acid Breath and
Acid Breath and ![]() Wing Flap. Simply have your tank place
their back against a wall while tanking these bosses. It's possible to pull
these bosses one at a time when they are not near each other.
Wing Flap. Simply have your tank place
their back against a wall while tanking these bosses. It's possible to pull
these bosses one at a time when they are not near each other.
Loot
| Item | Required Level | Item Type |
|---|---|---|
| 48 | Cloak | |
| 48 | Leather Gloves | |
| 48 | Cloth Belt | |
| 49 | Ring | |
| 48 | One-Hand Sword | |
| 49 | Polearm | |
| 48 | Two-Hand Sword | |
| 49 | Off-Hand |
Hazzas & Morphaz
-
 Acid Breath
 - Wing Flap
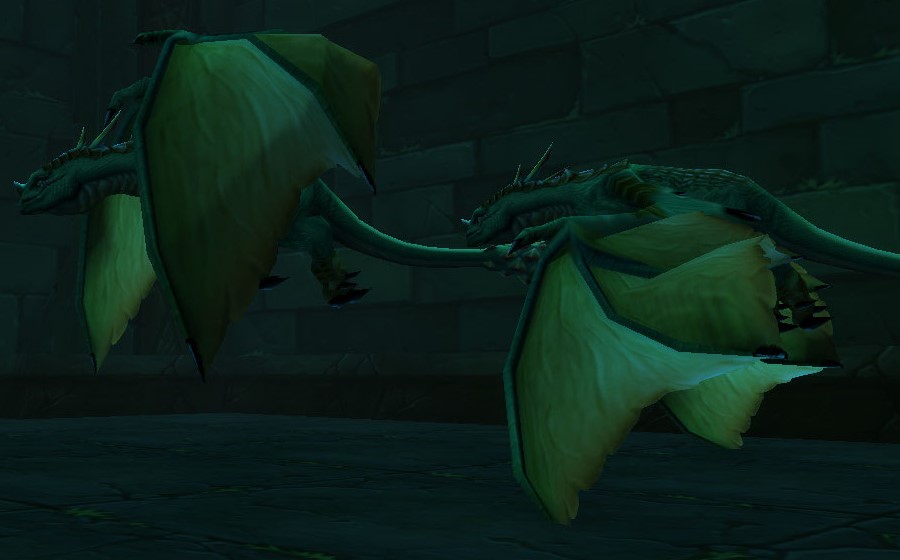
Hazzas and Morphaz have the same exact abilities as Dreamscythe and Weaver from the previous fight; the main difference here is that you can not split pull these two dragons, they will always engage at the same time. Make sure your tank places their back against a wall while tanking these bosses and be ready with extra healing and defensive cooldowns as needed.
Loot
| Item | Required Level | Item Type |
|---|---|---|
| 48 | Cloak | |
| 48 | Leather Gloves | |
| 48 | Cloth Belt | |
| 49 | Ring | |
| 48 | One-Hand Sword | |
| 49 | Polearm | |
| 48 | Two-Hand Sword | |
| 49 | Off-Hand |
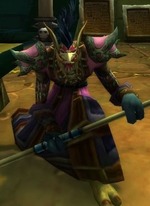
Avatar of Hakkar
-
 Cause Insanity
  Curse of Tongues
 Lash
Lash- Shadow Word: Pain
This boss can only be summoned if someone is on the quest
The God Hakkar. For more information on the quest chain that unlocks
this quest, check out our quest guides for
Sunken Temple above. Even after completing this quest you can still summon
Avatar of Hakkar with the ![]() Yeh'kinya's Scroll you get.
Yeh'kinya's Scroll you get.
After activating the boss via the quest above, kill the summoned non-elite
adds until a Hakkari Bloodkeeper spawns. Defeat these to gain a
![]() Hakkari Blood and use this blood to douse one of the four braziers
surrounding the area. Repeat this four times until all braziers are doused and
the Avatar of Hakkar spawns in.
Hakkari Blood and use this blood to douse one of the four braziers
surrounding the area. Repeat this four times until all braziers are doused and
the Avatar of Hakkar spawns in.
The boss himself is not overly complicated. He will periodically cast
![]() Cause Insanity on a random player, mind controlling them for 6
seconds. Simply use any short duration crowd control, like a stun or fear, on
that player until they are returned to normal.
Cause Insanity on a random player, mind controlling them for 6
seconds. Simply use any short duration crowd control, like a stun or fear, on
that player until they are returned to normal.
Loot
| Item | Required Level | Item Type |
|---|---|---|
| 49 | Cloak | |
| 49 | Plate Chest | |
| 50 | Cloth Chest | |
| 49 | Leather Legs | |
| 49 | Mail Boots | |
| 49 | Main-Hand Mace | |
| 49 | Staff |
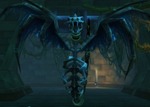
Shade of Eranikus
-
 Acid Breath
  Deep Slumber
 Thrash
 War Stomp

The Shade of Eranikus himself can be difficult depending on your
groups levels and composition. He has rather high base melee damage, frequently
stuns all nearby players (including the tank) with ![]() War Stomp, and
will put the higher threat non-tank target into a deep sleep with
War Stomp, and
will put the higher threat non-tank target into a deep sleep with
![]() Deep Slumber. Your tank should be ready with cooldowns as the healer
may be targeted by
Deep Slumber. Your tank should be ready with cooldowns as the healer
may be targeted by ![]() Deep Slumber, as well as any DPS that can help
off-heal should be ready to help top up the tanks health.
Deep Slumber, as well as any DPS that can help
off-heal should be ready to help top up the tanks health.
Shade of Eranikus deals high melee damage, making this fight very
healing intensive. This is further elaborated by the tank being stunned by
![]() War Stomp, and Shade of Eranikus often attacking multiple
times at once with
War Stomp, and Shade of Eranikus often attacking multiple
times at once with ![]() Thrash. Be ready for a difficult healing fight as
the tank can very quickly die during this fight.
Thrash. Be ready for a difficult healing fight as
the tank can very quickly die during this fight.
Loot
| Item | Required Level | Item Type |
|---|---|---|
| 51 | Mail Helmet | |
| 51 | Necklace | |
| 51 | Main-Hand Axe | |
| 51 | One-Hand Dagger | |
| 52 | One-Hand Sword | |
| 51 | Off-Hand Shield | |
| 51 | Wand | |
| 48 | Quest — Trinket |
Changelog
- 18 Nov. 2024: Page updated for Classic Anniversary.
- 01 Apr. 2024: Page added.
Classic Leveling Guides
Classic Dungeon Guides
Classic Reputation Guides
This guide has been written by Abide, TBC veteran for nearly a decade. Abide is a Warrior tank and multi-class expert currently playing on Faerlina as Horde. You can find him in the the Icy Veins Discord. You can also see him live on Twitch.
- Beatrix Encounter in Scarlet Enclave Raid Has Special Features, as Blizzard Explain in Detail
- Season of Discovery Phase 8 Raid Adjustments Now Live
- More DDoS Hardcore Resurrections: April 3rd – 7th
- Mists of Pandaria Classic Beta Sign-Ups Are Now Live — Here’s How to Join
- Blizzard Confirms Season of Discovery Won’t End with Phase 8—More Content Ahead
- Scarlet Crusade Lore Video
- Classic Anniversary Realms Black Lotus Drop Increases
- Season of Discovery Phase 8 Content Guide