

Battleground Blitz Guide

Patch 10.2 adds a new mode of play allowing players to engage in PvP via a new solo queue for an 8v8 player battleground experience.
Introduction
Battleground Blitz is a new PvP Brawl that will be permanently available in Patch 10.2. You can queue either solo or as a duo (with a healer) for the 8v8 PvP action in a fast and furious action on one of 8 initially available maps.
Which Maps Are Available in Battleground Blitz?
Warsong Gulch, Twin Peaks, Temple of Kotmogu, Eye of the Storm, Silvershard Mines, Battle for Gilneas, Arathi Basin, Deep Hall Ravine, and Deepwing Gorge.
Team Composition
Each team will be comprised of 2 healers and 5-6 damage dealers and 0-1 tanks. Opposing teams will always have the same number of tanks. Matches that do not have any tanks will not take place on any Capture the Flag maps like Twin Peaks or Warsong Gulch. Matches that have a tank will take place on any available map.
Match Length
The average match length of Battleground Blitz can vary significantly with flag maps being the shortest and base control maps being the longest. In most cases the game, will end around the 10 minute mark.
Map Mechanics
Blizzard made some changes to how players interact with the battlegrounds, leading to a faster pace and new mechanics to utilize as you put yourself and your team against opponents.
- On objective maps, the cast time has been reduced to 6 seconds (down from 4).
- On domination maps, control points are captured in 30 seconds after being contested (down from 60).
- Players will gain the
 Swift Pursuit buff on all maps, which grants
150% increased mount speed.
Swift Pursuit buff on all maps, which grants
150% increased mount speed.
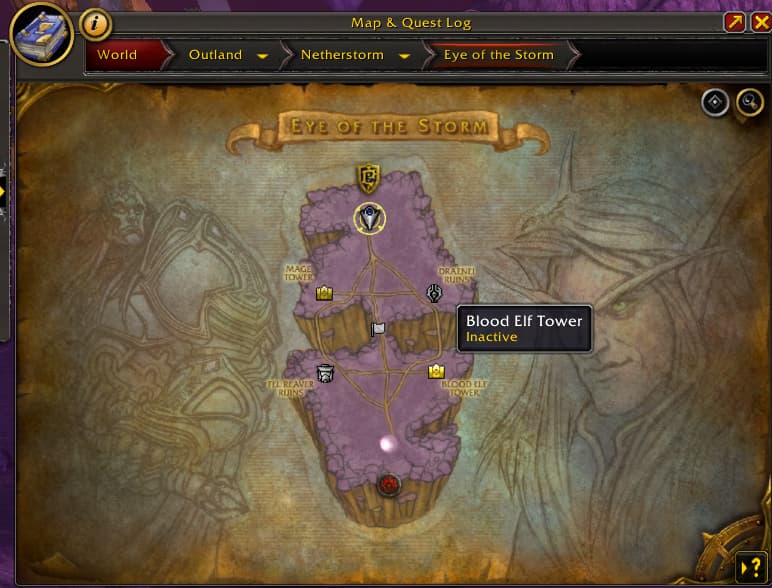
Eye of the Storm
Only 2 of the 4 nodes are capturable at a time (1 per side), which award points, with the middle flag being available to capture.
- You can either capture Mage Tower and Draenei Ruins or Fel Reaver Ruins or Blood Tower.
- When the middle flag is captured, previous nodes move to neutral and reset.
- 2 nodes (1 per side) re-activate, alternating.
- Points for capturing a flag have been significantly increased.
- When a flag is captured, the existing available nodes will become uncapturable. After 15 seconds, the other set of nodes will become available.
When playing Eye of the Storm, always keep an eye on the point values. If your team is holding the flag and has a lead, don’t go for the capture. Capturing it would reset the bases and give the enemy a chance to close the gap. Even if your team has a small disadvantage, the flag can be held until the last possible second to get enough points to win.
If the enemy team is ahead and holding the flag, you need to force a cap. You can attack them forcing the enemy team to cap the flag, use abilities like ![]() Death Grip to drag the enemy flag carrier onto the capture point, or simply kill them and take the flag yourself.
Death Grip to drag the enemy flag carrier onto the capture point, or simply kill them and take the flag yourself.
If you can’t force a capture or your team is struggling in the fight, consider pushing the enemy base. If the enemy team holds the flag but doesn’t have their base secured, they’ll be forced to capture the flag to reset the bases. This can give your team an opportunity to catch up.
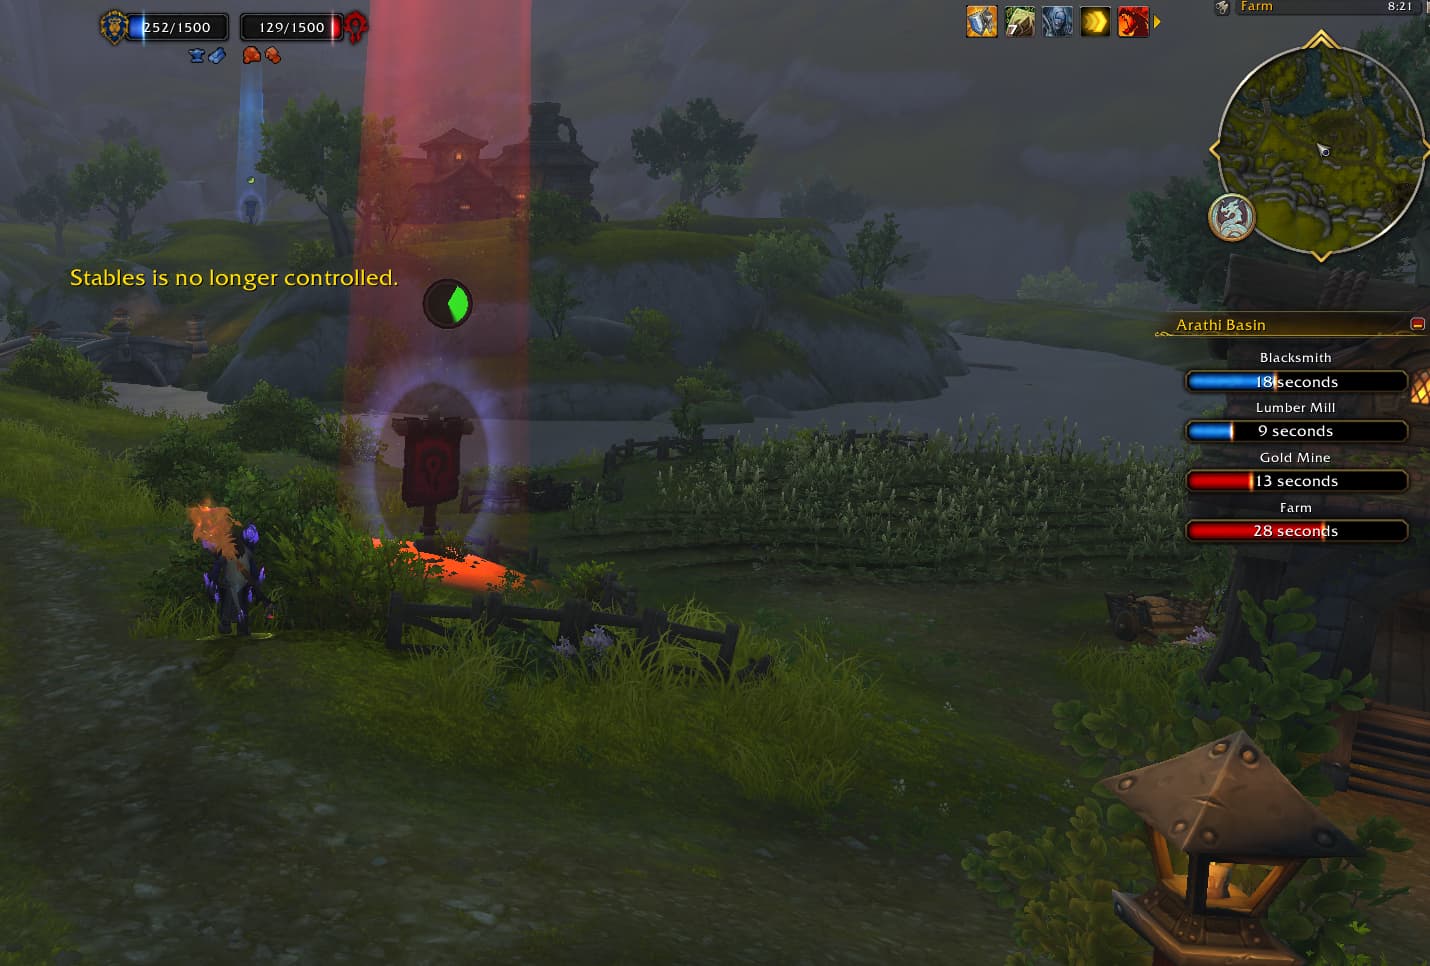
Arathi Basin and Deepwind Gorge
- 5 capturable nodes.
- Increased resource acquisition.
- After you capture a node entirely, you control it for 45 seconds. It then deactivates and can be captured again 5 seconds later.
- To fully capture a node, you have to complete the 4-second cast, then hold the point for 30 seconds without the enemy team recapturing the node. There are added timers located under Objectives in the UI.
- During the time a node is fully captured and your team controls it for 45 seconds, the enemy team cannot recapture the base until it deactivates and resets. A node that cannot be captured will have a shield visual on it.
The key in Arathi Basin and Deepwind Gorge is always matching numbers. If the enemy has two players on a base, don’t overcommit by sending your entire team unless that base is going to decide the game. Keep an eye on enemy positioning to make informed decisions about which nodes to attack.
Node timers are also crucial to watch. Once a base is captured, it can’t be recaptured for 45 seconds. You don’t need to defend immediately, but instead watch the timer closely. You should aim to return to the base 10–15 seconds before the timer expires so you can either defend it or recapture it right away.
As a general rule, start by sending one healer to the middle node and another healer to a side node. At least two DPS should go middle, with one or two DPS covering the other bases. Remember, no position is static. Players need to rotate to match numbers as the situation changes. You should rarely stay at a single node for the entire game unless explicitly instructed to do so.
Warsong Gulch and Twin Peaks
- The flag carier debuff (
 Brutal Assault) stacks 100% faster (each stack
every 15 seconds, up from 30 seconds.
Brutal Assault) stacks 100% faster (each stack
every 15 seconds, up from 30 seconds. - Maximum game length is set to 12 minutes.
On these maps, healers are usually the best flag carriers. Mistweaver Monks, Restoration Druids, and Preservation Evokers excel at carrying the flag due to their survivability and mobility. If your team has a tank, they can hold the flag, but slower tanks like a Blood Death Knight may need assistance because of their low mobility.
If you don’t have a tank or a high-mobility healer, the next best option is a mobile DPS, such as a Demon Hunter or a Druid. Healers should primarily focus on defense, while DPS should push offense. One or two DPS should play defense and help the flag carrier survive. If DPS die while on offense, they should regroup and either defend the flag carrier if enemies are in the base or push back out and regroup with the team to go again.
DPS should be ready to push offense the moment the enemy flag carrier picks up the flag. The ideal spot to intercept is usually in the middle of the map, but sometimes you’ll need to push closer to their base. On defense, the flag carrier needs to track the enemy flag carrier’s health. If the enemy is about to die, pre-position near the node to capture the flag instantly, preventing the enemy team from recovering it.
Battle for Gilneas
Increased resource acquisition rate in the middle areas of the map.
Battle for Gilneas plays similarly to the original 10v10 version. You’ll want one person defending your starting base while the rest of the team pushes into Waterworks. Ideally, the base should be held by a stealth class like a Rogue or Druid, or a pet class like a Hunter. If the base is attacked, it’s crucial to communicate how many enemies are there so your team can respond with the right number of players.
Once your team captures Waterworks, assign two players to sit each base while the remaining four hover between nodes. This allows them to respond instantly if a base is attacked. If Waterworks is lost, the team needs to regroup and retake it quickly, as the resource acquisition rate is very fast that if you do not reclaim it in approximately 2 minutes it is a guaranteed loss.
Temple of Kotmogu
Increased resource acquisition in the middle areas of the map.
In the Blitz version of Temple, every player needs to be ready to pick up an orb, including healers and DPS, since points are gained extremely quickly. It’s crucial to keep track of who has which orbs and when players are low or dying so you can preposition to secure them. Failing to grab orbs quickly is the number one reason teams lose Temple, regardless of how many orbs your team kills.
All DPS should focus on high-stack orbs, as those players are able to be one-shot. Ranged DPS should stay near the edges to be closer to orb spawns and pick them up more efficiently. Melee can push the middle, but they need to be careful not to overextend if they don't have defensive cooldowns available.
Silvershard Mine
Increased resource acquisition.
Silvershard Mines functions similarly to the standard version. Your main goal is to control the lava cart while also taking at least one off-cart consistently. The preferred off-cart is usually the middle cart, as it allows easy rotation between lava and middle, and vice versa. Always pay attention to cart timers so you don’t leave a cart that will be captured before another.
Off-carts should be handled by a small team of two DPS and a healer who can peel as needed. High mobility healers like Mistweaver Monks and Preservation Evokers excel in this role.
You need to fight inside the cart to maintain control, but never die inside it. Dying in the cart costs your team a portion of the control bar and can flip the node if you’re not careful.
If your team is one cart away from winning, all eight players should push the final cart together. This almost guarantees victory and should be the only situation where the entire team is stacked in a single cart.
Deephaul Ravine
Deephaul Ravine, introduced in The War Within, is a hybrid between Silvershard Mines and Warsong Gulch. The map features mine carts that spawn for capture points and a central crystal that can be picked up and delivered to any capture point for bonus points.
The general strategy is to fight around the crystal in the middle while also pushing the carts for points after your team wins the crystal. As your team runs toward middle, make sure to secure control of your team’s cart so it doesn’t remain neutral. If the cart is neutral then it doesn't generate any residual points and can easily be stolen by the enemy team.
High mobility classes like Monks, Demon Hunters, and Evokers should focus on grabbing the crystal. Low mobility classes can pick it up as well but should hand it off to a faster teammate if no enemies are nearby to steal it.
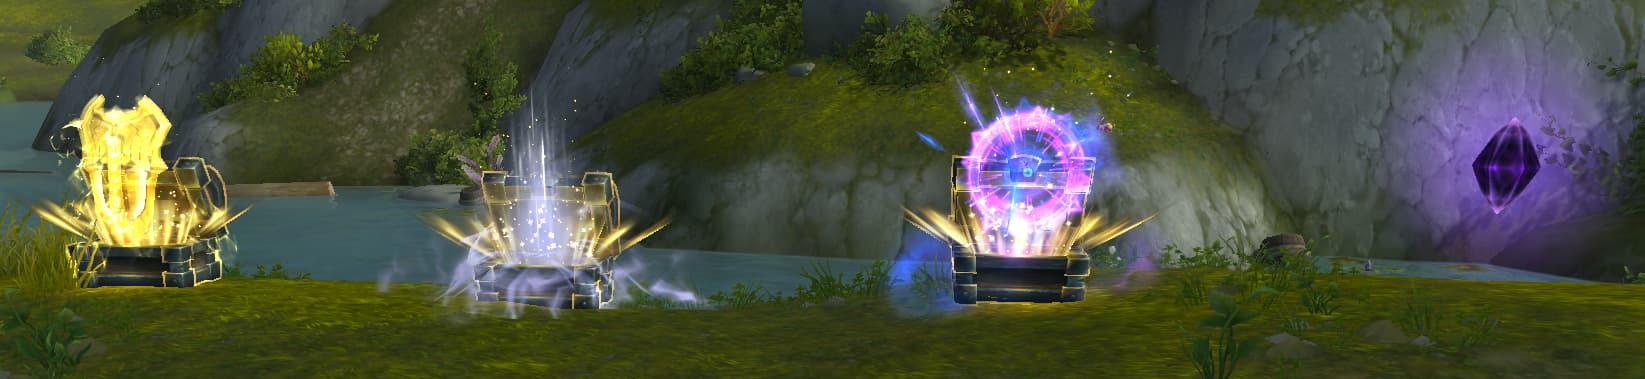
Power-Up Runes
Multiple maps have new power up runes in Battleground Blitz!
- Shield of Protection — Provides a shield equal to 50% ofyour max health for 45 seconds.
- Into the Shadows — Provides a player with stealth and 100% increased movement speed for 30 seconds.
- Rune of Frequency — Increases cooldown rate by 50% for 30 seconds.
- Shadowy Sight — Provides Stealth and Invisibility detection for 12 seconds.
Battleground Blitz Rewards
The first win of the day awards 100 ![]() Conquest. Additional wins
in the same day award 50 Conquest. Losing by a narrow margin gives 25 Conquest.
Conquest. Additional wins
in the same day award 50 Conquest. Losing by a narrow margin gives 25 Conquest.
Two Battleground Blitz weekly quests are available from Malicia in Valdrakken.
You can earn several new achievements from the new brawl:
 Battleground Blitz Novice — Win 10 Battleground Blitz Matches.
- Battleground Blitz Apprentice — Win 25 Battleground Blitz Matches.
- Battleground Blitz Veteran — Win 50 Battleground Blitz Matches.
 Learning the Ropes — Complete 25 Battleground Blitz Matches.
- Brawlroom Blitzer — Complete 50 Battleground Blitz Matches
- Battle-scarred Battler — Complete 100 Battleground Blitz Matches.
Deserter Penalty for Leaving Battleground Blitz
Players who leave a Battleground Blitz match before it ends will receive a deserter penalty.
Changelog
- 06 Nov. 2023: Guide added.