Black Rook Hold Dungeon Guide: Location, Boss Strategies, Trash, and Loot
Welcome to our guide to the Atal'Dazar dungeon in Season 3 of the Dragonflight World of Warcraft expansion. This guide will cover everything you need to know about the dungeon, including how to get to it, its layout, the trash and boss mechanics within, and its loot.
Short Introduction
This guide will focus on an extensive overview of the dungeon, providing vital information to increase your chance of completing the key. We will cover all 4 boss fights supported by the most notable trash enemies in the dungeon and their important abilities. If you would like to learn about the rest of the dungeons in Mythic+, please see our overviews linked below.
Getting into Black Rook Hold
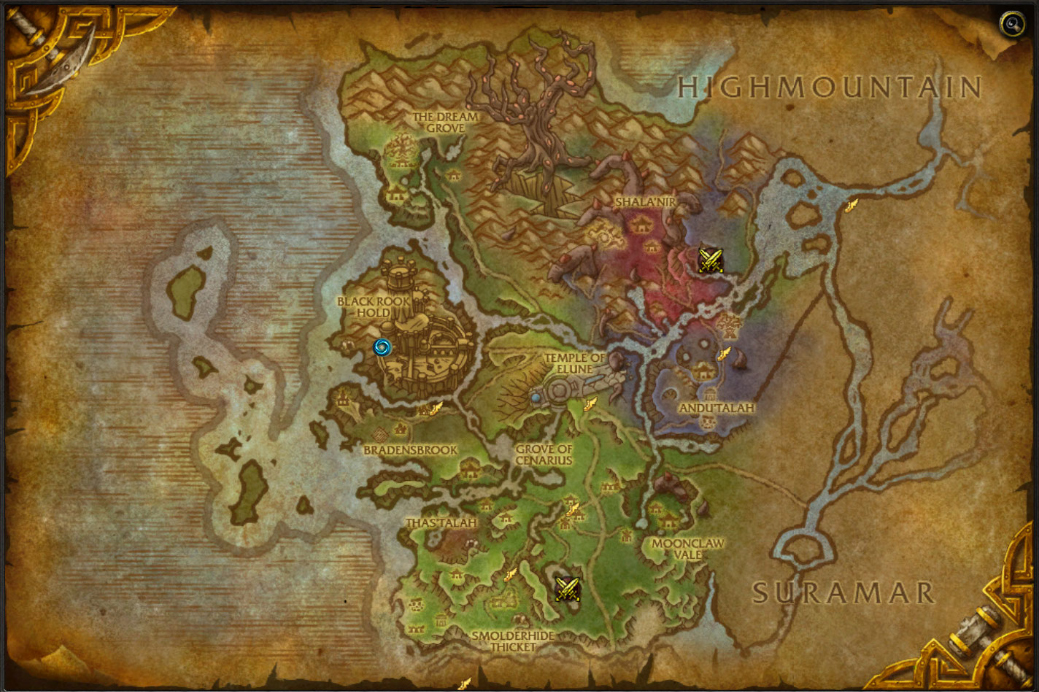
Black Rook Hold is a max-level dungeon in Val'Sharah, Broken Isles.
The dungeon is available in both ![]() Mythic and Mythic+ mode.
Mythic and Mythic+ mode.
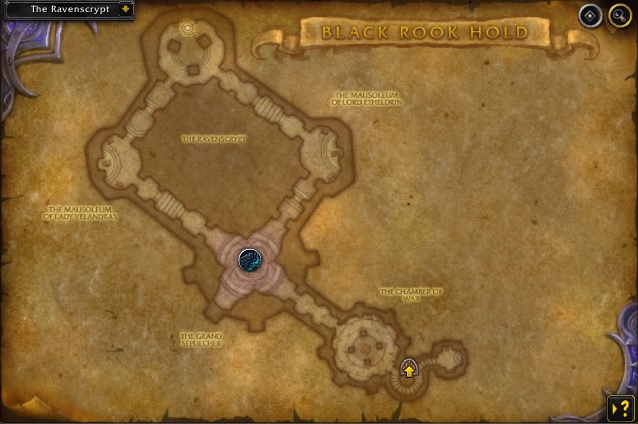
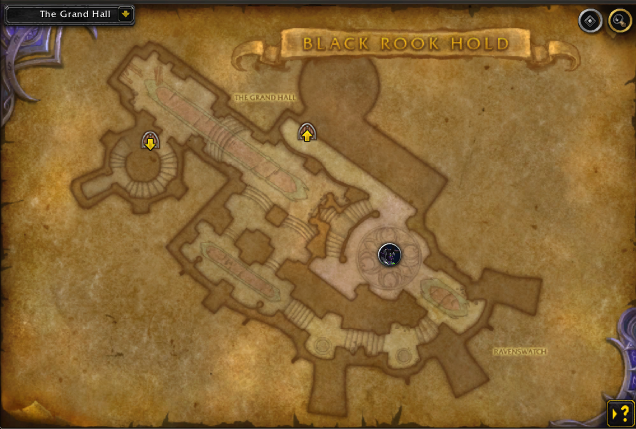
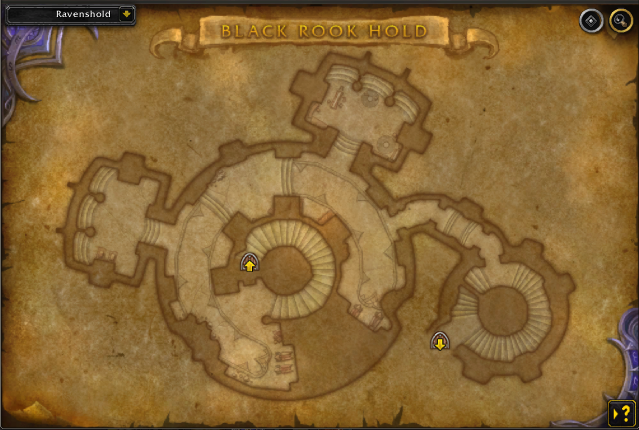
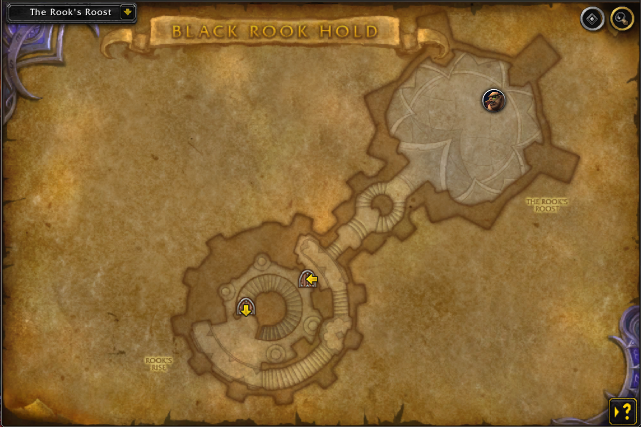
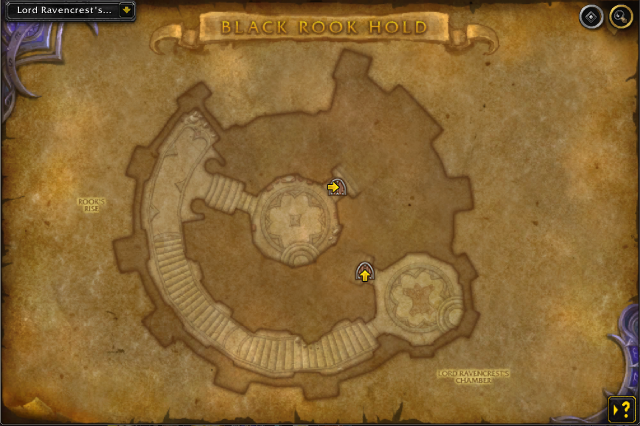
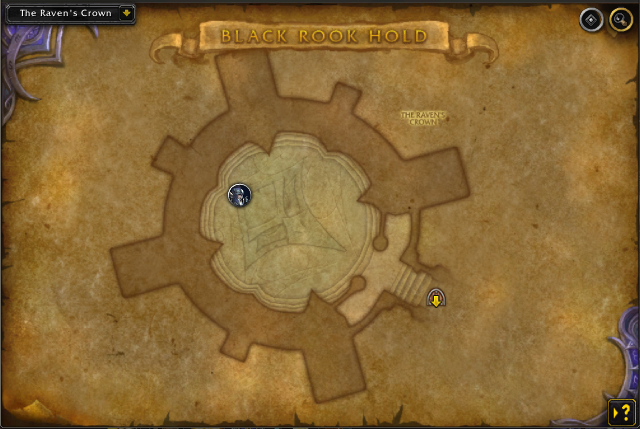
Black Rook Hold Layout
The Amalgam of Souls
Notable Trash Before The Amalgam of Souls
Right at the start of the dungeon, you will be presented with 2 choices, going left or right. While the difference between the non-boss-enemies is none, it is important to state that at the end of each corridor stands a different "mini-boss". To the left, you have Lord Etheldrin Ravencrest, and to the right - Lady Velandras Ravencrest. Pro tip: going left has a slightly more % trash count, so if you are planning to skip any other mobs later in the dungeon, be aware of that!
- Interrupt Ghostly Councilor's
 Soul Blast.
 - Upon fighting Ghostly Retainer, make sure to Dispel
 Soul Blade
on cooldown, as they will apply it occasionally on a random party member. Prot tip:
if you have Priest, hold your
Soul Blade
on cooldown, as they will apply it occasionally on a random party member. Prot tip:
if you have Priest, hold your  Mass Dispel until there are multiple
Soul Blade debuffs out.
Mass Dispel until there are multiple
Soul Blade debuffs out. - Make sure to focus Ghostly Protector especially when they cast
 Sacrifice Soul, since they take 200% more damage but gives any
existing Ghostly Protector a 75% damage reduction.
Sacrifice Soul, since they take 200% more damage but gives any
existing Ghostly Protector a 75% damage reduction.
-----------------------------------------------------------------------------------------------
- When fighting Lady Velandras Ravencrest, the most important thing detail
here is to stay spread to avoid being simultaneously cleave by
 Glaive Toss.
In addition, your tank must pay attention to
Glaive Toss.
In addition, your tank must pay attention to  Strike Down front-load ability.
 - If you decide to take the left path, be ready to face - Lord Etheldrin Ravencrest.
Ensure to interrupt his
 Spirit Blast and manage well
  Soul Echoes debuff,
which the mini-boss will occasionally cast on a non-tank player. If you get targeted by the
debuff, be within a safe space and leave the trace of echo behind you; avoid them at all costs
, as they will have a follow-up detonation.
Soul Echoes debuff,
which the mini-boss will occasionally cast on a non-tank player. If you get targeted by the
debuff, be within a safe space and leave the trace of echo behind you; avoid them at all costs
, as they will have a follow-up detonation.
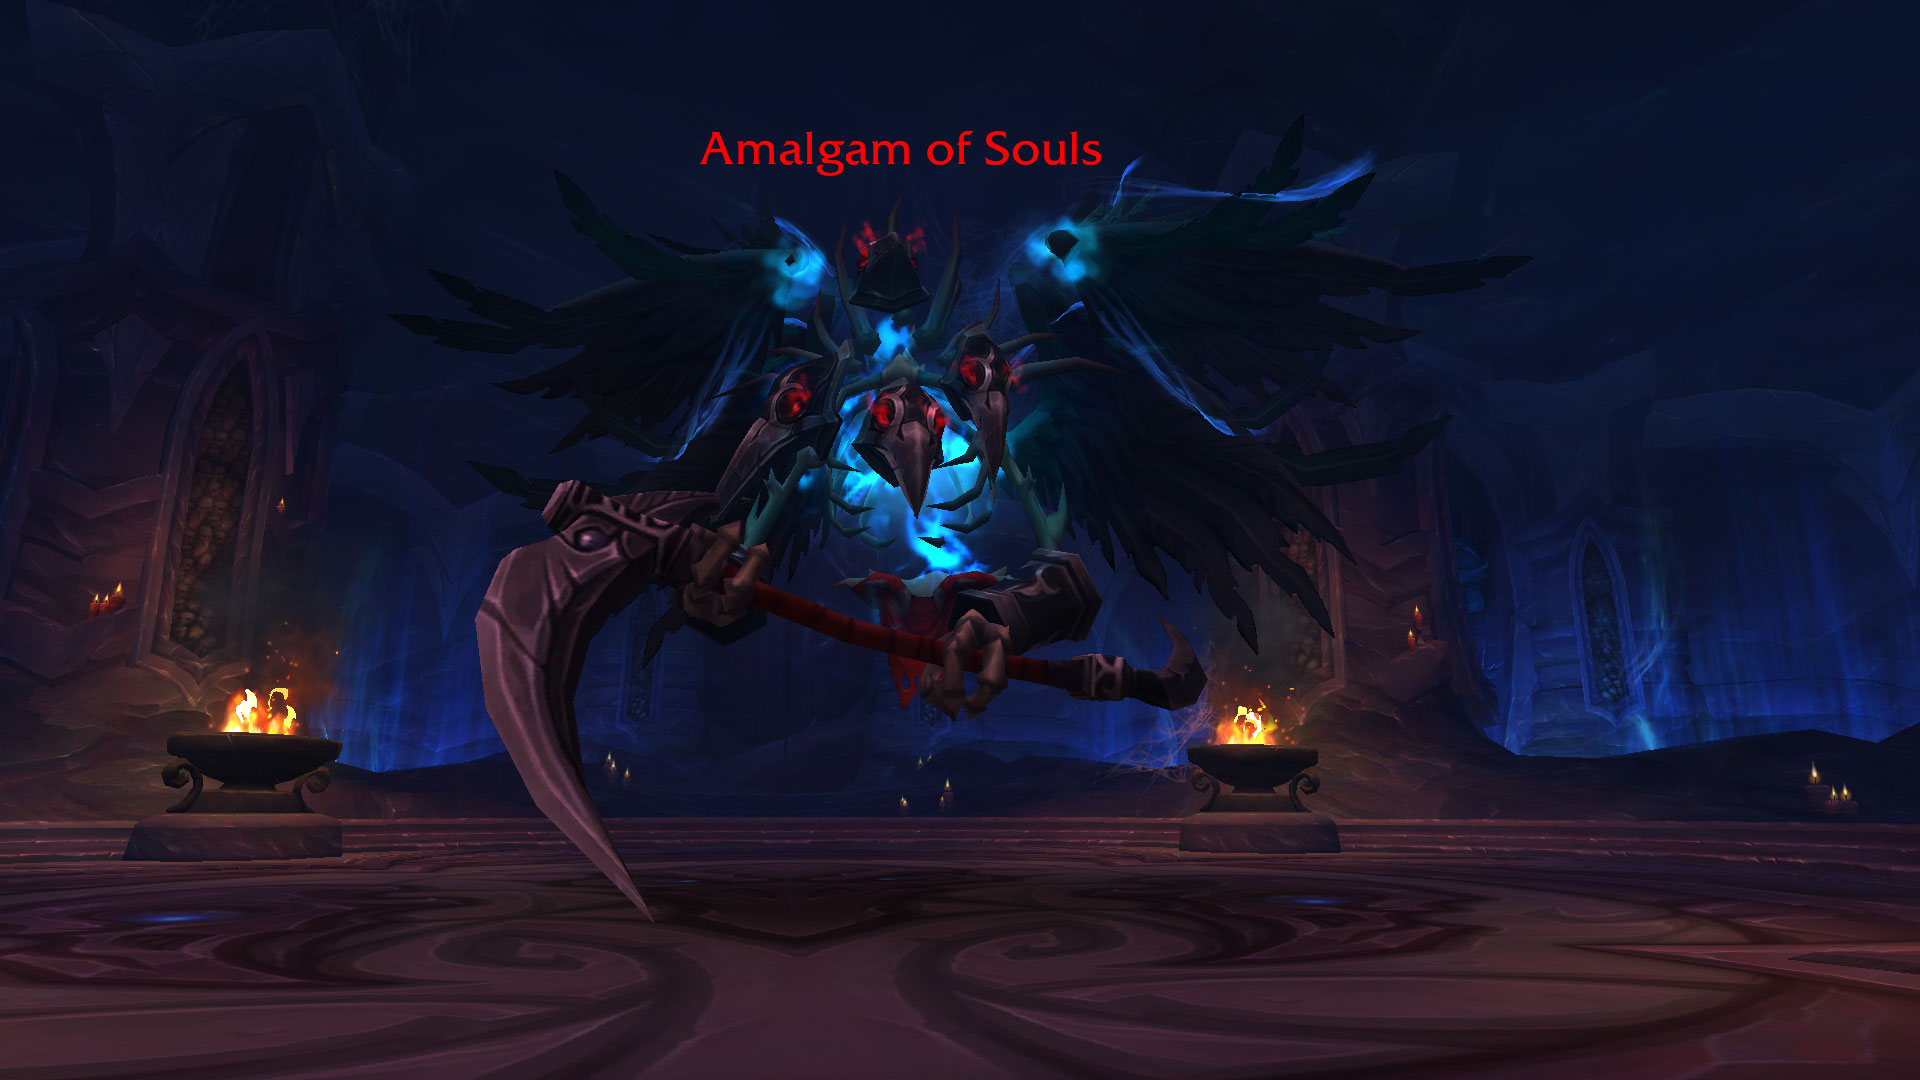
Amalgam of Souls Boss Guide
Amalgam of Souls consists of two phases - Phase one: The Amalgam of Souls and
Phase two: The Call of Souls. During Phase 1 you need to avoid ![]() Swirling Scythe
(the more range you have between the boss, the easier to dodge) skill shot frontal and deal with
Swirling Scythe
(the more range you have between the boss, the easier to dodge) skill shot frontal and deal with
![]() Soul Echoes follow-up ground effect (targeting a random player).
In addition to that, occasionally, the boss will cast
Soul Echoes follow-up ground effect (targeting a random player).
In addition to that, occasionally, the boss will cast ![]() Reap Soul 180 degrees
frontal; it is essential for your tank to position the boss to the corner to
avoid any necessary deaths. Once the boss reaches 50% HP, Phase Two will begin
, and with your priority shifts from boss damage to killing the 7 Restless Souls
coming from the
Reap Soul 180 degrees
frontal; it is essential for your tank to position the boss to the corner to
avoid any necessary deaths. Once the boss reaches 50% HP, Phase Two will begin
, and with your priority shifts from boss damage to killing the 7 Restless Souls
coming from the ![]() Call Souls cast. Make sure to defeat all of them
before they reach Amalgam of Souls, as each of them will grant the boss with
Call Souls cast. Make sure to defeat all of them
before they reach Amalgam of Souls, as each of them will grant the boss with
![]() Soulgorge stack, increasing the damage of
Soulgorge stack, increasing the damage of ![]() Soul Burst
(happens once you defeat all 7 Restless Souls). After that, Phase 1 will
re-appear until the boss is defeated. More details down below:
Soul Burst
(happens once you defeat all 7 Restless Souls). After that, Phase 1 will
re-appear until the boss is defeated. More details down below:
All Roles
- Avoid the
 Swirling Scythe frontal skill shot. The further you
are from the boss, the easier it is to dodge due to the long travel time.
Swirling Scythe frontal skill shot. The further you
are from the boss, the easier it is to dodge due to the long travel time. - Beware of your positioning at all times to avoid being hit by the
 Reap Soul
180 degrees frontal.
Reap Soul
180 degrees frontal. - If you have the Soul Echoes debuff, walk slowly in a line to
place the ground puddles in a way that doesn't interfere, nor affect the rest
of your team members (they will trigger after a few seconds so you can stack
multiple circles together to save space).
- During Phase Two, you can use any form of crowd-control to help you kill the 7 incoming Restless Souls.
- Use defensive cooldown when Amalgam of Souls is about to cast
 Soul Burst,
regardless if he has Soulgorge stacks or not.
Soul Burst,
regardless if he has Soulgorge stacks or not.
Tank
- Beware of your positioning before the Reap Soul 180-degree frontal cast.
Being positioned at the corner will help your teammates dodge it easier.
Healer
- If you have any external damage-reduction cooldown, use it before the
Soul Burst cast to help your team survive.
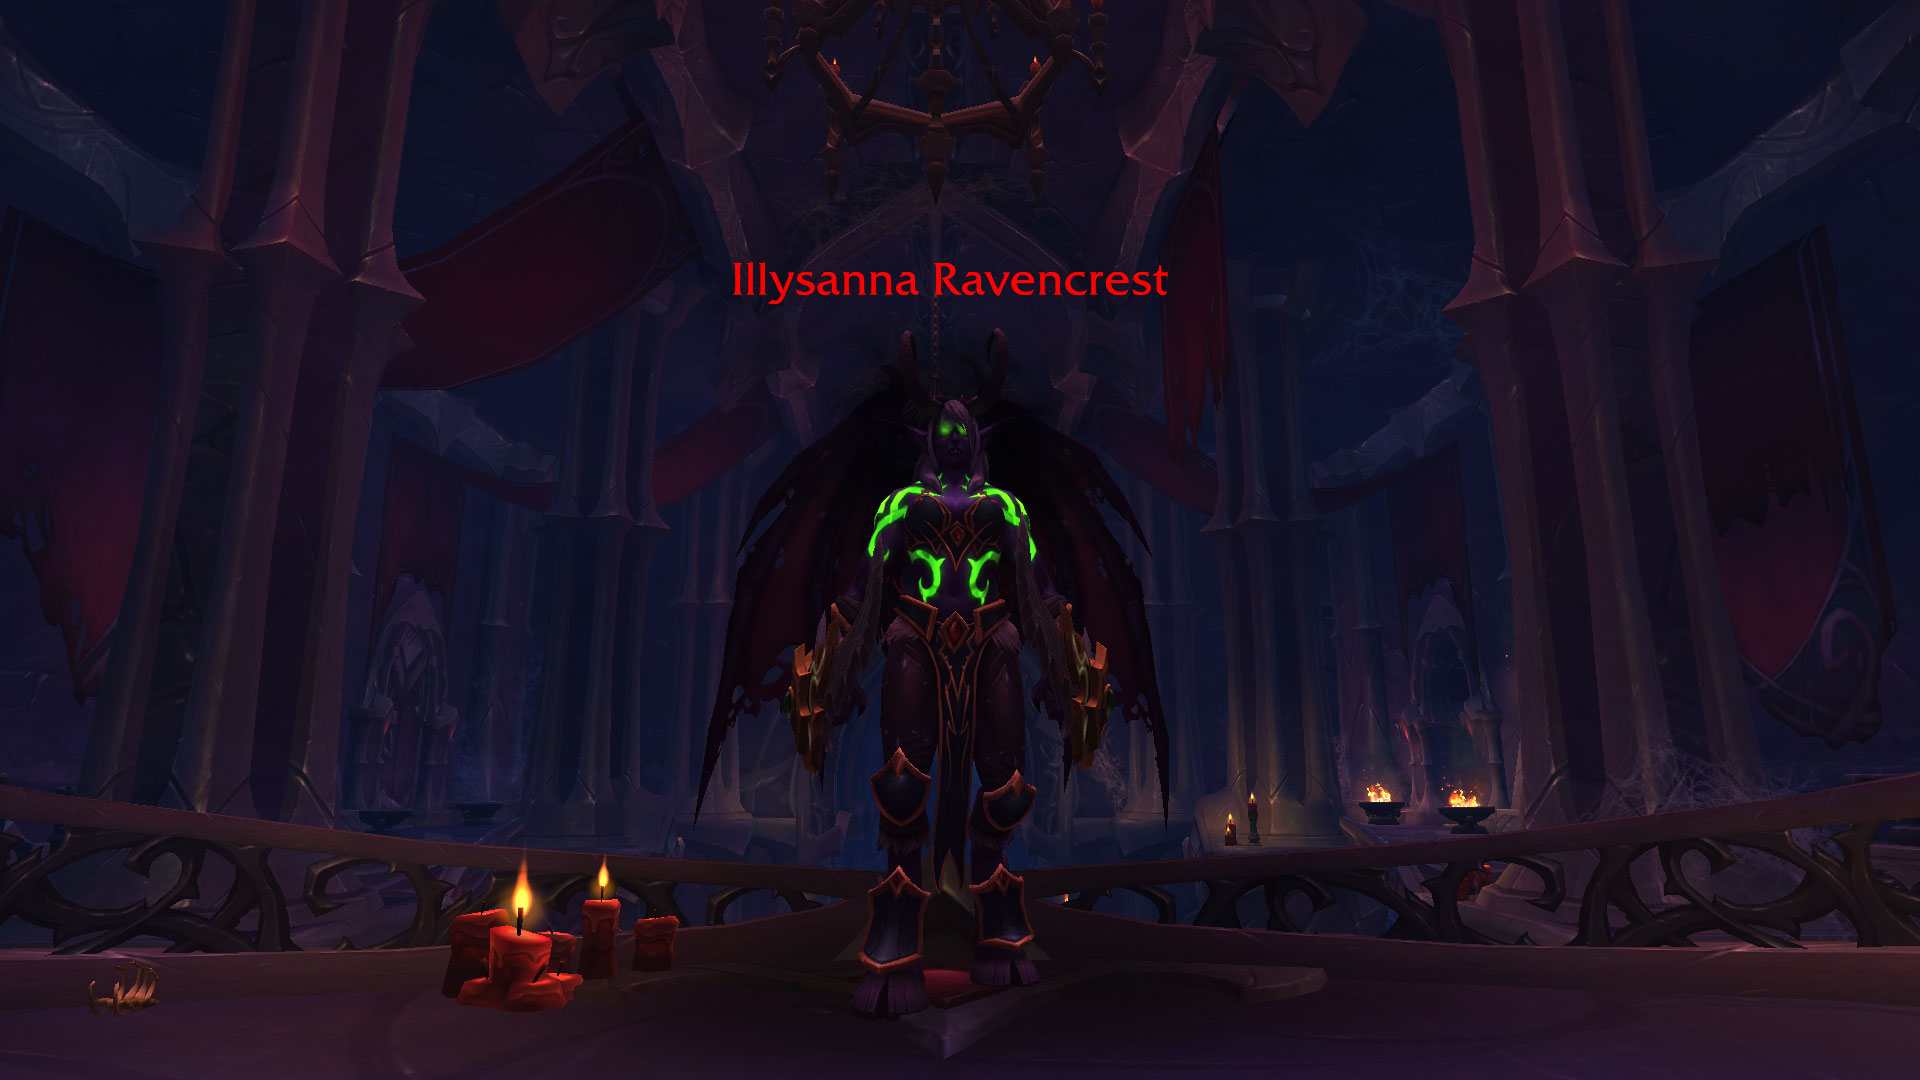
Illysanna Ravencrest
Notable Trash Before Illysanna Ravencrest
- While climbing up the stairs you will face Rook Spiderlings and Rook Spinner,
both creatures applying
 Soul Venom debuff with their auto-attacks. Make sure
to group them up and use mass AoE stuns to prevent excess amount of stacks of
Soul Venom. Alternatively, you can always Dispel them once they
reach a high number.
Soul Venom debuff with their auto-attacks. Make sure
to group them up and use mass AoE stuns to prevent excess amount of stacks of
Soul Venom. Alternatively, you can always Dispel them once they
reach a high number. - Side-step the
 Arrow Barrage (they usually jump near a random
party member) and be aware of their continued Shoot ability.
Arrow Barrage (they usually jump near a random
party member) and be aware of their continued Shoot ability. - Interrupt Risen Arcanist's
 Arcane Blitz cast.
 - Avoid Arcane Minion's
 Phased Explosion ground effect.
 - Important mob: Use disturb effects on Risen Scout's
 Knife Dance
before the cast has finished, avoiding taking massive AoE group-wide damage.
Knife Dance
before the cast has finished, avoiding taking massive AoE group-wide damage. - Avoid Soul-Torn Champion's
 Bonebreaking Strike frontal damage.
The frontal goes where the tank faces it.
Bonebreaking Strike frontal damage.
The frontal goes where the tank faces it. - When engaging Risen Companion, be sure to have between 10-12 yards
range between each other to avoid having
 Bloodthirsty Leap on multiple
people. This
Bloodthirsty Leap on multiple
people. This  Bleed effect stacks.
 - Commander Shemdah'sohn is just a patchwork (dummy) mob that does
Bonebreaking Strike frontal and has a large amount of health.
Illysanna Ravencrest Boss Guide
Illysanna Ravencrest is another 2-phase boss encounter, with much more
punishing mechanics if you are not paying attention. Phase one: Vengeance will last
until the boss reaches maximum energy, after which it will trigger Phase two: Fury.
During Phase 1, the whole party must pay attention to ![]() Brutal Glaive,
your tank to be aware of
Brutal Glaive,
your tank to be aware of ![]() Vengeful Shear frontal attack, and everyone
needs to communicate during
Vengeful Shear frontal attack, and everyone
needs to communicate during ![]() Dark Rush dash. Once the boss reaches maximum energy,
Phase 2 will begin, and with it, you have to deal with Soul-torn Vanguard and
Risen Arcanist while simultaneously managing
Dark Rush dash. Once the boss reaches maximum energy,
Phase 2 will begin, and with it, you have to deal with Soul-torn Vanguard and
Risen Arcanist while simultaneously managing ![]() Eye Beams fixates and
boss damage. After a short period, the boss will resume Phase 1. More information,
down below:
Eye Beams fixates and
boss damage. After a short period, the boss will resume Phase 1. More information,
down below:
All Roles
- When you get targeted by
 Brutal Glaive, get to a position where
there are no nearby allies next to you to avoid the extra bounce back of the
Bleed effect.
Brutal Glaive, get to a position where
there are no nearby allies next to you to avoid the extra bounce back of the
Bleed effect. - If you are fixated by
 Dark Rush, make sure there are no people
in between the dashes to avoid excess damage taken. Preferably be near the corner
to place the follow-up -
Dark Rush, make sure there are no people
in between the dashes to avoid excess damage taken. Preferably be near the corner
to place the follow-up -  Blazing Trail ground effect and save space.
 - If you get targeted by the
 Eye Beams in Phase 2, try to
"kite" the beam efficiently and minimize the excess amount of movement. Be aware
that the beam will leave a
Eye Beams in Phase 2, try to
"kite" the beam efficiently and minimize the excess amount of movement. Be aware
that the beam will leave a  Felblazed Ground trail that you must
avoid staying in.
Felblazed Ground trail that you must
avoid staying in. - Dodge Soul-torn Vanguard's
 Bonecrushing Strike frontal
ability and interrupt Risen Arcanist's Arcane Blitz cast.
Bonecrushing Strike frontal
ability and interrupt Risen Arcanist's Arcane Blitz cast.
Tank
- Consider using active mitigation during
 Vengeful Shear tank ability.
 - Make sure to taunt Soul-torn Vanguard and Risen Arcanist adds when Illysanna Ravencrest enters Phase 2.
Healer
- Be mindful of people with Brutal Glaive Bleed effect.
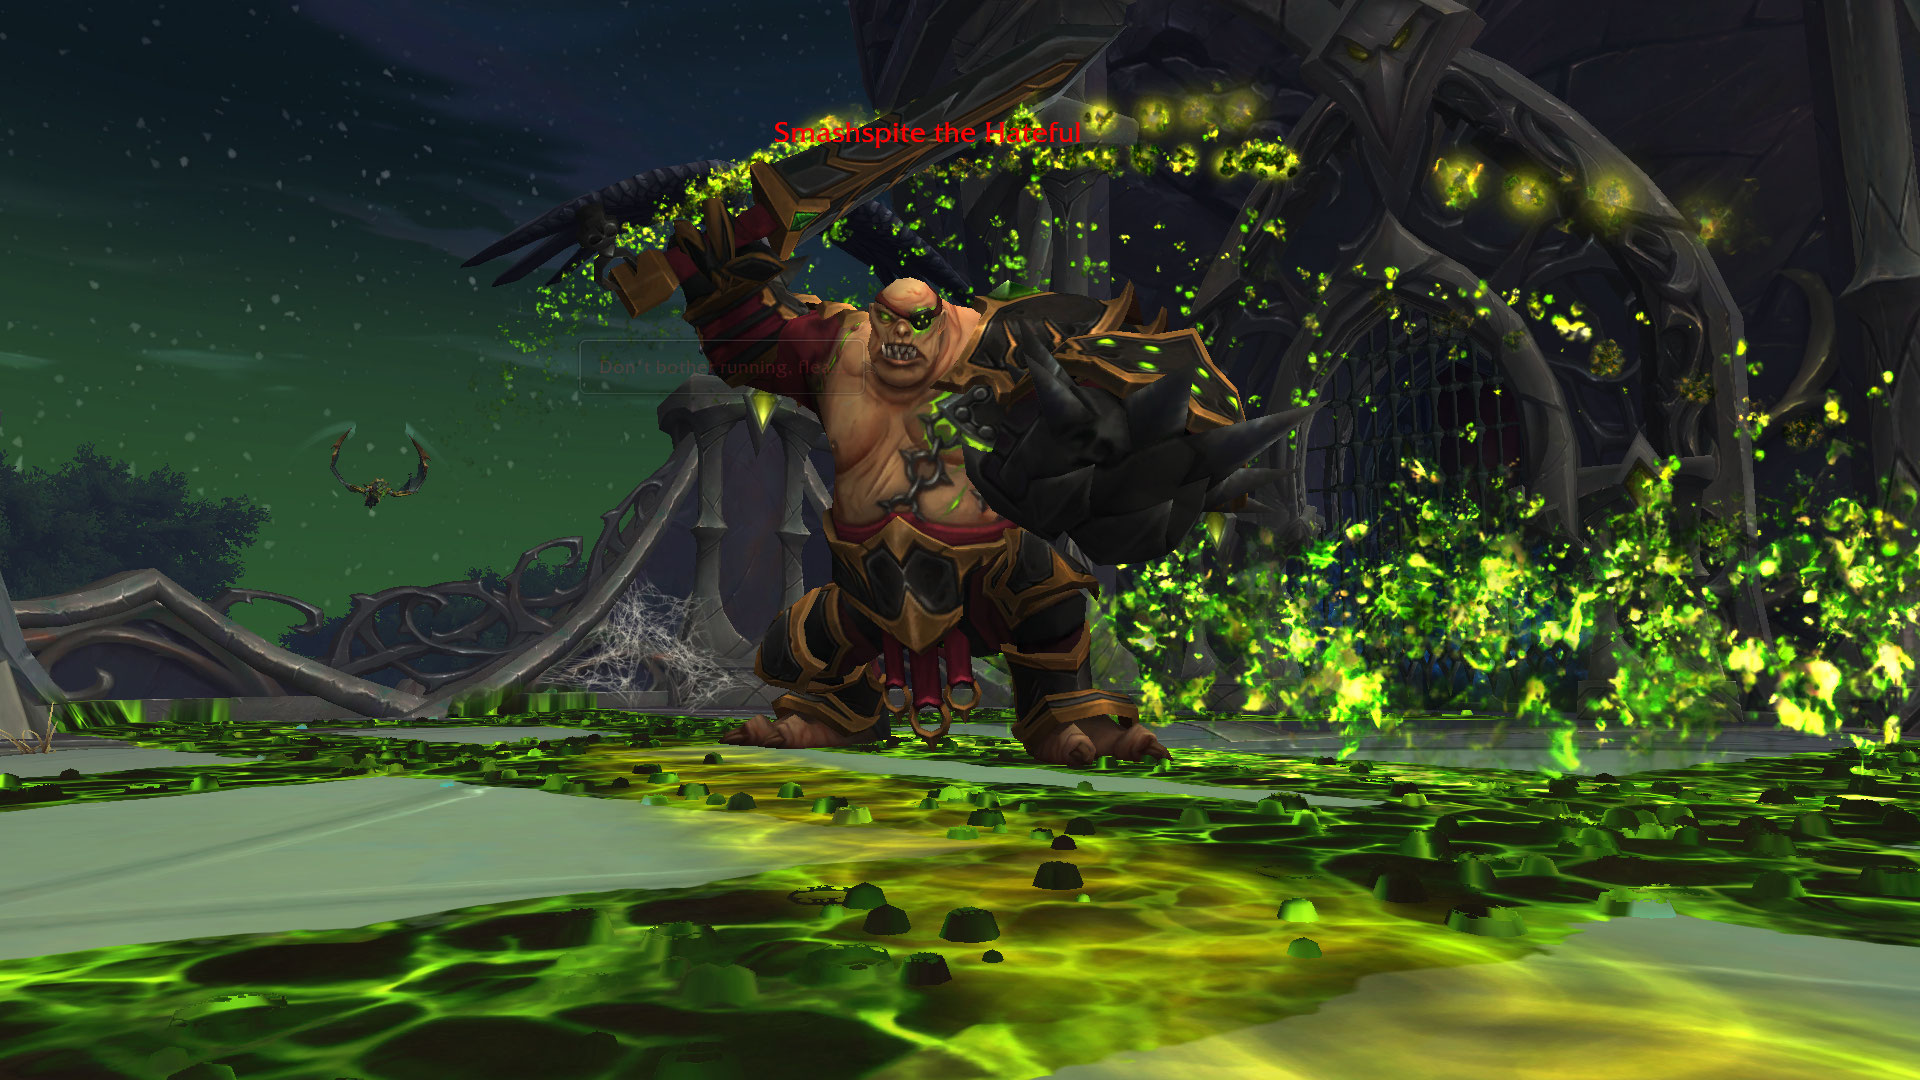
Smashspite the Hateful
Notable Trash Before Smashspite the Hateful
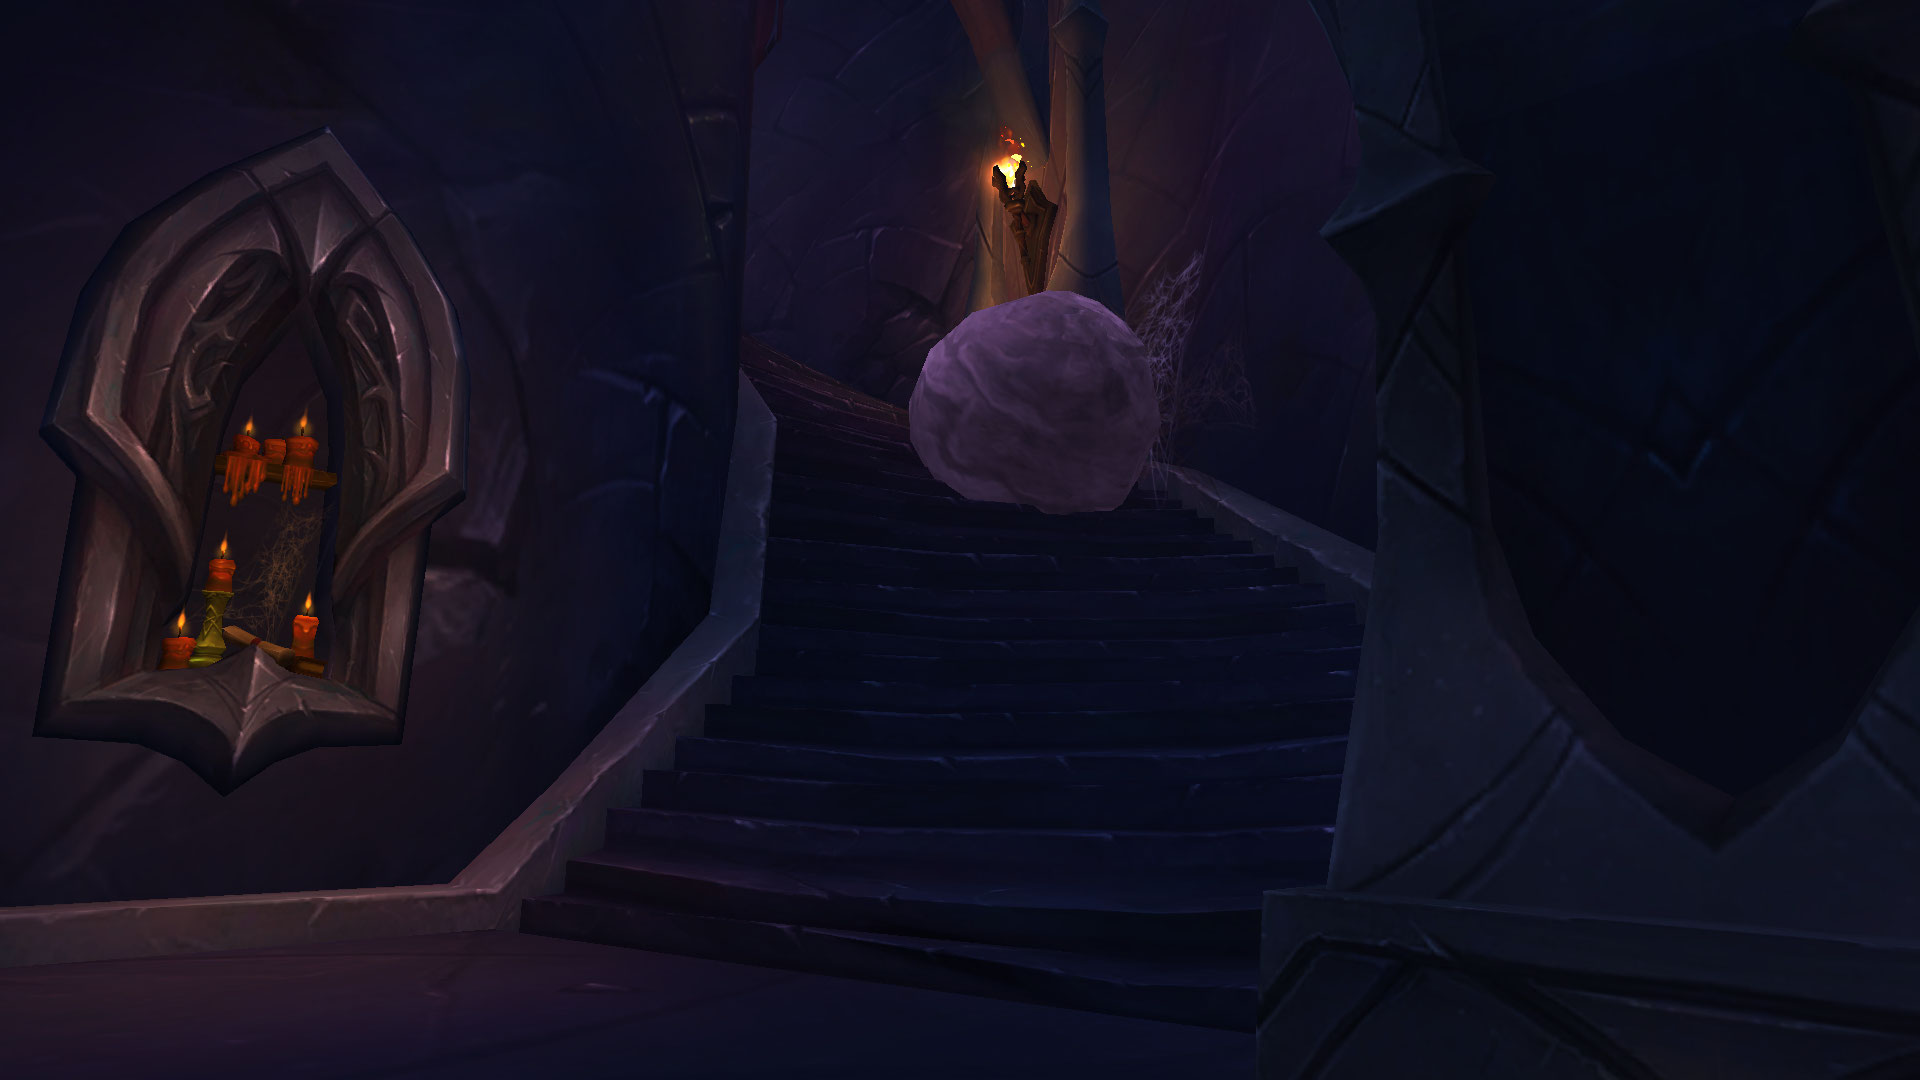
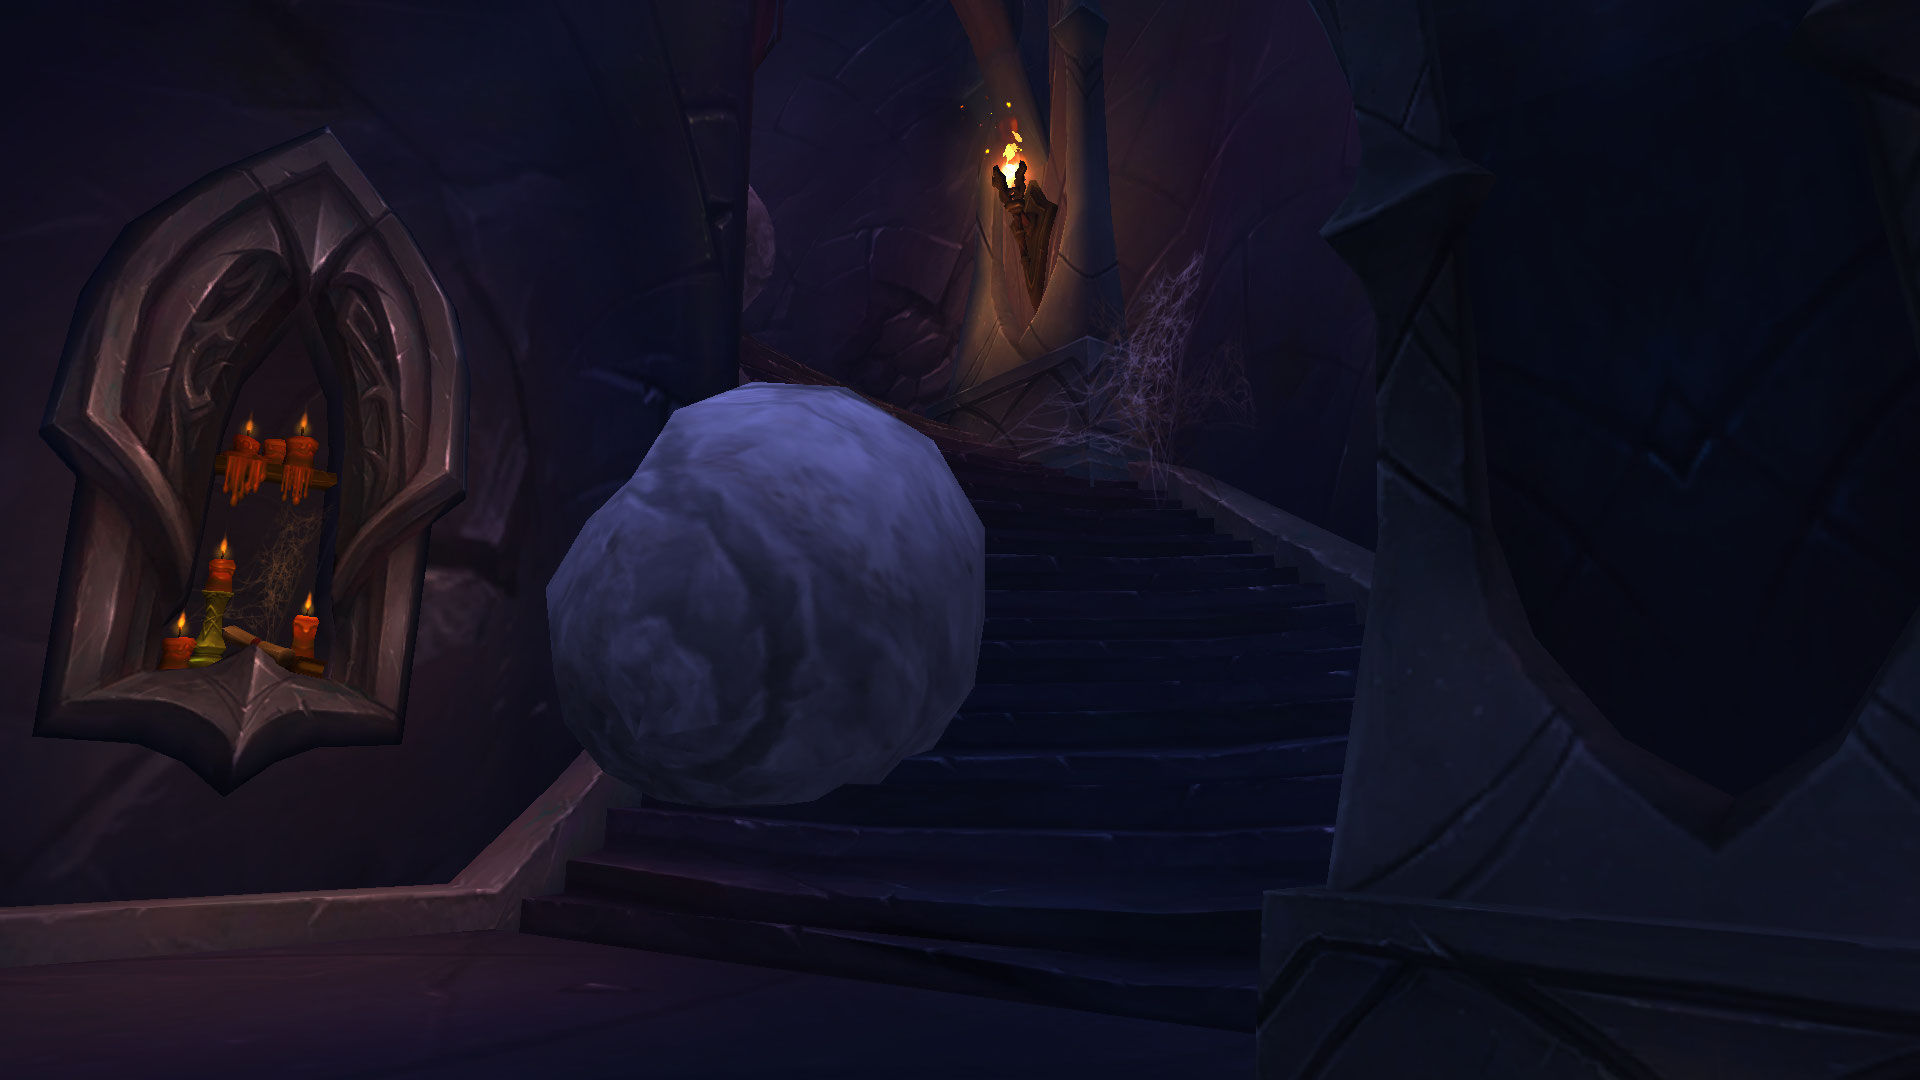
Upon defeating Illysanna Ravencrest, you must climb up the stairs where
you will face the second to last boss - Smashspite the Hateful. Please beware
of the incoming ![]() Boulder Crush rocks; they will stun you and do
near-lethal damage (depending on the key level). The first player to reach the
top of the stairs will automatically cancel the
Boulder Crush rocks; they will stun you and do
near-lethal damage (depending on the key level). The first player to reach the
top of the stairs will automatically cancel the ![]() Boulder Crush rocks.
Pro Tip: There are in total of 2
Boulder Crush rocks.
Pro Tip: There are in total of 2 ![]() Boulder Crush events.
Boulder Crush events.
- Wrathguard Bladelord will exclusively do damage to your tank damage with
 Brutal Assault. If you do have Enrage Dispel, you can use
it once the mob has Enrage buff. Pro tip: If you are quick enough,
you can stun the Brutal Assault channel cast.
Brutal Assault. If you do have Enrage Dispel, you can use
it once the mob has Enrage buff. Pro tip: If you are quick enough,
you can stun the Brutal Assault channel cast. - Although harmless mob that only does auto-attacks, beware of Wyrmtongue Scavenger's
 "Drink" Ancient Potion. The spell can trigger one of the following abilities -
 Indigestion (frontal-fire damage cone) or
  Dizzy
(Wyrmtongue Scavenger will initially receive Hyperactive,
spinning uncontrollably and doing damage to any player that gets in contact with,
after awhile the mob will get stunned for 3 sec). In addition, beware of
Dizzy
(Wyrmtongue Scavenger will initially receive Hyperactive,
spinning uncontrollably and doing damage to any player that gets in contact with,
after awhile the mob will get stunned for 3 sec). In addition, beware of
 Throw Priceless Artifact ground puddles.
 - Wyrmtongue Trickster is only auto-attacking the highest threat target (your tank).
- Bloodscent Felhound is only auto-attacking the highest threat target (your tank).
- Pay attention to Felspite Dominator's
 Fel Frenzy as it
must be interrupted at all times. The buff can also go on any other non-boss and
boss enemies, so if you have multiple Felspite Dominators, set a kick rotation.
In addition, the mob will be surrounded by Fel Bat Pups and will occasionally cast
Fel Frenzy as it
must be interrupted at all times. The buff can also go on any other non-boss and
boss enemies, so if you have multiple Felspite Dominators, set a kick rotation.
In addition, the mob will be surrounded by Fel Bat Pups and will occasionally cast
 Sic Bats!, here is a good place to use stun and disturb effects to help
the targeted target survive. Pro tip: If you go on top of the stairs, you will stop the
random Fel Bat Pup from spawning (otherwise handful of them will come every ~10 sec).
Sic Bats!, here is a good place to use stun and disturb effects to help
the targeted target survive. Pro tip: If you go on top of the stairs, you will stop the
random Fel Bat Pup from spawning (otherwise handful of them will come every ~10 sec).
Smashspite the Hateful Boss Guide
Smashspite the Hateful is a relatively easy boss fight, if you manage
![]() Hateful Gaze and its follow-up effect -
Hateful Gaze and its follow-up effect - ![]() Hateful Charge properly.
The boss will have a Rage bar that will slowly fill thanks to
Hateful Charge properly.
The boss will have a Rage bar that will slowly fill thanks to ![]() Brutality; once he reaches 100 Rage, he will cast
Brutality; once he reaches 100 Rage, he will cast ![]() Brutal Haymaker to your tank.
In addition to this, your Healer must constantly pay attention to
Brutal Haymaker to your tank.
In addition to this, your Healer must constantly pay attention to ![]() Earthshaking Stomp
AoE group-wide damage and knockback effect. At last, throughout the whole fight,
a player will randomly be selected by a Fel Bat casting
Earthshaking Stomp
AoE group-wide damage and knockback effect. At last, throughout the whole fight,
a player will randomly be selected by a Fel Bat casting ![]() Fel Vomit
on them with a follow-up ground effect -
Fel Vomit
on them with a follow-up ground effect - ![]() Fel Vomitus (hence why positioning matters); as the fight progresses, the frequency of the
Fel Vomitus (hence why positioning matters); as the fight progresses, the frequency of the ![]() Fel Vomitus casts will
increase. More information down below:
Fel Vomitus casts will
increase. More information down below:
All Roles
- Pay attention to your positioning at all times to avoid overlapping damage
taken from
 Earthshaking Stomp +
  Fel Vomitus. This is
a good place to use your defensive cooldowns if you are in low health.
Fel Vomitus. This is
a good place to use your defensive cooldowns if you are in low health. - Avoid staying in Fel Vomitus.
- Don't take more than 1 stack of
 Hateful Charge. The best way to
handle the
Hateful Charge. The best way to
handle the  Hateful Gaze and its follow-up effect - Hateful Charge
is to rotate people that do not have stacks or let your tank soak multiple debuffs.
Hateful Gaze and its follow-up effect - Hateful Charge
is to rotate people that do not have stacks or let your tank soak multiple debuffs.
Tank
- Be a backup soak of Hateful Charge in case the rotation of the
soakers gets disrupted.
- Use major defensive cooldowns during
 Brutal Haymaker cast.
Healer
- Help your tank during Brutal Haymaker cast.
- Top-up people before the Earthshaking Stomp cast.
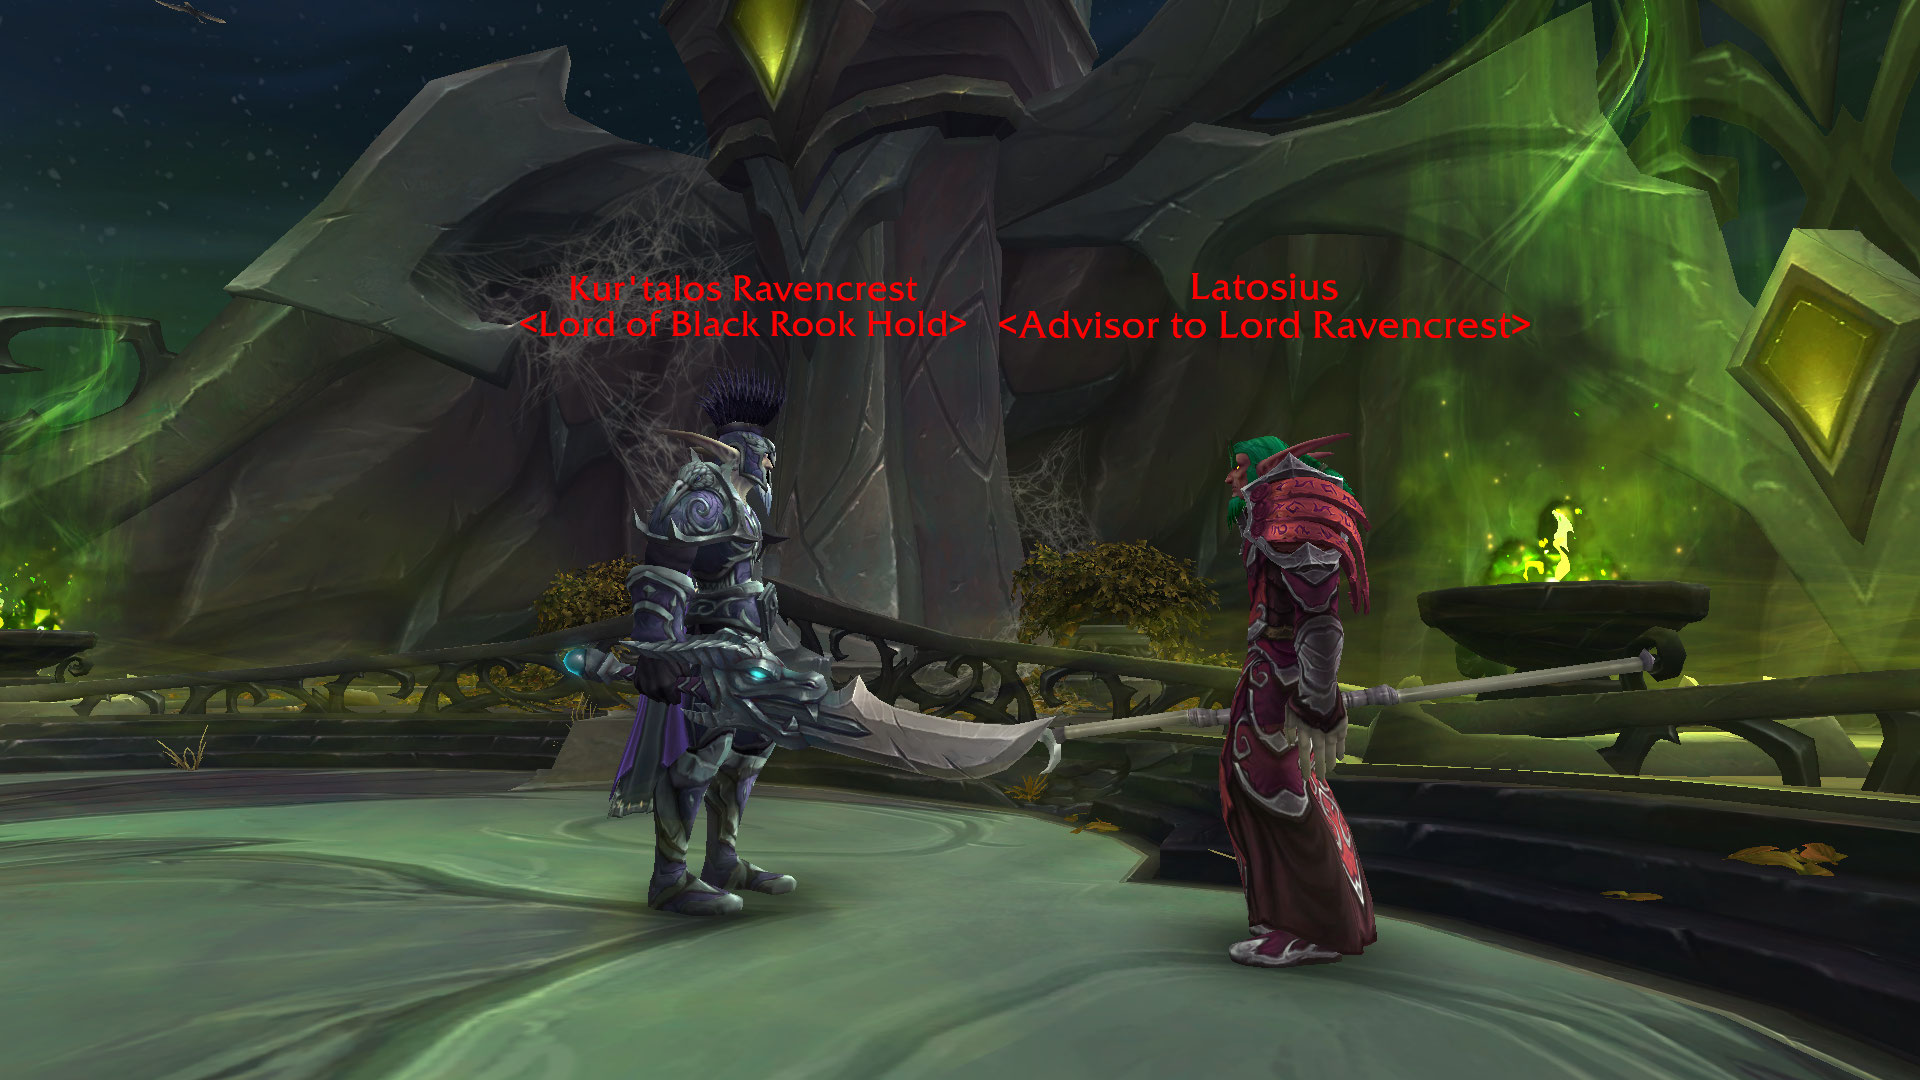
Lord Kur'Talos Ravencrest
Notable Trash Before Lord Kur'Talos Ravencrest
- Risen Swordsman will exclusively deal tank damage with its
 Coup de Grace special attack. Use defensive cooldowns when appropriate.
 - Avoid getting hit by Risen Lancer's
 Raven's Dive ground effect.
Lord Kur'Talos Ravencrest Boss Guide
Lord Kur'talos Ravencrest is a two-phase boss encounter consisting
of Stage One: Lord of the Keep and Stage Two: Vengeance of the Ancients.
During Phase 1, you will be facing Latosius; avoid its ![]() Whirling Blade
frontal skill shot while your tank is dealing with
Whirling Blade
frontal skill shot while your tank is dealing with ![]() Unerring Shear
tank-buster spell. In addition to that, throughout this phase, Latosius will hit a random
enemy with
Unerring Shear
tank-buster spell. In addition to that, throughout this phase, Latosius will hit a random
enemy with ![]() Shadow Bolt (every ~25 sec) and cast
Shadow Bolt (every ~25 sec) and cast ![]() Dark Blast
ground animation, up until the boss reaches 20% HP, which will end Phase 1 and trigger Phase 2.
The second phase is the hardest one, as you will be dealing with Dantalionax
while having the
Dark Blast
ground animation, up until the boss reaches 20% HP, which will end Phase 1 and trigger Phase 2.
The second phase is the hardest one, as you will be dealing with Dantalionax
while having the ![]() Legacy of the Ravencrest. During this phase, Dantalionax
will occasionally cast
Legacy of the Ravencrest. During this phase, Dantalionax
will occasionally cast ![]() Shadow Bolt Volley, doing AoE damage to the
whole party, and focus one random party member with
Shadow Bolt Volley, doing AoE damage to the
whole party, and focus one random party member with ![]() Stinging Swarm
(this is the priority to kill during this phase). At last, they will cast
Stinging Swarm
(this is the priority to kill during this phase). At last, they will cast ![]() Dreadlord's Guile
entering a minor inter-phase, during which you must avoid getting hit by
Dreadlord's Guile
entering a minor inter-phase, during which you must avoid getting hit by
![]() Dark Obliteration and
Dark Obliteration and ![]() Cloud of Hypnosis.
More information down below:
Cloud of Hypnosis.
More information down below:
All Roles
- Avoid the
 Whirling Blade frontal skill shot.
 - Avoid being hit by the
 Dark Blast.
 - During the
 Dreadlord's Guile inter-phase, use any movement-speed
bonus effect to avoid dying to Dark Obliteration.
Dreadlord's Guile inter-phase, use any movement-speed
bonus effect to avoid dying to Dark Obliteration. - Avoid any
 Cloud of Hypnosis ground puddles.
 - Pro tip: During the very first
 Shadow Bolt Volley cast,
use your personal defensive as you will not be having
Shadow Bolt Volley cast,
use your personal defensive as you will not be having  Legacy of the Ravencrest buff.
Tank
- Watch out for the
 Unerring Shear cast.
Healer
- Top-up your party to avoid lethal damage coming from
 Shadow Bolt.
 - Spot-heal the target that gets
 Stinging Swarm.
 - Make sure people are close to being max health during
Shadow Bolt Volley AoE cast.
Black Rook Hold Loot Table
The Amalgam of Souls
| Type | Item | Stats |
|---|---|---|
| Polearm | Howling Echoes | Crit/Haste |
| Mail Shoulder | Mastery/Vers | |
| Back | Haste/Vers | |
| Plate Chest | Mastery/Haste | |
| Cloth Chest | Mastery/Crit | |
| Leather Hands | Mastery/Crit | |
| Trinket | Int |
Illysanna Ravencrest
| Type | Item | Stats |
|---|---|---|
| Leather Head | Haste/Crit | |
| Plate Hands | Crit/Mastery | |
| Mail Waist | Mastery/Crit | |
| Cloth Boots | Crit/Haste | |
| Finger | Haste/Vers | |
| Trinket | Agi |
Smashspite the Hateful
| Type | Item | Stats |
|---|---|---|
| Cloth Head | Haste/Mastery | |
| Mail Legs | Mastery/Crit | |
| Ring | Crit/Haste | |
| Trinket | Haste |
Lord Kur'talos Ravencrest
| Type | Item | Stats |
|---|---|---|
| 2H Sword | Haste/Vers | |
| Mail Head | Crit/Haste | |
| Neck | Vers/Mastery | |
| Cloth Hands | Mastery/Crit | |
| Leather Legs | Haste/Vers | |
| Plate Legs | Mastery/Crit | |
| Trinket | Mastery |
Black Rook Hold Achievements
There are 7 total achievements to obtain in Black Rook Hold:
| Achievement | Criteria |
|---|---|
| Defeat Lord Kur'talos Ravencrest in Black Rook Hold. | |
| Defeat Lord Kur'talos Ravencrest in
Black Rook Hold on |
|
| Defeat Lord Kur'talos Ravencrest in
Black Rook Hold on |
|
| Complete Black Rook Hold at |
|
| Defeat Illysanna Ravencrest without killing any of her
allies in Black Rook Hold on |
|
| Defeat Amalgam of Souls after killing a Frustrated Soul
in Black Rook Hold on |
|
| Find all entries of Illysanna Ravencrest's diary in Black Rook Hold. |
Changelog
- 19 Mar. 2024: No further changes required for 10.2.6 Patch.
- 15 Jan. 2024: No further changes required for 10.2.5 Patch.
- 06 Nov. 2023: Guide added.
This guide has been written by Petko, one of the top Mythic+ players of all time. He has accomplished several Rank 1 World & Europe Team and Solo seasonal rankings, with multiple classes over the span of multiple expansions. You can catch his daily streams on Twitch, and find many of his educational videos on YouTube and TikTok.
- WoW Players Love This Voidstorm Mailbox Toy
- Free Your Hearthstone With the Personal Key to the Arcantina, Once Again
- Haranir Travel Form Removed, Follower Damage Buffs, Dungeon Nerfs, Reputation Bugs: Midnight Hotfixes, Match 6th
- Do Not Get Left Behind in Midnight Season 1: Prepare With These Tips
- The WoW Portal Room Is Open—Here’s How to Join Blizzard’s Community Discord Hub
- Candle Is Life! WoW Releases New Candle-Lit Kobold Rompers on the Battle.net Store
- WoW Midnight Finally Adds a New PvP Battleground
- Spring Blossom and Lush Garden Decor Packs Arrive on the Blizzard Store