Operation: Floodgate Dungeon Guide Location, Boss Strategies, and Trash
This page will cover everything you need to know about the Operation: Floodgate Dungeon in the War Within Expansion, including strategies for events, trash, and bosses.
Operation: Floodgate Dungeon Guide
This guide will be an extensive overview of the dungeon, providing vital information on how to complete it across all difficulties. We will cover all 4 Boss fights, as well as the most notable trash enemies in the dungeon and their important abilities. If you would like to learn about the rest of the dungeons in The War Within Season 3, please see our overviews linked below. Otherwise, without further ado, let us begin!
To summon the Swampface (the third boss of the dungeon) and continue
forward, you must destroy the 5/5 ![]() Weapons Stockpile Explosion located through
the first area of the dungeon.
Weapons Stockpile Explosion located through
the first area of the dungeon.

Big M.O.M.M.A. and Trash Mobs in the Area
Notable Trash Before Big M.O.M.M.A.
- Interrupt Darkfuse Hyena
 Bloodthirsty Cackle.
 - Use defensive cooldowns when Darkfuse Bloodwarper is casting
 Warp Blood.
Any spare interrupts should be used for
Warp Blood.
Any spare interrupts should be used for  Blood Blast.
 - Be aware of Mechadrone Sniper and their
 Snipe ability,
it deals a ton of damage! Any spare kicks should be placed on
Snipe ability,
it deals a ton of damage! Any spare kicks should be placed on  Trickshot.
 - Avoid being hit by Darkfuse Demolitionist's
 R.P.G.G..
 - Darkfuse Inspector will shadow step behind you with
 Surprise Inspection,
make sure to stay close to melee so they don't run away!
Surprise Inspection,
make sure to stay close to melee so they don't run away!
Big M.O.M.M.A. Guide

All Roles
- Make sure to defeat the 4 Darkfuse Mechadrones and interrupt
 Maximum Distortion,
before the boss reaches maximum energy and casts
Maximum Distortion,
before the boss reaches maximum energy and casts  Kill-o-Block Barrier.
 - Avoid being hit by the
 Sonic Boom.
 - Once you defeat the 4 Darkfuse Mechadrones, the boss will enter intermission via
 Jumpstart, dealing damage to the whole party and taking 200% increased
damage (save your major cooldowns if you can!), after which he will erupt
Jumpstart, dealing damage to the whole party and taking 200% increased
damage (save your major cooldowns if you can!), after which he will erupt  Excessive Electrification
and resume the encounter.
Excessive Electrification
and resume the encounter.
Tank
- Always do your best to position the boss around the 4 Darkfuse Mechadrones
and away from any Excessive Electrification ground patches.
Healer
- Use your major cooldowns during Jumpstart intermission.
- If Kill-o-Block Barrier last too long, call out for external defensives
and use everything you have to keep your team alive.
Demolition Duo and Trash Mobs in the Area
Notable Trash Before Demolition Duo
- Be mindful of the Loaderbot's
 Wind Up fixate. This can be
especially dangerous if you are a melee player!
Wind Up fixate. This can be
especially dangerous if you are a melee player! - Interrupt Venture Co. Diver's
 Harpoon. Sidestep any
 Seaforium Charge ground bombs!
 - Interrupt Venture Co. Surveyor's
 Surveying Beam.
 - Avoid Shreddinator 3000's
 Shreddation Sawblade and sidestep
the
Shreddation Sawblade and sidestep
the  Flamethrower channel cast.
 - Use your defensives if Venture Co. Architect casts
 Nailed
on you, use defensive or a movement-impairing removal ability (like Paladin's
Nailed
on you, use defensive or a movement-impairing removal ability (like Paladin's  Blessing of Freedom
or Monk's
Blessing of Freedom
or Monk's  Tiger's Lust. When they cast
  Rapid Construction, focus their
construction as otherwise, they take reduced damage.
Rapid Construction, focus their
construction as otherwise, they take reduced damage.
Demolition Duo Boss Guide

All Roles
- Make sure to defeat both bosses simultaneously to avoid the
 Divided Duo
Enrage effect.
Divided Duo
Enrage effect. - Use the
 Barreling Charge and
  Kinetic Explosive Gel to remove
the bombs. If you don't clear all the bombs before the timer runs out, they will deal massive
group-wide damage and apply
Kinetic Explosive Gel to remove
the bombs. If you don't clear all the bombs before the timer runs out, they will deal massive
group-wide damage and apply  Deflagration.
 - Dodge the incoming
 B.B.B.F.G. frontals from Keeza Quickfuse.
Tank
- Be careful as Bront will cleave targets in front of you with
 Wallop
frontal.
Wallop
frontal. - Always do your best to position both bosses together, allowing your team a better cleave.
Healer
- Dispel the Kinetic Explosive Gel on top of a bomb to remove them. Be mindful as
the debuff ticks hard, consider asking for a defensive.
- Use all of your major healing cooldowns if a bomb goes through as the Deflagration
does immense damage.
Swampface and Trash Mobs in the Area
Notable Trash Before Swampface
- Be mindful at the quantity of Bombshell Crabs you are pulling as upon death they will
detonate
 Crabsplosion - a group-wide stackable DoT effect.
 - Interrupt Disturbed Kelp's
 Restorative Algae and use your crowd-control
when they cast
Restorative Algae and use your crowd-control
when they cast  Jettison Kelp.
Swampface Boss Guide
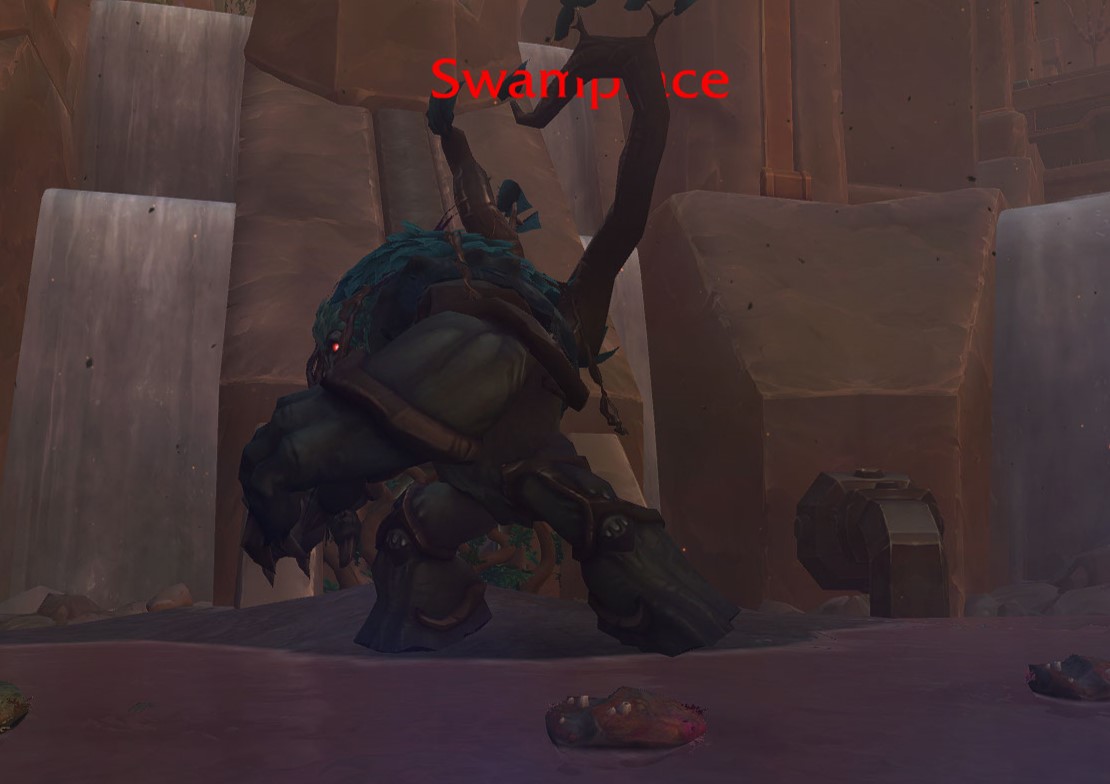
All Roles
 Razorchoke Vines is the main mechanic to play around, as it will bind
4 random players (2 by 2). Your goal is to avoid being hit by
Razorchoke Vines is the main mechanic to play around, as it will bind
4 random players (2 by 2). Your goal is to avoid being hit by  Mudslide
frontal and the incoming waves coming from
Mudslide
frontal and the incoming waves coming from  Awaken the Swamp without breaking
the 14 yards binding (else you will be pulled in together and likely die).
Awaken the Swamp without breaking
the 14 yards binding (else you will be pulled in together and likely die).- Organize prior to engaging the boss, at what direction exactly you will be moving to avoid
the Mudslide.
Tank
- Use your active mitigation when Swampface casts
 Sludge Claws.
Healer
- Use your major healing cooldowns to heal through the Awaken the Swamp
as it will do group-wide damage.
Geezle Gigazap and Trash Mobs in the Area
Notable Trash Before Geezle Gigazap
- HIGH PRIORITY Interrupt Venture Co. Electrician's
 Lightning Bolt.
Your healer must focus on dispelling Overcharge DoT as swiftly as they can.
Lightning Bolt.
Your healer must focus on dispelling Overcharge DoT as swiftly as they can. - Darkfuse Jumpstarter is the hardest non-boss-enemy in this dungeon, as they will
periodically do continuous group-wide damage while spawning
 Battery Discharge
lighting puddles (which you must avoid otherwise you will die).
Battery Discharge
lighting puddles (which you must avoid otherwise you will die).
Geezle Gigazap Boss Guide
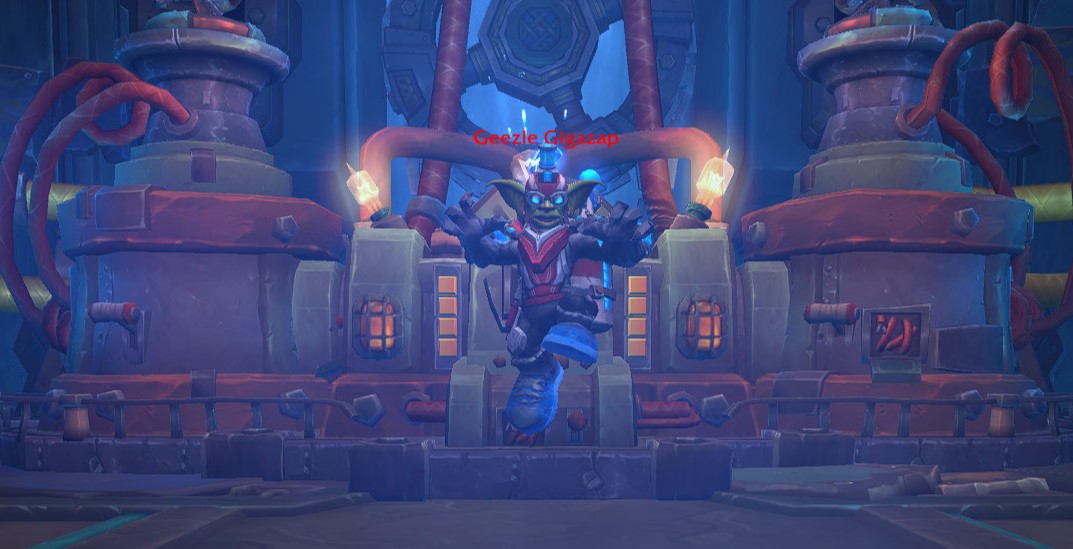
All Roles
- Use defensive cooldowns during
 Turbo Charge and dodge
the incoming frontals.
Turbo Charge and dodge
the incoming frontals. - Avoid the Dam Rubble ground puddles.
- If targeted by
 Gigazap, stay away from any water puddles
to avoid electrifying them. This will help you with a follow-up boss ability -
Gigazap, stay away from any water puddles
to avoid electrifying them. This will help you with a follow-up boss ability -
 Leaping Sparks as the only way to remove it is through leading the
spark onto a fresh water puddle.
Leaping Sparks as the only way to remove it is through leading the
spark onto a fresh water puddle.
Tank
- Use your major defensive cooldowns before each
 Thunder Punch.
Healer
- Use your major healing cooldowns during the Turbo Charge channel,
as it will deal massive group-wide damage.
Operation Floodgate Loot Table
Big M.O.M.M.A.
| Type | Item | Stats |
|---|---|---|
| Warglaives | Haste/Crit | |
| Leather Shoulder | Vers/Haste | |
| Mail Shoulder | Crit/Mastery | |
| Cloth Boots | Vers/Haste | |
| Trinket | Int |
Demolition Duo
| Type | Item | Stats |
|---|---|---|
| Gun | Crit/Haste | |
| Leather Head | Haste/Crit | |
| Mail Chest | Mastery/Haste | |
| Plate Waist | Crit/Haste | |
| Trinket | Str/Agi |
Swampface
| Type | Item | Stats |
|---|---|---|
| Polearm | Mastery/Crit | |
| Plate Chest | Mastery/Crit | |
| Leather Wrist | Mastery/Haste | |
| Cloth Legs | Crit/Mastery | |
| Trinket | Vers |
Geezle Gigazap
| Type | Item | Stats |
|---|---|---|
| 2H Sword | Haste/Mastery | |
| Dagger | Agi, Haste/Vers | |
| Back | Haste/Mastery | |
| Cloth Chest | Haste/Crit | |
| Plate Hands | Mastery/Haste | |
| Mail Waist | Haste/Crit | |
| Trinket | Int |
Operation Floodgate Achievements
There are 4 total achievements to obtain in Operation Floodgate:
| Achievement | Criteria |
|---|---|
| Defeat Geezle Gigazap in Operation Floodgate. | |
| Defeat Geezle Gigazap in Operation Floodgate on
|
|
| Defeat Geezle Gigazap in Operation Floodgate on
|
|
| Complete Operation Floodgate at |
Changelog
- 18 Jan. 2026: Reviewed and updated for Midnight Pre-Patch.
- 01 Dec. 2025: Reviewed and updated for Patch 11.2.7.
- 04 Oct. 2025: Reviewed and updated for Patch 11.2.5.
- 04 Aug. 2025: Reviewed and updated for Season 3.
- 14 Jun. 2025: No further changes required for 11.1.7 Patch.
- 15 Apr. 2025: No further changes required for 11.1.5 Patch.
- 25 Feb. 2025: Page added.
This guide has been written by Petko, one of the top Mythic+ players of all time. He has accomplished several Rank 1 World & Europe Team and Solo seasonal rankings, with multiple classes over the span of multiple expansions. You can catch his daily streams on Twitch, and find many of his educational videos on YouTube and TikTok.
- WoW Players Love This Voidstorm Mailbox Toy
- Free Your Hearthstone With the Personal Key to the Arcantina, Once Again
- Haranir Travel Form Removed, Follower Damage Buffs, Dungeon Nerfs, Reputation Bugs: Midnight Hotfixes, Match 6th
- Do Not Get Left Behind in Midnight Season 1: Prepare With These Tips
- The WoW Portal Room Is Open—Here’s How to Join Blizzard’s Community Discord Hub
- Candle Is Life! WoW Releases New Candle-Lit Kobold Rompers on the Battle.net Store
- WoW Midnight Finally Adds a New PvP Battleground
- Spring Blossom and Lush Garden Decor Packs Arrive on the Blizzard Store