

Ruby Life Pools Dungeon Guide: Location, Boss Strategies, Trash, and Loot
Welcome to our guide to the Ruby Life Pools dungeon in the Dragonflight World of Warcraft expansion. This guide will cover everything you need to know about the dungeon, including how to get to it, its layout, the trash and boss mechanics within, and its loot.
Getting into Ruby Life Pools
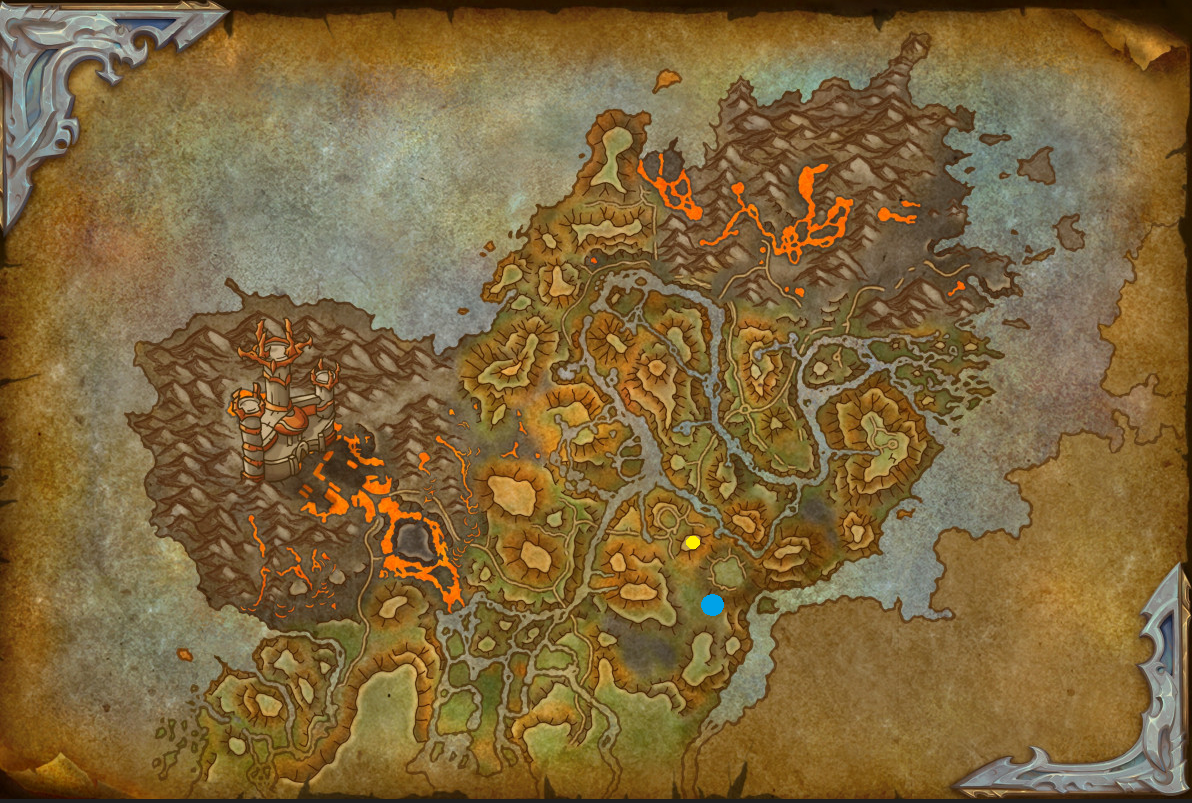
Ruby Life Pools is a Dragonflight dungeon located in the The Waking Shores zone on the Dragon Isles. The nearest flight point for both Alliance and Horde players is Ruby Life Pools, The Waking Shore. Upon arrival, head a short way south until you see the dungeon to the left of the mountain.
This guide will focus on an extensive overview of the dungeon, providing vital information
to complete it across all difficulties (Normal, ![]() Heroic,
and
Heroic,
and ![]() Mythic). We will cover all 3 boss fights supported by the most
notable trash enemies in the
dungeon and their important abilities. If you would like to learn about the other
Dragonflight Dungeons or the upcoming Mythic+ season instead, please see our
overviews linked below. Otherwise, without further ado, let us begin!
Mythic). We will cover all 3 boss fights supported by the most
notable trash enemies in the
dungeon and their important abilities. If you would like to learn about the other
Dragonflight Dungeons or the upcoming Mythic+ season instead, please see our
overviews linked below. Otherwise, without further ado, let us begin!
Ruby Life Pools Layout
Unlock a Checkpoint Throughout the Dungeon
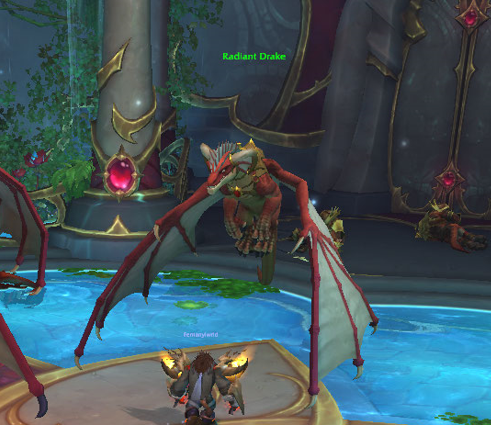
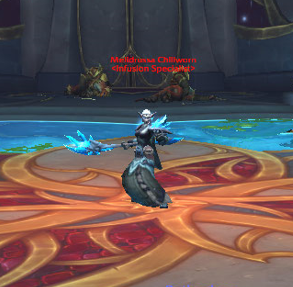
There is only one unique checkpoint upon death, and that is upon defeating the first boss of the dungeon, Melidrusa Chillworn. You can use the Radiant Drake to fly towards the next area Ruby Overlook where you can find the remaining bosses of the instance Kokia Blazehoof and Kyrakka and Erkhart Stormvein.
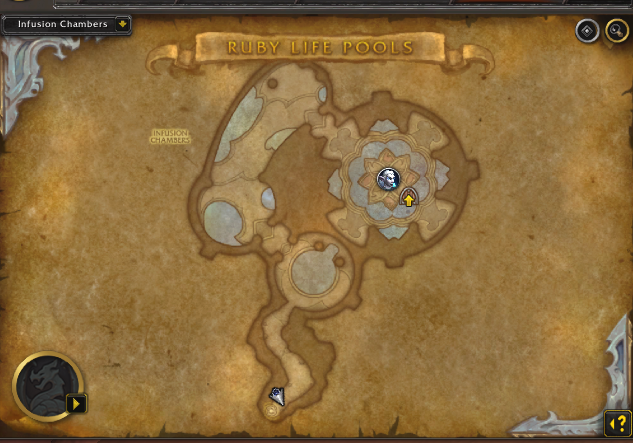
Infusion Chambers and Melidrussa Chillworn
Notable Trash Before Melidrussa Chillworn
- Primal Juggernaut is one of the most dangerous non-boss-enemies
in this dungeon with its lethal cast of
 Excavating Blast; avoid it
at all costs. The mob will also deal
Excavating Blast; avoid it
at all costs. The mob will also deal  Crushing Smash to your tank,
essentially having a "tank-buster" ability.
Crushing Smash to your tank,
essentially having a "tank-buster" ability. - Use crowd-control abilities to stop Flashfrost Earthshaper's mass AoE
spell -
 Tectonic Slam.
 - Interrupt Flashfrost Chillweaver's single-target cast -
 Icebolt. The mob will also channel
  Ice Shield to a random
enemy, the longer the channel goes, the higher the numerical value of the shield
will be, once the mob is shielded, it will also get an immunity to
crowd-control effects. Stop this at all cost!
Ice Shield to a random
enemy, the longer the channel goes, the higher the numerical value of the shield
will be, once the mob is shielded, it will also get an immunity to
crowd-control effects. Stop this at all cost! - Last but not least, careful how you walk in the Infusion Chambers
area, as if you or any non-boss-enemy walk over any Dragon Eggs, they
will spawn Infused Whelps, which will occasionally cast
 Cold Claws
on their primary target. They apply
Cold Claws
on their primary target. They apply  Primal Chill stacks, dealing damage and slowing
you down, upon reaching maximum stacks (8) you will be frozen, so watch out!
Primal Chill stacks, dealing damage and slowing
you down, upon reaching maximum stacks (8) you will be frozen, so watch out!
The first "mini-boss" you will face is located at the end of The Infusion Chambers area just before engaging the first boss of the dungeon - Melidrusa Chillworn. He is more known as Defier Draghar, with significantly more health than the rest of the non-boss-enemies, having 2 important abilities to watch out for:
 Steel Barrage is an incredibly tough tank-buster channel, use
active mitigation to help you survive. In addition, every time a tick of
Steel Barrage goes through, it will spawn a Motel Steel
fragment on the ground that does damage upon contact.
Steel Barrage is an incredibly tough tank-buster channel, use
active mitigation to help you survive. In addition, every time a tick of
Steel Barrage goes through, it will spawn a Motel Steel
fragment on the ground that does damage upon contact.- Watch out for
 Blazing Rush, the deadly charge targets a random
player and upon contact will deal massive damage, it will also leave a
tough
Blazing Rush, the deadly charge targets a random
player and upon contact will deal massive damage, it will also leave a
tough  Bleed effect on you, so avoid this at all cost. A common strategy for the
Blazing Rush ability is to stack near a wall and "bait" the charge so you
increase the uptime on all melee damage dealers!
Bleed effect on you, so avoid this at all cost. A common strategy for the
Blazing Rush ability is to stack near a wall and "bait" the charge so you
increase the uptime on all melee damage dealers!
Melidrussa Chillworn Boss Guide
All Roles
-
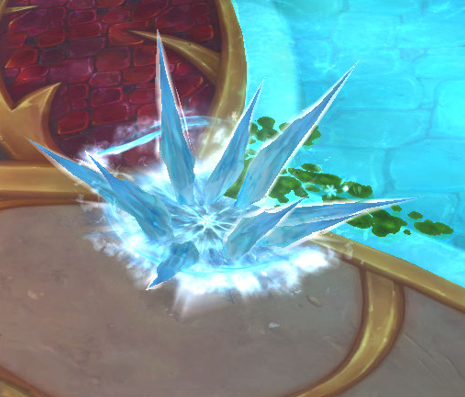 Periodically, Melidrusa Chillworn will spawn
  Hailbombs
on each player, leaving a block of ice on the ground. They will permanently stay
on the floor, and if you ever get in contact with one, it will deal massive damage.
It is best to "bait" them close to each other to save space around the room.
Hailbombs
on each player, leaving a block of ice on the ground. They will permanently stay
on the floor, and if you ever get in contact with one, it will deal massive damage.
It is best to "bait" them close to each other to save space around the room. - The boss will occasionally cast
 Chillstorm on a random player;
quickly move out from the center of the storm. During the Chillstorm
everyone from your party will take damage, and at the end of the cast it will
explode, damaging everyone. This effect will push you back, so make sure you do
not hit any existing Hailbombs fragments on the ground.
Chillstorm on a random player;
quickly move out from the center of the storm. During the Chillstorm
everyone from your party will take damage, and at the end of the cast it will
explode, damaging everyone. This effect will push you back, so make sure you do
not hit any existing Hailbombs fragments on the ground. - Once the boss casts
 Awaken Whelps, be ready to deal damage to
quickly defeat them while breaking the
Awaken Whelps, be ready to deal damage to
quickly defeat them while breaking the  Frost Overload as quick as possible,
to stop the pulsating damage to everyone and interrupt her.
Frost Overload as quick as possible,
to stop the pulsating damage to everyone and interrupt her.


Tank
- Beware of Frigid Shard casts; they are quick and non-interruptible.
- Gather threat against the Infused Whelps as soon as you can and stack them on top of the Melidrusa Chillworn for effective cleave.
Healer
- Prepare to use healing cooldowns during Chillstorm. Not only
will everyone take damage during it, but at the end of the explosion, if people
are not "topped up," they might die because of the high damage of the explosion.
- Use your healing cooldowns to cover the damage coming from Frost Overload.
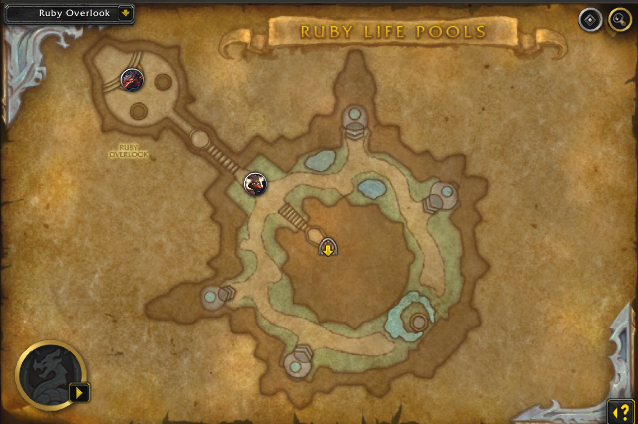
The Ruby Overlook and Kokia Blazehoof
Notable Trash Before Kokia Blazehoof
Immediately after defeating Melidrusa Chillworn, hop on the one of the Radiant Drakes, who will carry you to the next area of Ruby Overlook.
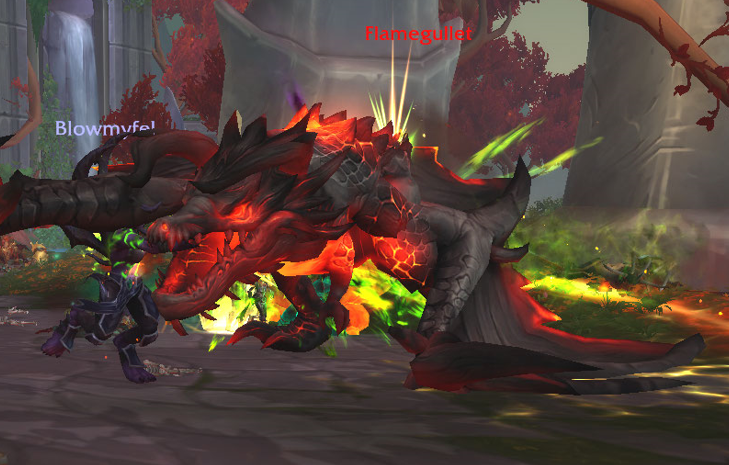
There are 2 additional "mini-bosses" located in this area that you are going to face prior to engaging Kokia Blazehoof: Thunderhead, located to the left after landing, and Flamegullet, located to the right after landing, with each of them having unique abilities.
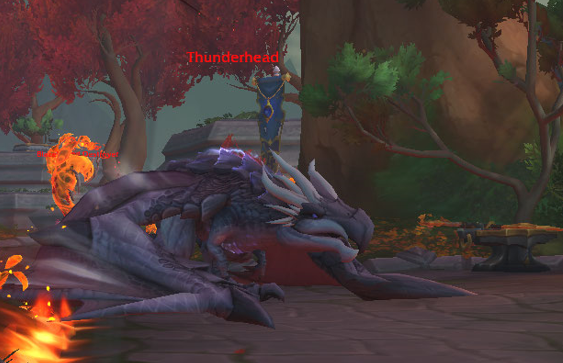
- Thunderhead is slightly harder to deal with of the two. Dodge
 Storm Breath at all cost, as only a few ticks of this frontal will likely
kill you.
Storm Breath at all cost, as only a few ticks of this frontal will likely
kill you. - Beware of
 Thunder Jaw, the "tank-buster" ability that will always go
on the tank, dealing high damage and knocking them back.
Thunder Jaw, the "tank-buster" ability that will always go
on the tank, dealing high damage and knocking them back. - Last but not least, watch out for
 Rolling Thunder debuffs.
It will always apply 2 applications, each of them going on a random
player from your party. Upon expiring, it will deal massive damage to all
players within 100 yds, so the best way to deal with it is to let
your healer dispel one target and wait until the second debuff expires, so
you can delay the damage coming out of it. Upon dispelling, it will deal
the full damage that you would normally get upon the debuff expiring.
Rolling Thunder debuffs.
It will always apply 2 applications, each of them going on a random
player from your party. Upon expiring, it will deal massive damage to all
players within 100 yds, so the best way to deal with it is to let
your healer dispel one target and wait until the second debuff expires, so
you can delay the damage coming out of it. Upon dispelling, it will deal
the full damage that you would normally get upon the debuff expiring.
- Flamegullet is the easier "mini-boss" that you must face.
Dodge his
 Flame Breath frontal cast at all cost.
 - The drake will also cast
 Fire Maw on your tank; the "tank-buster"
ability will deal massive damage followed by a lingering damage-over-time
Fire effect.
Fire Maw on your tank; the "tank-buster"
ability will deal massive damage followed by a lingering damage-over-time
Fire effect. - Finally, once Flamegullet is below 50% health it will
cast
 Molten Blood, which can be treated as an
  Enrage effect
that cannot be dispelled and will deal damage to all players within 60 yards.
The longer the Flamegullet stays alive the more stacks
of Molten Blood it will get, increasing its damage with every tick, hence
why you want to delay your damage cooldowns to nuke it faster during this "burn phase".
Enrage effect
that cannot be dispelled and will deal damage to all players within 60 yards.
The longer the Flamegullet stays alive the more stacks
of Molten Blood it will get, increasing its damage with every tick, hence
why you want to delay your damage cooldowns to nuke it faster during this "burn phase".
In order for Kokia Blazehoof to become active, you must first defeat the 4 Blazebound Destroyers located around the map. Each of them will be supported by another type of non-boss-enemy; here are more details:
- Speaking about Blazebound Destroyer, pay attention to its
 Living Bomb. It will be cast on a random player, ticking damage
per second and triggering an explosion upon expiring (though it also damages nearby mobs
if you explode within 6 yards of them). In addition, they
will occasionally cast
Living Bomb. It will be cast on a random player, ticking damage
per second and triggering an explosion upon expiring (though it also damages nearby mobs
if you explode within 6 yards of them). In addition, they
will occasionally cast  Inferno, doing unavoidable AoE damage to everyone
within 100 yards, plus an additional damage-over-time effect every 2 seconds
for 6 seconds.. Finally, when the Blazebound Destroyer is defeated
it will cast
Inferno, doing unavoidable AoE damage to everyone
within 100 yards, plus an additional damage-over-time effect every 2 seconds
for 6 seconds.. Finally, when the Blazebound Destroyer is defeated
it will cast  Burnout; quickly move out of melee to avoid taking lethal damage.
 - Beware of Primalist Cinderweaver's
 Cinderbolt cast; it goes on
a random target and should be a priority to be interrupted. When the mob casts
Cinderbolt cast; it goes on
a random target and should be a priority to be interrupted. When the mob casts
 Burning Ambition, it will take an additional 25% damage, but its
Haste will be increased by 50%. If you can handle the extra interrupts,
DO NOT purge the buff to speed up the killing process.
Burning Ambition, it will take an additional 25% damage, but its
Haste will be increased by 50%. If you can handle the extra interrupts,
DO NOT purge the buff to speed up the killing process. - Stop the
 Flame Dance cast from the Primalist Flamedancer
at all costs. You cannot use interrupt effects, but Stun or Disruption effects
work just fine!
Flame Dance cast from the Primalist Flamedancer
at all costs. You cannot use interrupt effects, but Stun or Disruption effects
work just fine! - There are going to be dozens of Scorchling spread throughout
the map. They are the least dangerous enemies that can be paired with
any other pack of mobs without increasing the difficulty of it. They have
only one ability,
 Burning Touch, that goes on the highest threat
target (your tank).
Burning Touch, that goes on the highest threat
target (your tank).
Kokia Blazehoof Boss Guide
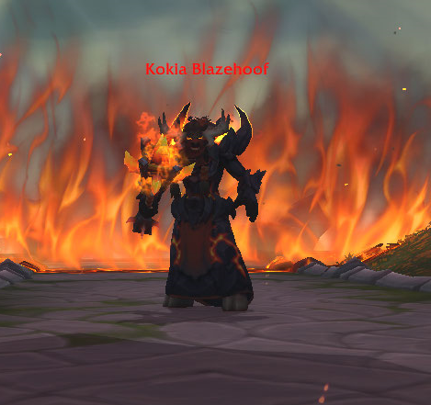
All Roles
- Avoid being hit from the initial damage of
 Ritual of Blazebinding.
Note that it is always based on your location; stacking together will
"manipulate" where the add spawns.
Ritual of Blazebinding.
Note that it is always based on your location; stacking together will
"manipulate" where the add spawns. - Switch immediately to Blazebound Firestorm when it spawns.
- Interrupt Blazebound Firestorm's
 Roaring Blaze at all cost.
 - Once you defeat Blazebound Firestorm, run away from its
Burnout damage. On
 Mythic difficulty, the add will also leave a permanent
 Scorched Earth effect on the ground, so be liberal with the surrounding space.
 - Sidestep the
 Molten Boulder cast at all cost; failing to do so
will deal massive damage and stun you for 3 seconds. In addition,
don't stand in the leftover fire patch - Scorched Earth, so be careful
where you "bait" it.
Molten Boulder cast at all cost; failing to do so
will deal massive damage and stun you for 3 seconds. In addition,
don't stand in the leftover fire patch - Scorched Earth, so be careful
where you "bait" it.
Tank
- Bring Kokia Blazehoof close to the Blazebound Firestorm to allow your DPS to cleave effectively.
- Use active mitigation when Kokia Blazehoof is casting
 Searing Blows on you. Be aware that you will receive a
follow up Bleed effect that stacks,
Searing Blows on you. Be aware that you will receive a
follow up Bleed effect that stacks,  Searing Wounds.
Healer
- Beware of Blazebound Firestorm's Inferno cast, as it will
deal unavoidable AoE damage to everyone in your group. This is a good place
to use your healing cooldowns.
Ruby Overlook and Kyrakka and Erkhart Stormvein
Notable Trash Before Kyrakka and Erkhart Stormvein
Upon defeating Kokia Blazehoof, you will head down the stairs toward the last boss of the dungeon, Kyrakka and Erkhart Stormvein. There are a few important mob-types that you must pay attention to while going there:
- Storm Warrior will cast
 Thunderclap, damaging all
players within 5 yards and reducing their Haste by 10%
as well as their movement speed by 20%. Mostly, all melee players will
get it unless you keep a healthy distance.
Thunderclap, damaging all
players within 5 yards and reducing their Haste by 10%
as well as their movement speed by 20%. Mostly, all melee players will
get it unless you keep a healthy distance. - Use a Purge effect on Primal Thundercloud's
 Tempest Barrier
to speed up killing them.
Tempest Barrier
to speed up killing them. - Use defensives when Tempest Channeler is casting
 Lightning Storm.
In addition, use your interrupts to stop
Lightning Storm.
In addition, use your interrupts to stop  Thunderbolt casts and be ready for
her when she spawns
Thunderbolt casts and be ready for
her when she spawns  Summon Primal Thundercloud.
 - Interrupt Flame Channeler's
 Flashfire at all cost, as not only
does it deal damage to a random player, but it also heals the Channeler. You can
choose to ignore the
Flashfire at all cost, as not only
does it deal damage to a random player, but it also heals the Channeler. You can
choose to ignore the  Burning Veins buff, since it makes them take more
damage, but it also increases their Haste by 50%.
Burning Veins buff, since it makes them take more
damage, but it also increases their Haste by 50%.
In order to activate Kyrakka and Erkhart Stormvein, you need to defeat High Channeler Ryvati, which is the second "mini-boss" of the dungeon. Here are the abilities you should watch out for:
- Interrupt
 Shock Blast at all cost. Not only does it do high damage
but also it leaves a lingering damage-over-time effect.
Shock Blast at all cost. Not only does it do high damage
but also it leaves a lingering damage-over-time effect. - Use defensives when High Channeler Ryvati is casting
Lightning Storm.
- Gain threat on the newly-spawned Primal Thundercloud
as quick as you can, when spawned with Summon Primal Thundercloud).
- Break the
 Tempest Stormshield as quick as you can.
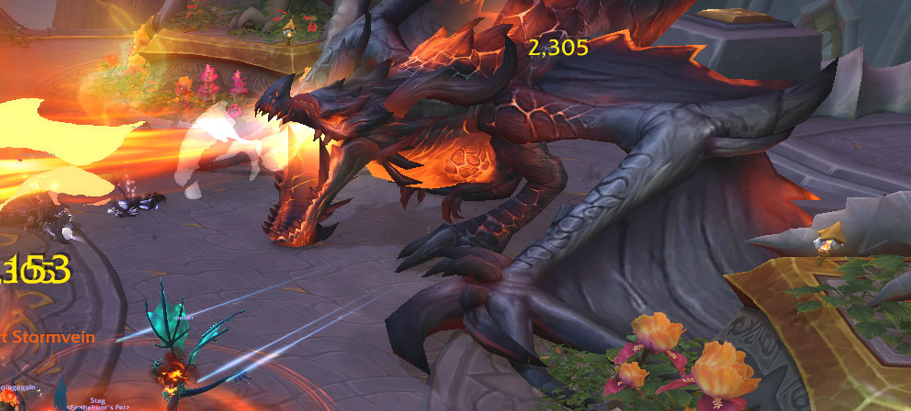
Kyrakka and Erkhart Stormvein Boss Guide
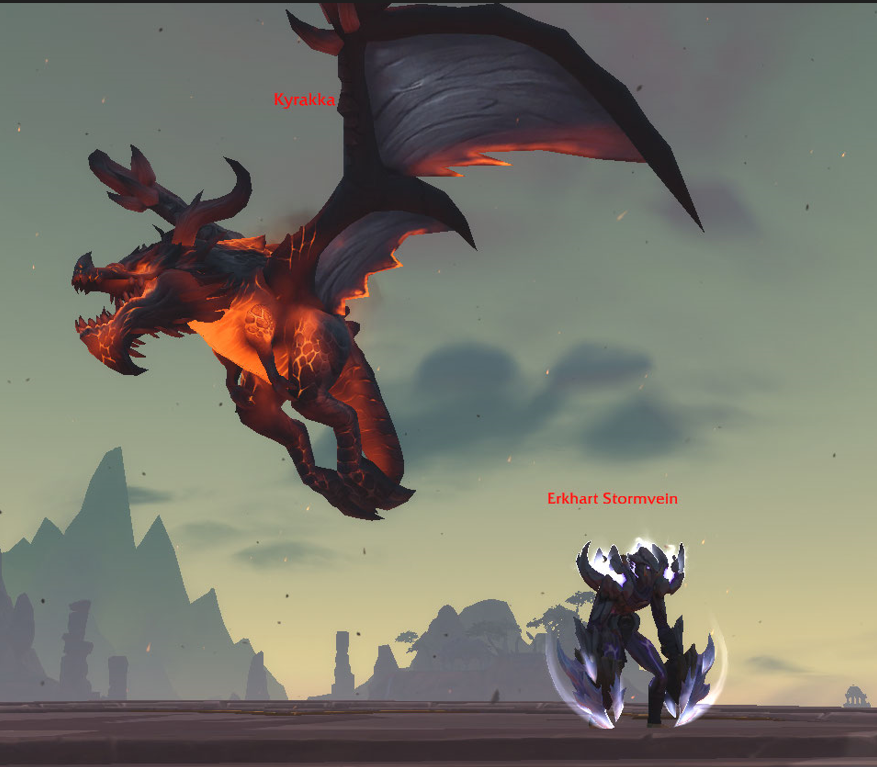
This is one of the hardest 2-phase fights you will face. In the beginning of the fight you will be fighting Erkhart Stormvein, but once he reaches 50% health Kyrakka will join him, starting the Second Phase. Prior to that, there are several abilities you must avoid from both bosses:
All Roles
-
 Dodge the Roaring Firebreath coming from Kyrakka; failing to do
so will apply a
Dodge the Roaring Firebreath coming from Kyrakka; failing to do
so will apply a  Infernocore to you. Once the Infernocore expires
it will leave lingering Flaming Embers fire pools on the ground, which can
re-applies Infernocore if you don't move out quick enough.
Infernocore to you. Once the Infernocore expires
it will leave lingering Flaming Embers fire pools on the ground, which can
re-applies Infernocore if you don't move out quick enough. - Erkhart Stormvein will periodically cast
 Interrupting Cloudburst. The massive torrent will interrupt your cast
and lock you for 4 seconds, so stop your cast at the end to avoid being locked.
Interrupting Cloudburst. The massive torrent will interrupt your cast
and lock you for 4 seconds, so stop your cast at the end to avoid being locked. - Beware when Erkhart Stormvein is casting
 Winds of Change,
as it will deal AoE damage to everyone and also apply a pushback effect. The pushback effect
will also move any existing Flaming Embers; remember that upon contact they will
apply Infernocore.
Winds of Change,
as it will deal AoE damage to everyone and also apply a pushback effect. The pushback effect
will also move any existing Flaming Embers; remember that upon contact they will
apply Infernocore. - During Phase 1 of the fight, Kyrakka will periodically target
one player from your party to cast Flamespit on it.
- Chunking Kyrakka's health is going to be the most important as they are the more dangerous part of the boss fight. Use every opportunity to deal damage to them while they are on the ground during Phase 1.

Tank
- Once Kyrakka is casting Roaring Firebreath, move
Erkhart Stormvein closer to allow for your damage dealers to cleave
both targets.
- Beware of
 Stormslam cast; it will deal massive frontloaded
damage and apply a debuff to you that will increase Nature damage
taken by 100%. This effect stacks and it is dispellable, so ask your
healer to remove it as quickly as possible.
Stormslam cast; it will deal massive frontloaded
damage and apply a debuff to you that will increase Nature damage
taken by 100%. This effect stacks and it is dispellable, so ask your
healer to remove it as quickly as possible.
Healer
- Be ready to top up your teammates once they have Infernocore on
them.
- Dispel tank after each debuff coming from Stormslam.
- During Phase 1 of the fight Kyrakka will periodically target
one player from your party to cast Flamespit on. Make sure to top them
up as the hit will also apply Infernocore stacks.
- However, during Phase 2 of the fight, once Kyrakka is down
and is casting Flamespit, it will deal damage to 2 targets and also
apply Infernocore stacks. This is a good place to use your healing cooldowns.
Ruby Life Pools Loot Table
Melidrussa Chillworn
| Type | Item | Stats |
|---|---|---|
| Staff | Int, Crit/Mastery | |
| Mail Legs | Vers/Haste | |
| Trinket | Agi, Str, Int | |
| Plate Feet | Vers/Mastery | |
| Leather Hands | Crit/Vers |
Kokia Blazehoof
| Type | Item | Stats |
|---|---|---|
| Trinket | Haste | |
| Mail Head | Mastery/Vers | |
| Back | Haste/Mastery | |
| 1H Mace | Agi, Crit/Haste | |
| Leather Chest | Mastery/Vers | |
| Off-Hand | Crit/Vers |
Kyrakka and Erkhart Stormvein
| Type | Item | Stats |
|---|---|---|
| 2H Axe | Agi, Haste/Crit | |
| Plate Chest | Mastery/Haste | |
| Leather Head | Vers/Crit | |
| Shield | Vers/Mastery | |
| Mail Hands | Mastery/Crit | |
| Trinket | Crit | |
| Cloth Waist | Haste/Mastery | |
| Dagger | Agi, Vers/Haste | |
| Cloth Legs | Mastery/Crit |
Ruby Life Pools Achievements
There are 8 total achievements to obtain in Ruby Life Pools:
| Achievement | Criteria |
|---|---|
| Defeat Kyrakka and Erkhart Stormvein in Ruby Life Pools. | |
| Defeat Kyrakka and Erkhart Stormvein
in Ruby Life Pools on |
|
| Defeat Kyrakka and Erkhart Stormvein
in Ruby Life Pools on |
|
| Complete Ruby Life Pools at |
|
| Defeat Kyrakka and Erkhart Stormvein
in Ruby Life Pools on |
|
| Defeat Kyrakka and Erkhart Stormvein after
chilling, searing, tempering, and keeping alive the Nascent
Ruby Egg in Ruby Life Pools on |
|
| Defeat Kokia Blazehoof after heating up 4 life
pools with |
|
| Defeat Melidrusa Chillworn after defeating 40
of her chamber's Infused Whelps in Ruby Life Pools on
|
Changelog
- 23 Apr. 2024: Guide updated for Season 4.
- 25 Nov. 2022: Guide added.