The Underrot Dungeon Guide: Location, Boss Strategies, Trash, and Loot
Welcome to our guide to the Underrot dungeon in Season 2 of the Dragonflight World of Warcraft expansion. This guide will cover everything you need to know about the dungeon, including how to get to it, its layout, the trash and boss mechanics within, and its loot.
Getting into Underrot
Underrot is a max-level dungeon located in Nazmir, Zandalar. You can quickly access the portals in each capital city (Orgimmar or Stormwind).
nazmirThis guide will focus on an extensive overview of the dungeon, providing vital information to increase your chance of completing the key. We will cover all 4 boss fights supported by the most notable trash enemies in the dungeon and their important abilities. If you would like to learn about the rest of the dungeon in Season 2, please see our overviews linked below. Otherwise, without further ado, let us begin!
Underrot Layout

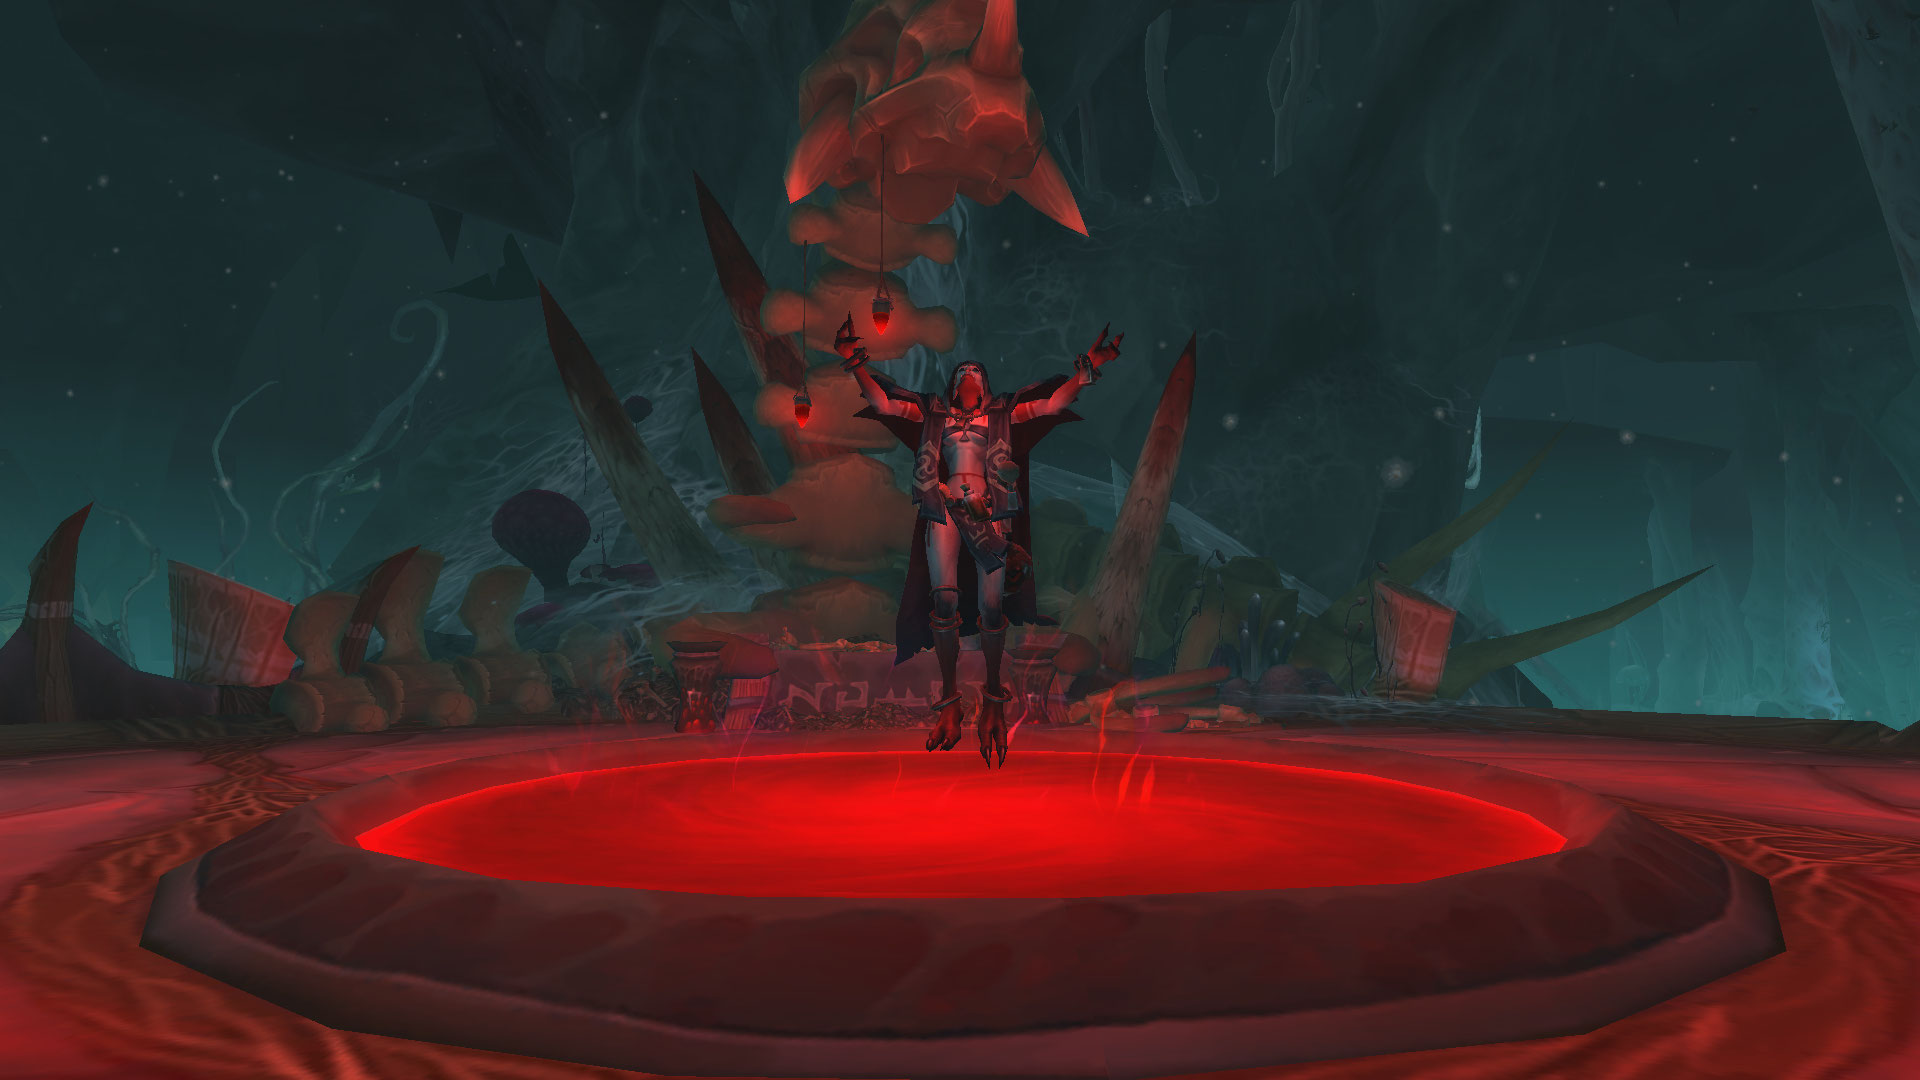
Sanctuary of Blood and Elder Leaxa
Notable Trash Before Elder Leaxa
- Fetid Maggot is the first enemy you will be facing here; there is only
one ability you should do your best to stop, and that is
 Rotten Bile.
 - Focus on killing Chosen Blood Matron quickly, as their
 Blood Harvest &
  Savage Cleave combo will leave
you in a critical condition. In addition, the longer the mob stays alive,
the more, the harder it will be to deal with the surrounding trash due
to its uninterruptable buff -
Savage Cleave combo will leave
you in a critical condition. In addition, the longer the mob stays alive,
the more, the harder it will be to deal with the surrounding trash due
to its uninterruptable buff -  Warcry.
 - Use your defensive cooldowns when dealing with Underrot Tick, upon
death, they will
 Blood Burst. In addition, they will leave a stackable
 Bleed effect on your tank - Blood Maw, hence why it is
important to quickly nuke it.
Bleed effect on your tank - Blood Maw, hence why it is
important to quickly nuke it. - Devout Blood Priest is going to be the most important caster mob in this area,
they can fully heal either themselves or any other mob with
 Dark Reconstitution,
cast a dangerous Blood Bolt direct spell and buff an enemy with
Dark Reconstitution,
cast a dangerous Blood Bolt direct spell and buff an enemy with
 Gift of G'huun. Use all of your interrupts on this mob, as every cast is
important to be stopped.
Gift of G'huun. Use all of your interrupts on this mob, as every cast is
important to be stopped. - Use your defensive cooldowns if you are caught in one of the
Fanatical Headhunter's
 Hooked Snare.
 - If you get targeted by Befouled Spirit's
 Dark Omen, use your
defensive cooldown as you can't stop the cast otherwise.
Dark Omen, use your
defensive cooldown as you can't stop the cast otherwise.  Harrowing Despair must
be interrupted at all times.
Harrowing Despair must
be interrupted at all times.
Elder Leaxa Boss Guide
All Roles
- Interrupt Blood Bolt.
- Side-step Elder Leaxa's
 Sanguine Feast. It will jump
on a random player's location, hence why it is important to be closer to the boss.
Sanguine Feast. It will jump
on a random player's location, hence why it is important to be closer to the boss. - Avoid the
 Creeping Rot frontal.
 - When Elder Leaxa is casting Blood Mirror, shift your focus
towards the Blood Effigy, as the spawn will have the same abilities
as the boss. Kill it quickly before you run out of interrupts and wipe!
Tank
- Once Blood Effigy has spawned, move closer to the add to enable more efficient 2-target cleave from your party members.
Healer
- Quickly top up the
 Taint of G'huun debuff.
 - Keep people at full health after they have received damage from
Blood Bolt.
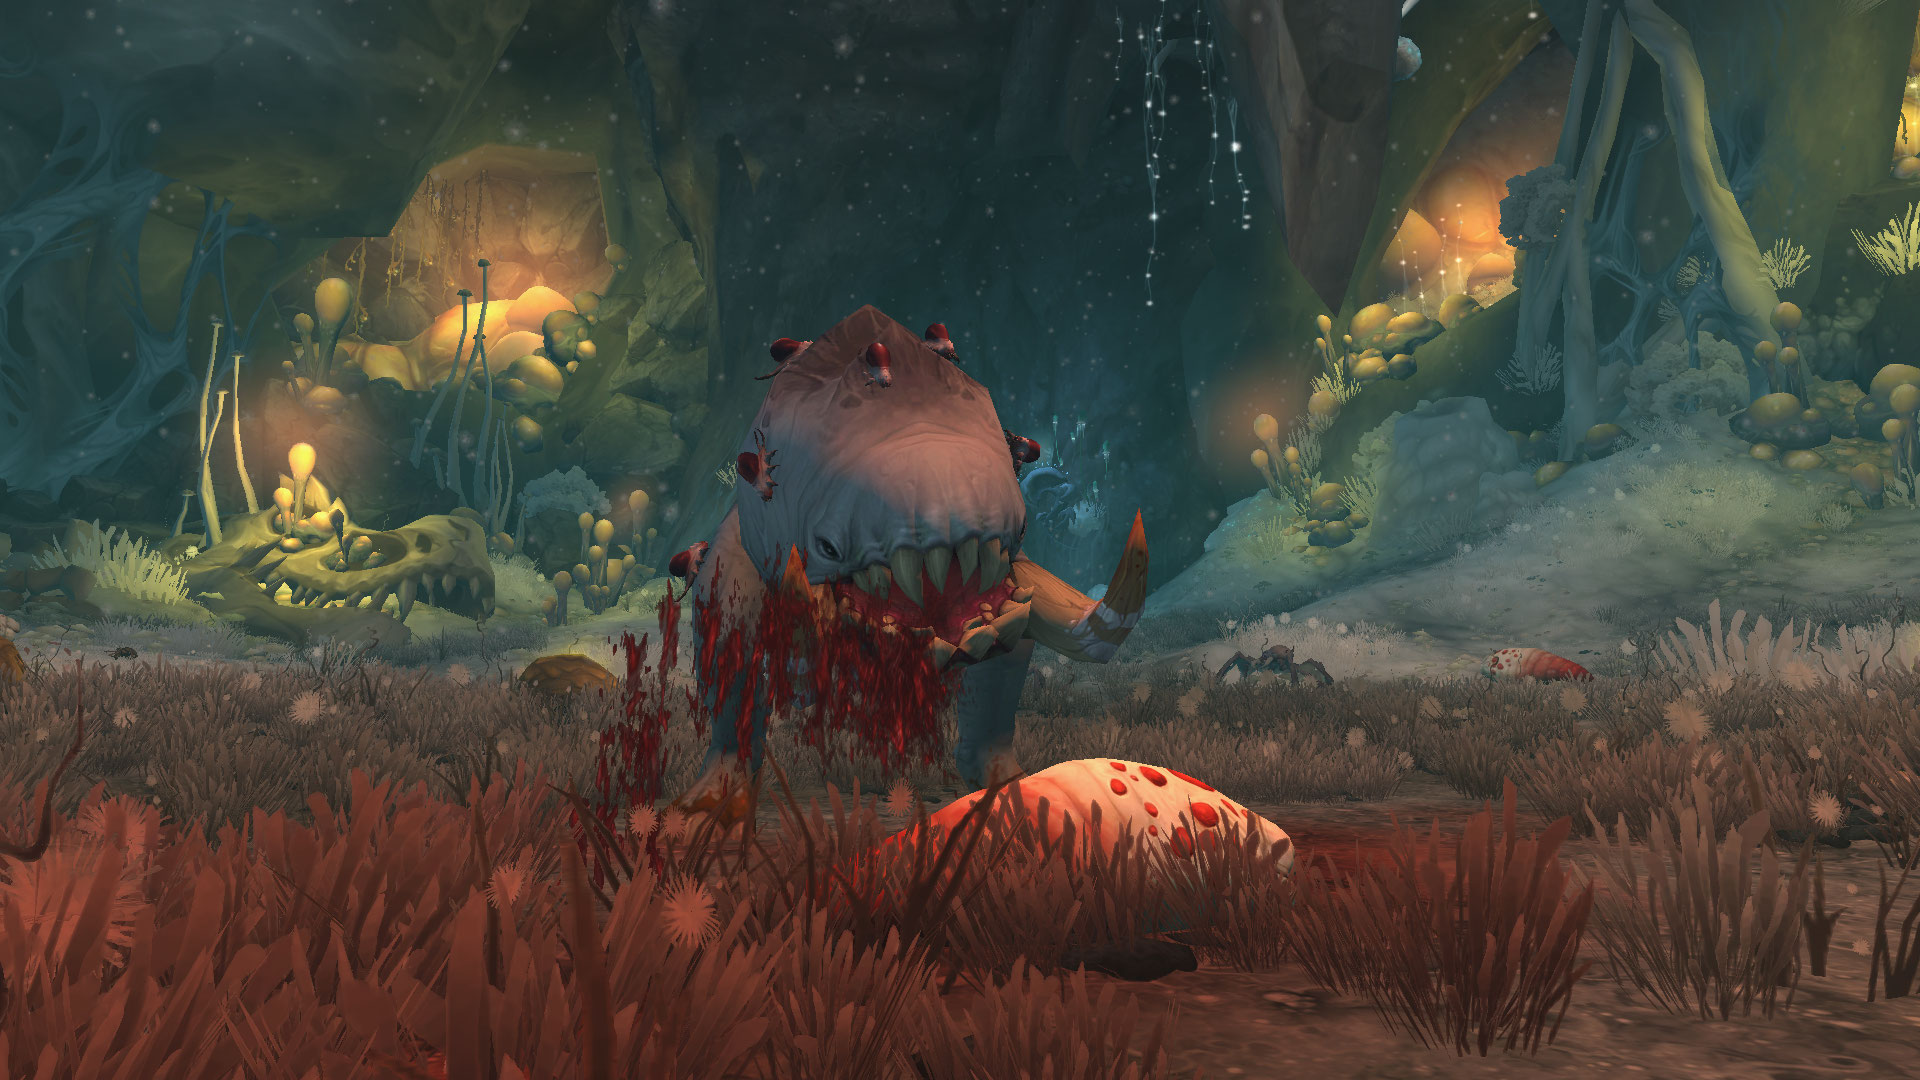
The Rotten Field and Cragmaw
Notable Trash Before Cragmaw
Once you defeat Elder Leaxa head down the bridge to meet the next obstacle of Underrot - Cragmaw. Before this, here is the trash you will face:
- Feral Bloodswarmer is the hardest mob in this area because of its
relentless
 Thirst For Blood. It will randomly select a party
member from your group and chase it down until to re-fixate someone else.
Use your party-wide utility to stop the mob from coming close to you.
In addition, interrupt its
Thirst For Blood. It will randomly select a party
member from your group and chase it down until to re-fixate someone else.
Use your party-wide utility to stop the mob from coming close to you.
In addition, interrupt its  Sonic Screech cast.
 - Avoid the Living Rot's
 Foul Sludge ground visuals.
Don't waste your extra kicks on
Foul Sludge ground visuals.
Don't waste your extra kicks on  Wave of Decay; you can simply
run out of the pool of decay!
Wave of Decay; you can simply
run out of the pool of decay! - Interrupt Diseased Lasher's
 Decaying Mind at all
cost; failing to do so will likely result in a death. In the case it goes through,
you can Dispel it!
Decaying Mind at all
cost; failing to do so will likely result in a death. In the case it goes through,
you can Dispel it! - Your tank must pay attention to Fallen Deathspeaker's
 Wicked Frenzy; you can't interrupt it, but you can use stun or disturb effects to stop it. If this goes
through, you will have a follow-up effect - Wicked Assault. In addition,
interrupt its
Wicked Frenzy; you can't interrupt it, but you can use stun or disturb effects to stop it. If this goes
through, you will have a follow-up effect - Wicked Assault. In addition,
interrupt its  Raise Dead cast.
 - Reanimated Guardian is the last non-boss-enemy you will face here; they have no other ability than
 Bone Shield; you can damage to
break it or use Purge effects to remove it!
Bone Shield; you can damage to
break it or use Purge effects to remove it!
Cragmaw Boss Guide
All Roles
- Stack together near a wall to "bait" the
 Charge.
 - Step away from the Indigestion frontal.
- Use your defensive cooldowns when
 Tantrum has been
cast. Use your movement speed abilities to collect the ground puddles
during its channel.
Tantrum has been
cast. Use your movement speed abilities to collect the ground puddles
during its channel. - During any of the Cragmaw's abilities, the boss will have a follow-up
effect called Infested. Essentially each of the boss's abilities will
spawn several ground puddles; if unsoaked for 8 seconds, they
will
 Metamorphosis into Blood Tick. And if you remember
this mob from earlier, it will Blood Burst upon death and
leave a stackable Bleed effect on your tank - Blood Maw.
Metamorphosis into Blood Tick. And if you remember
this mob from earlier, it will Blood Burst upon death and
leave a stackable Bleed effect on your tank - Blood Maw.
Tank
- Once you get fixated by the Indigestion, do not move since
the frontal will follow you!
- Help your team collect as many ground puddles as you can during the
Tantrum channel.
Healer
- Communicate with your team accordingly to ensure you always have either
defensive cooldowns or your healing cooldowns for Tantrum
channel.
Ruins of Xal'vor and Sporecaller Zancha
Notable Trash Before Sporecaller Zancha
- Grotesque Horror will trigger upon walking closer to them; they can
be crowd-control in case you don't have enough interrupts for its
 Death Bolt cast.
 - Bloodsworn Defiler is the hardest mob here; here are a few things to do when
facing it: First, you always want to interrupt
 Shadow Bolt Volley, followed
by the second priority to interrupt -
Shadow Bolt Volley, followed
by the second priority to interrupt -  Withering Curse. When
 Summon Spirit Drain Totem has been cast; step away to prevent
you from dying!
Summon Spirit Drain Totem has been cast; step away to prevent
you from dying!
Sporecaller Zancha Boss Guide
All Roles
- If you get targeted by
 Upheaval, use it on any remaining
 Boundless Rot. Your main goal here is to make sure to clear all
Boundless Rot before the deadly
Boundless Rot. Your main goal here is to make sure to clear all
Boundless Rot before the deadly  Festering Harvest.
 - If you get in touch with any of the
 Volatile Pods, you will
get a frontload damage +
Volatile Pods, you will
get a frontload damage +  Decaying Spores stackable
  Disease
effect. And yes, Decaying Spores stacks can be dispelled.
Disease
effect. And yes, Decaying Spores stacks can be dispelled.
Tank
- You can use the
 Shockwave to remove the remaining
Boundless Rot before the Festering Harvest cast.
Just be careful not to hit any party member!
Shockwave to remove the remaining
Boundless Rot before the Festering Harvest cast.
Just be careful not to hit any party member!
Healer
- If you do have a Disease dispel, do it if anyone has Decaying Spores
stacks.
- During the Festering Harvest, be mindful that if anyone gets hit by
any flying spores, use your healing on them!
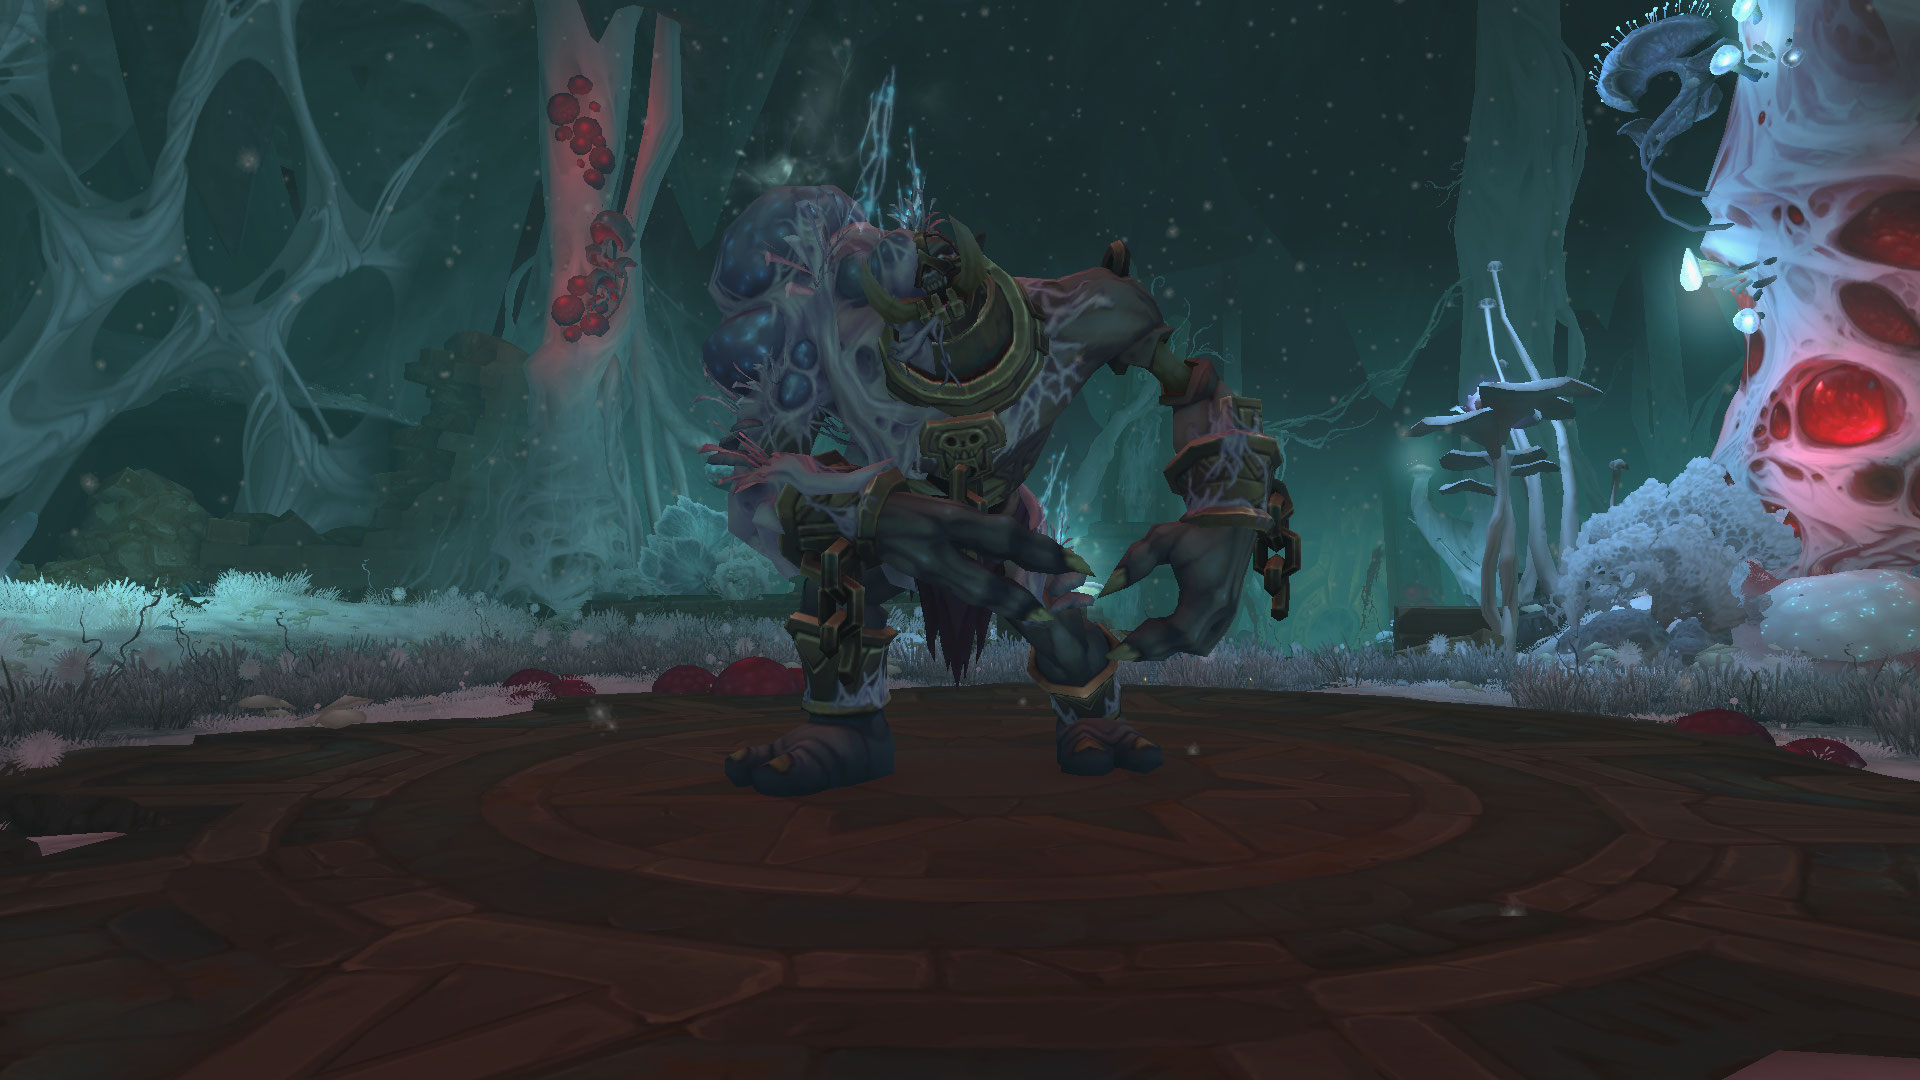
Ruin's Descent and Unbound Abomination
Notable Trash Before Unbound Abomination
Once you have defeated Sporecaller Zancha, head down towards the final part of the dungeon, where you will meet Unbound Abomination. Here is more information on the non-boss-enemies that awaits you:
- The only new enemy you will face here will be Faceless Corruptor.
Those mobs are extremely dangerous due to their one-shot frontal ability -
 Maddening Gaze and lethal ground effect -
  Abyssal Reach.
It is safe to say that you want to avoid pulling more than one per pack!
Abyssal Reach.
It is safe to say that you want to avoid pulling more than one per pack!
Unbound Abomination Boss Guide
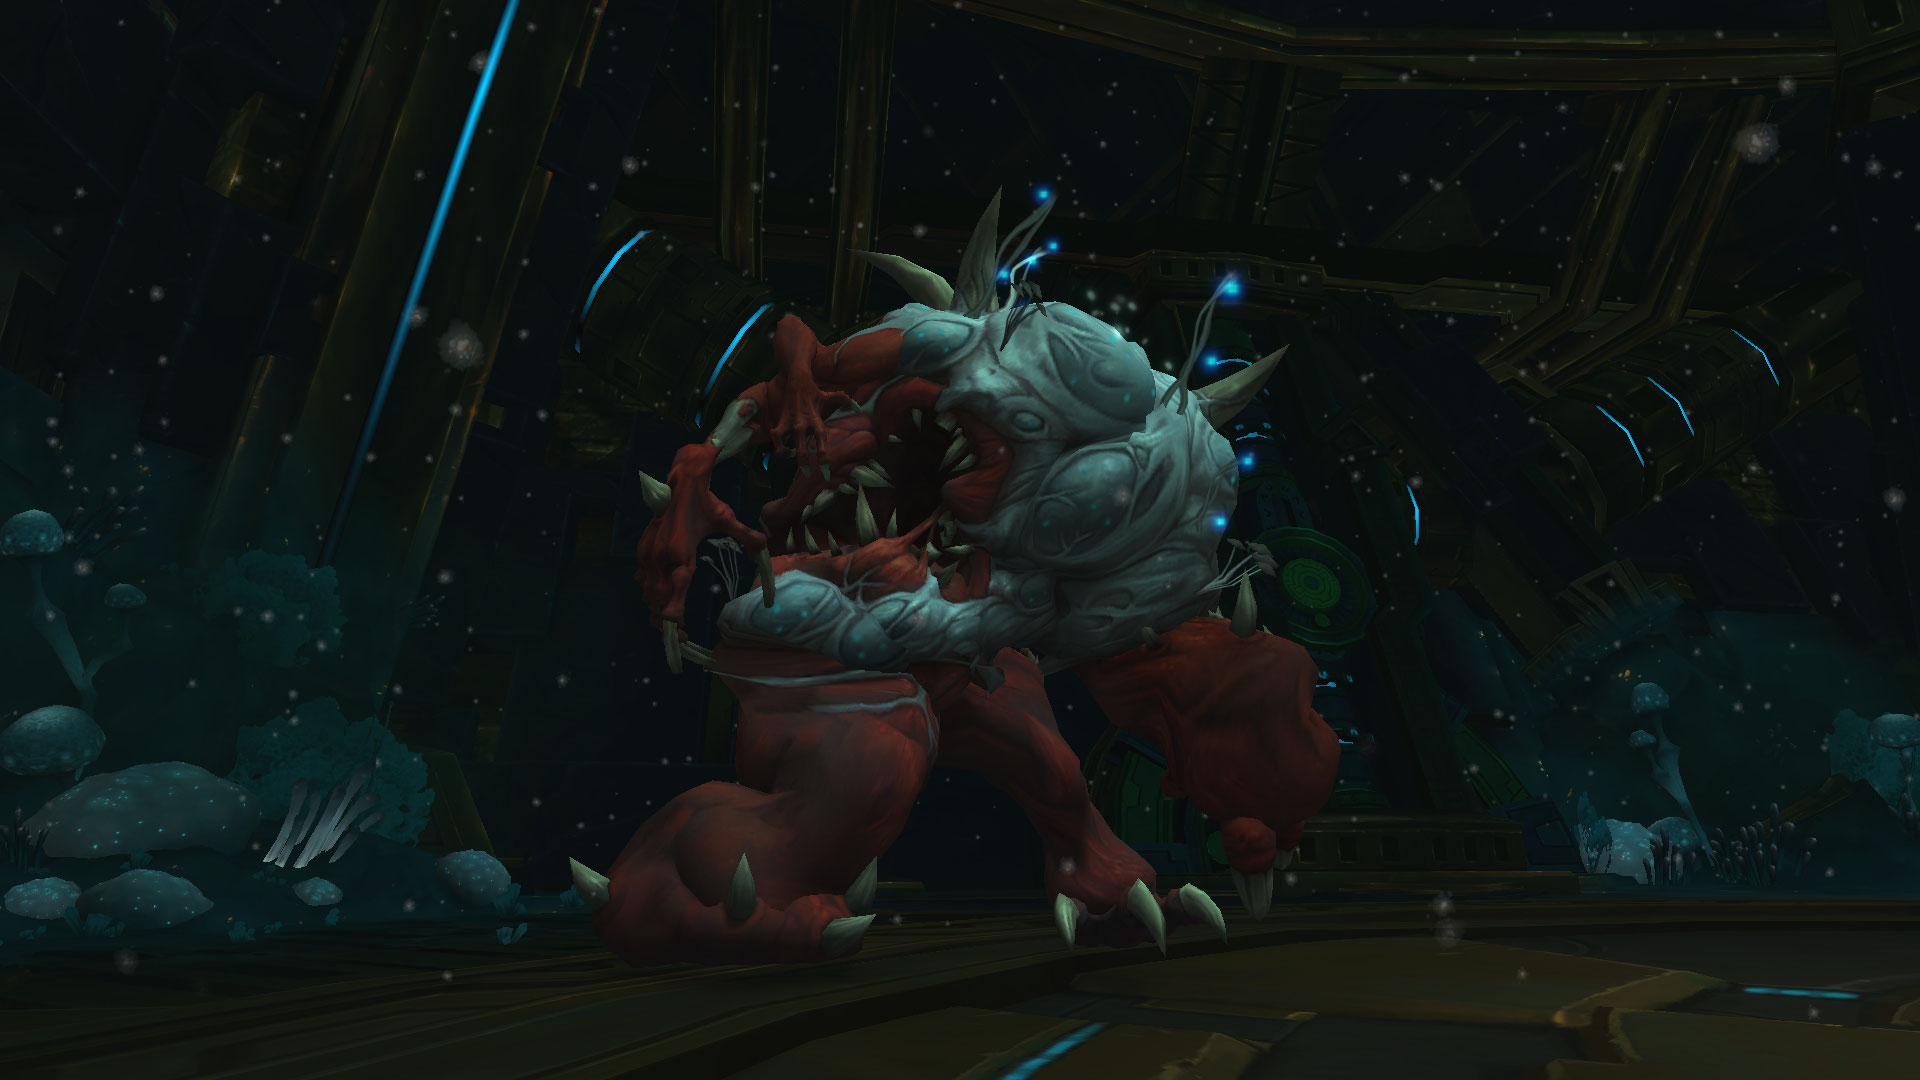
The boss fight is simple, yet many people play it
wrong. One major thing to keep in mind is that throughout the fight,
Titan Keeper Hezrel will help you out with any incoming Blood Visage
by casting ![]() Purge Corruption. In addition, it will also help
you manage the magical debuffs throughout the fight, offering you a cleanse!
Here is a more detailed overview of the fight:
Purge Corruption. In addition, it will also help
you manage the magical debuffs throughout the fight, offering you a cleanse!
Here is a more detailed overview of the fight:
All Roles
- You will need to break 3 times Unbound Abomination's
 Blood Barrier to defeat the boss. Each time you break
it, 2x Blood Visages will spawn. The trick here is not to allocate
any damage cooldowns to them as the Titan Keeper Hezrel will
kill them with
Blood Barrier to defeat the boss. Each time you break
it, 2x Blood Visages will spawn. The trick here is not to allocate
any damage cooldowns to them as the Titan Keeper Hezrel will
kill them with  Purge Corruption &
  Holy Bolt.
 - Every couple of seconds, the boss will apply
 Putrid Blood
to all players in your party, use the incoming
Putrid Blood
to all players in your party, use the incoming  Cleansing Light
to remove the stacks of the whole party. Using Dispel and Immunity can also
get rid of the Putrid Blood stacks!
Cleansing Light
to remove the stacks of the whole party. Using Dispel and Immunity can also
get rid of the Putrid Blood stacks! - Stack together as a team and move forward once your team members get targeted by
 Vile Expulsion. This way, you will avoid
frontal damage and be far away from the pockets of corruption. Just keep in mind that after every Vile Expulsion
frontal
Vile Expulsion. This way, you will avoid
frontal damage and be far away from the pockets of corruption. Just keep in mind that after every Vile Expulsion
frontal  Rotting Spore will spawn, slowly moving towards you,
any damage will break it, and disturbing effects can also influence them!
Rotting Spore will spawn, slowly moving towards you,
any damage will break it, and disturbing effects can also influence them!
Tank
- Taunt any nearby Blood Visages to prevent any casulties by taking the aggro!
- Move the boss forward once you see Vile Expulsion has
been cast to create a safe space without any pockets of corruption on
the ground.
Healer
- Dispel any Putrid Blood stacks from your party members
to ease the fight. You might want to rotate their defensive cooldowns paired
with your dispels to make it easier.
Loot Table
Elder Leaxa
| Type | Item | Stats |
|---|---|---|
| 1H Mace | Haste/Crit | |
| Leather Wrist | Crit/Mastery | |
| Mail Waist | Haste/Vers | |
| Plate Legs | Haste/Crit | |
| Ring | Haste/Mastery | |
| Trinket | Int |
Cragmaw the Infested
| Type | Item | Stats |
|---|---|---|
| Fist Weapon | Agi | |
| Dagger | Agi, Mastery/Crit | |
| Plate Wrist | Crit/Mastery | |
| Cloth Wrist | Vers/Crit | |
| Mail Hands | Crit/Vers | |
| Leather Hands | Haste/Crit | |
| Leather Waist | Haste/Mastery | |
| Cloth Legs | Crit/Haste | |
| Plate Boots | Haste/Vers | |
| Mail Boots | Mastery/Vers |
Sporecaller Zancha
| Type | Item | Stats |
|---|---|---|
| 2H Axe | Mastery/Vers | |
| Shield | Crit/Mastery | |
| Back | Vers/Crit | |
| Plate Waist | Mastery/Vers | |
| Mail Legs | Haste/Crit | |
| Leather Legs | Crit/Vers | |
| Cloth Boots | Vers/Mastery | |
| Trinket | Agi/Str |
Unbound Abomination
| Type | Item | Stats |
|---|---|---|
| Polearm | Mastery/Haste | |
| Hands | Haste/Vers | |
| Trinket | Mastery | |
| Mount |
Underrot Achievements
There are 8 total achievements to obtain in Underrot:
| Achievement | Criteria |
|---|---|
| Underrot | Defeat the Unbound Abomination in Underrot. |
| Defeat the Unbound Abomination in Underrot on
|
|
| Defeat the Unbound Abomination in Underrot
on |
|
| Defeat the Unbound Abomination in Underrot on
|
|
| Complete Underrot at |
|
| Defeat Musashitake, then defeat Sporecaller Zancha
in Underrot on |
|
| Defeat the Unbound Abomination without any |
|
| Defeat Elder Leaxa without any party member receiving
the |
Changelog
- 04 Sep. 2023: No further changes required for 10.1.7 Patch.
- 10 Jul. 2023: No further changes required for the 10.1.5 Patch.
- 09 May 2023: Page added.
This guide has been written by Petko, one of the top Mythic players of all time. He has accomplished several Europe- and World #1 Team and Solo Seasonal rankings with multiple specialization and classes. Moreover, he competes in the MDI and streams his runs live on Twitch, and shares his personal opinions on YouTube and Twitter.
- Blizzard Breaks Silence on Puzzling Cartel Chips in Patch 11.1.5
- Chalice Quest NPC Rewards Temporarily Disabled Disabled in Season of Discovery
- Has The Catalyst Killed Raiding or Improved the Game? WoW Heroic Raid Progression Since Legion
- Undercoin Transfers Now Possible on 11.1.5 PTR — Bug or Feature?
- The Music of Azeroth: Community’s Favorite Soundscapes
- This Hunter Transmog Turned Heads on Reddit—and Here’s the Full Item List
- What’s Still in Your Bags? Players Reveal the Weirdest Items They Can’t Delete
- Two Mounts Drop in the Scarlet Enclave Raid — Here’s Where to Get Them